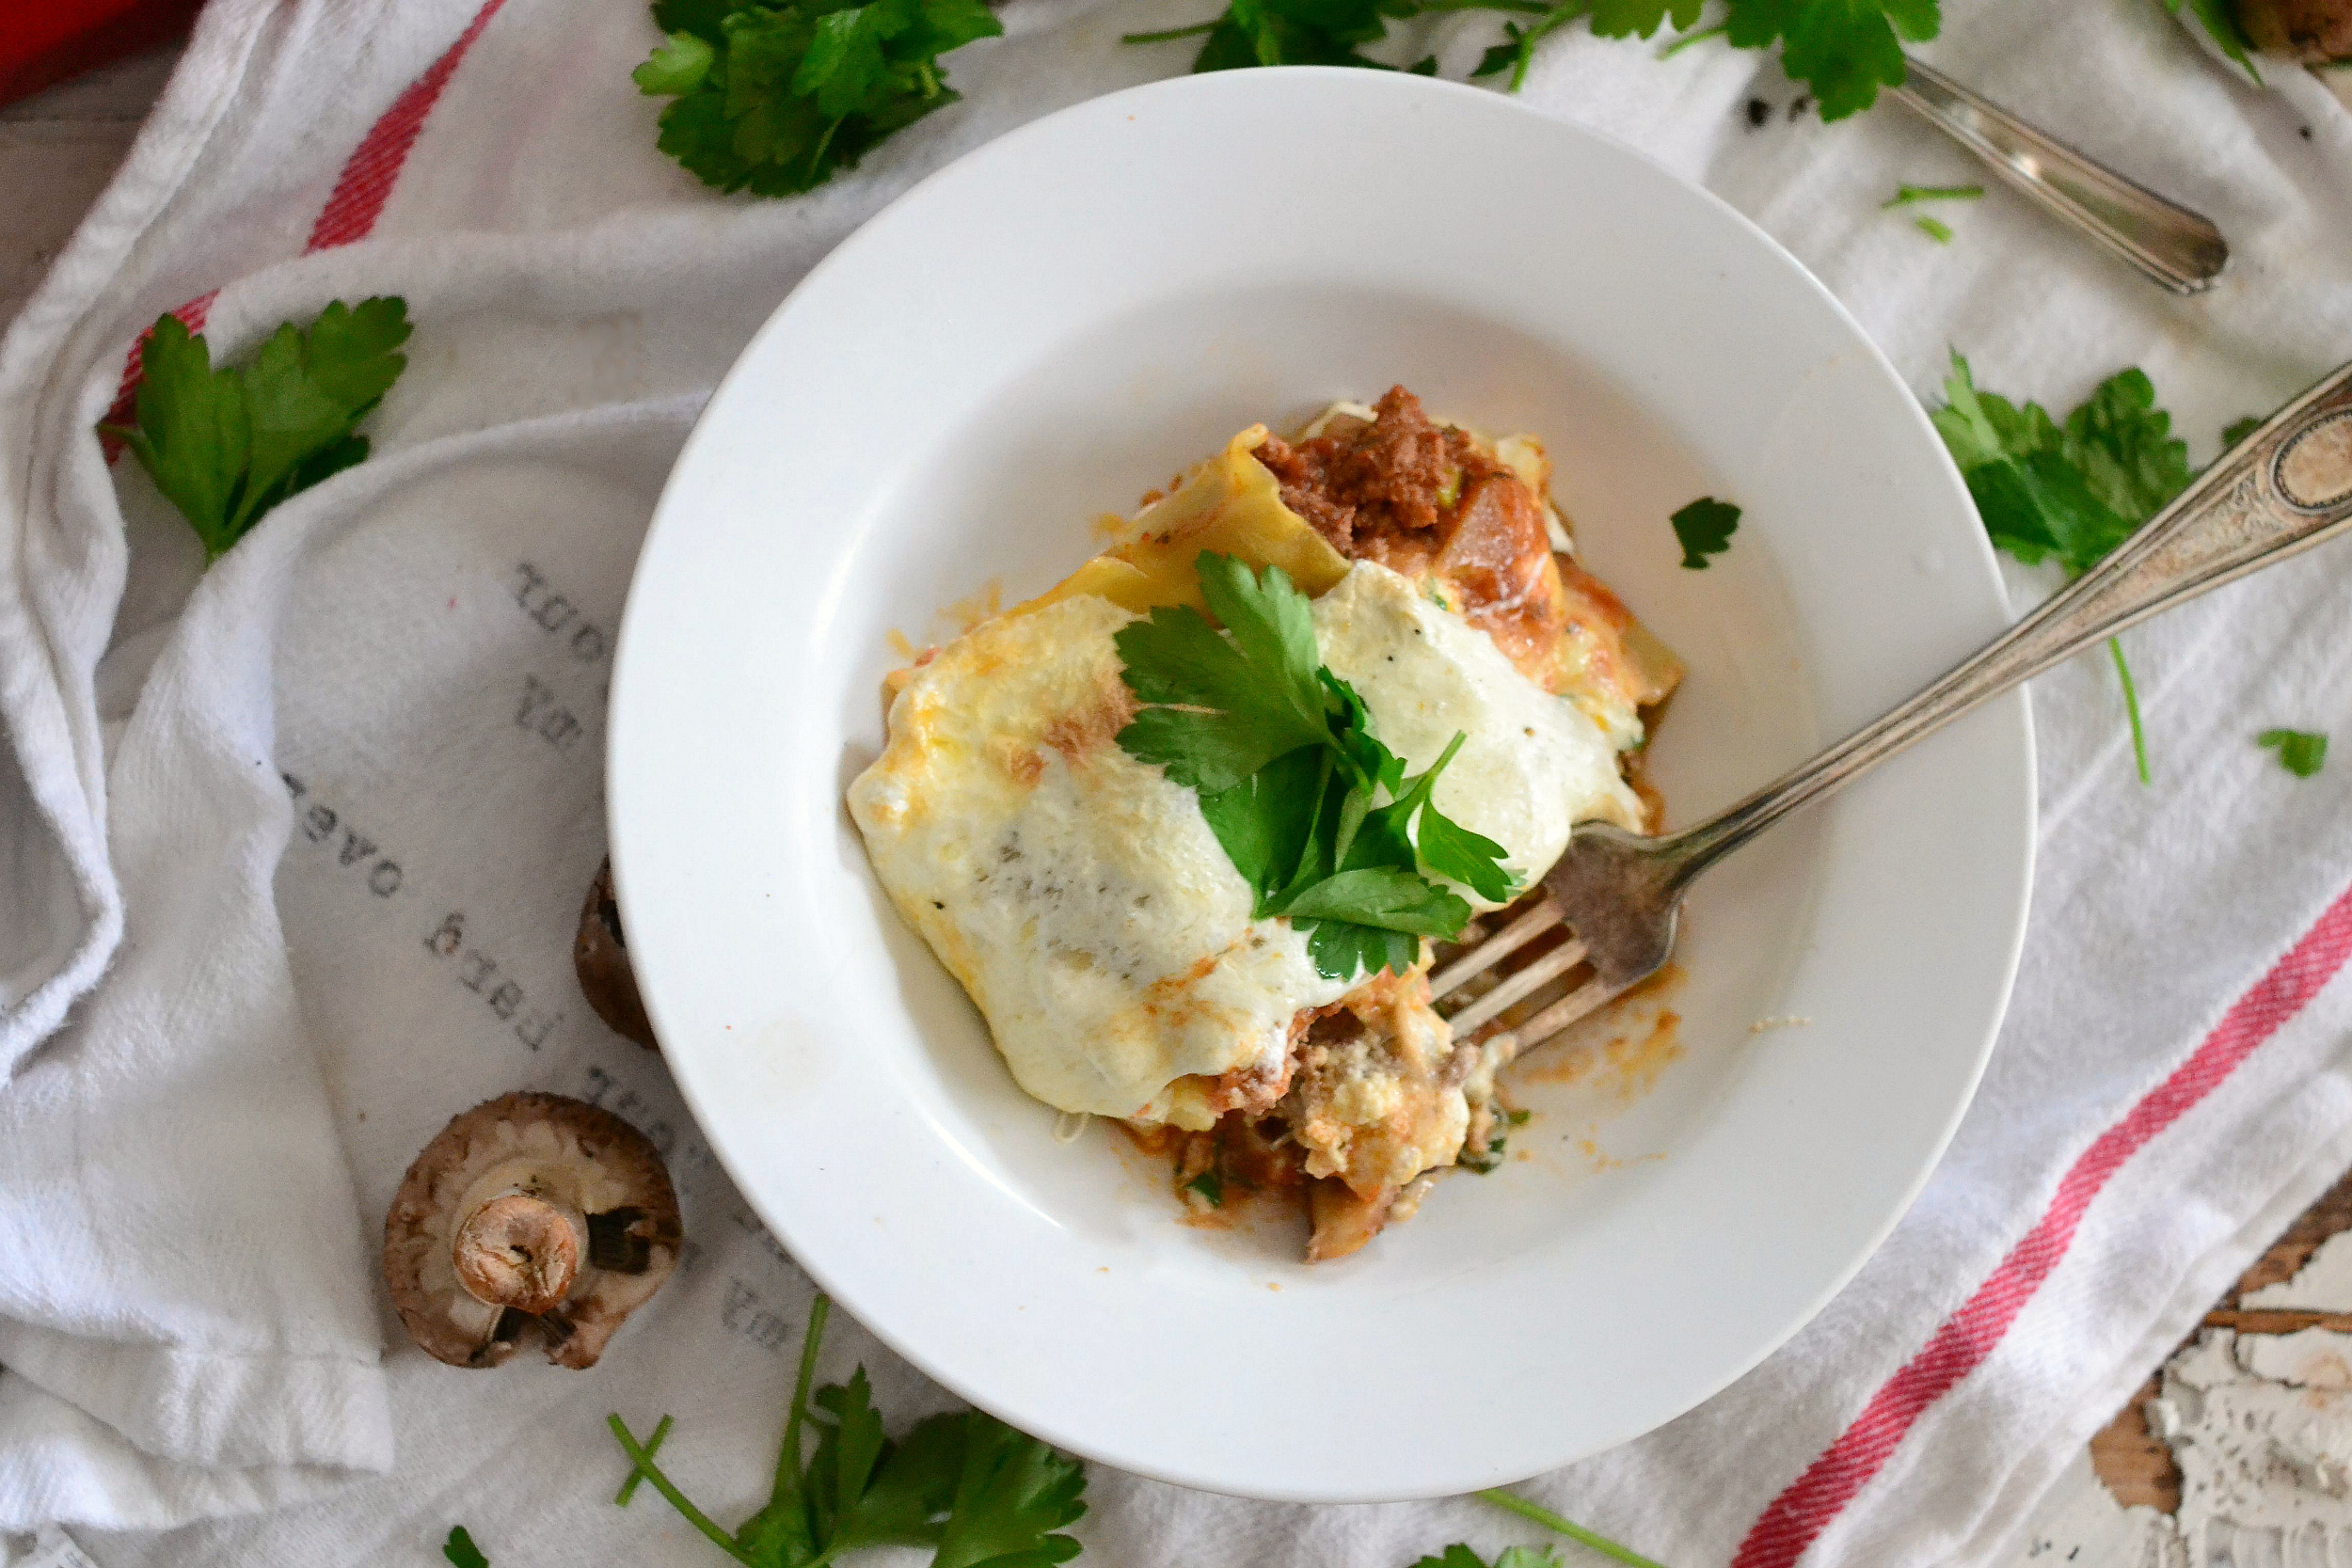
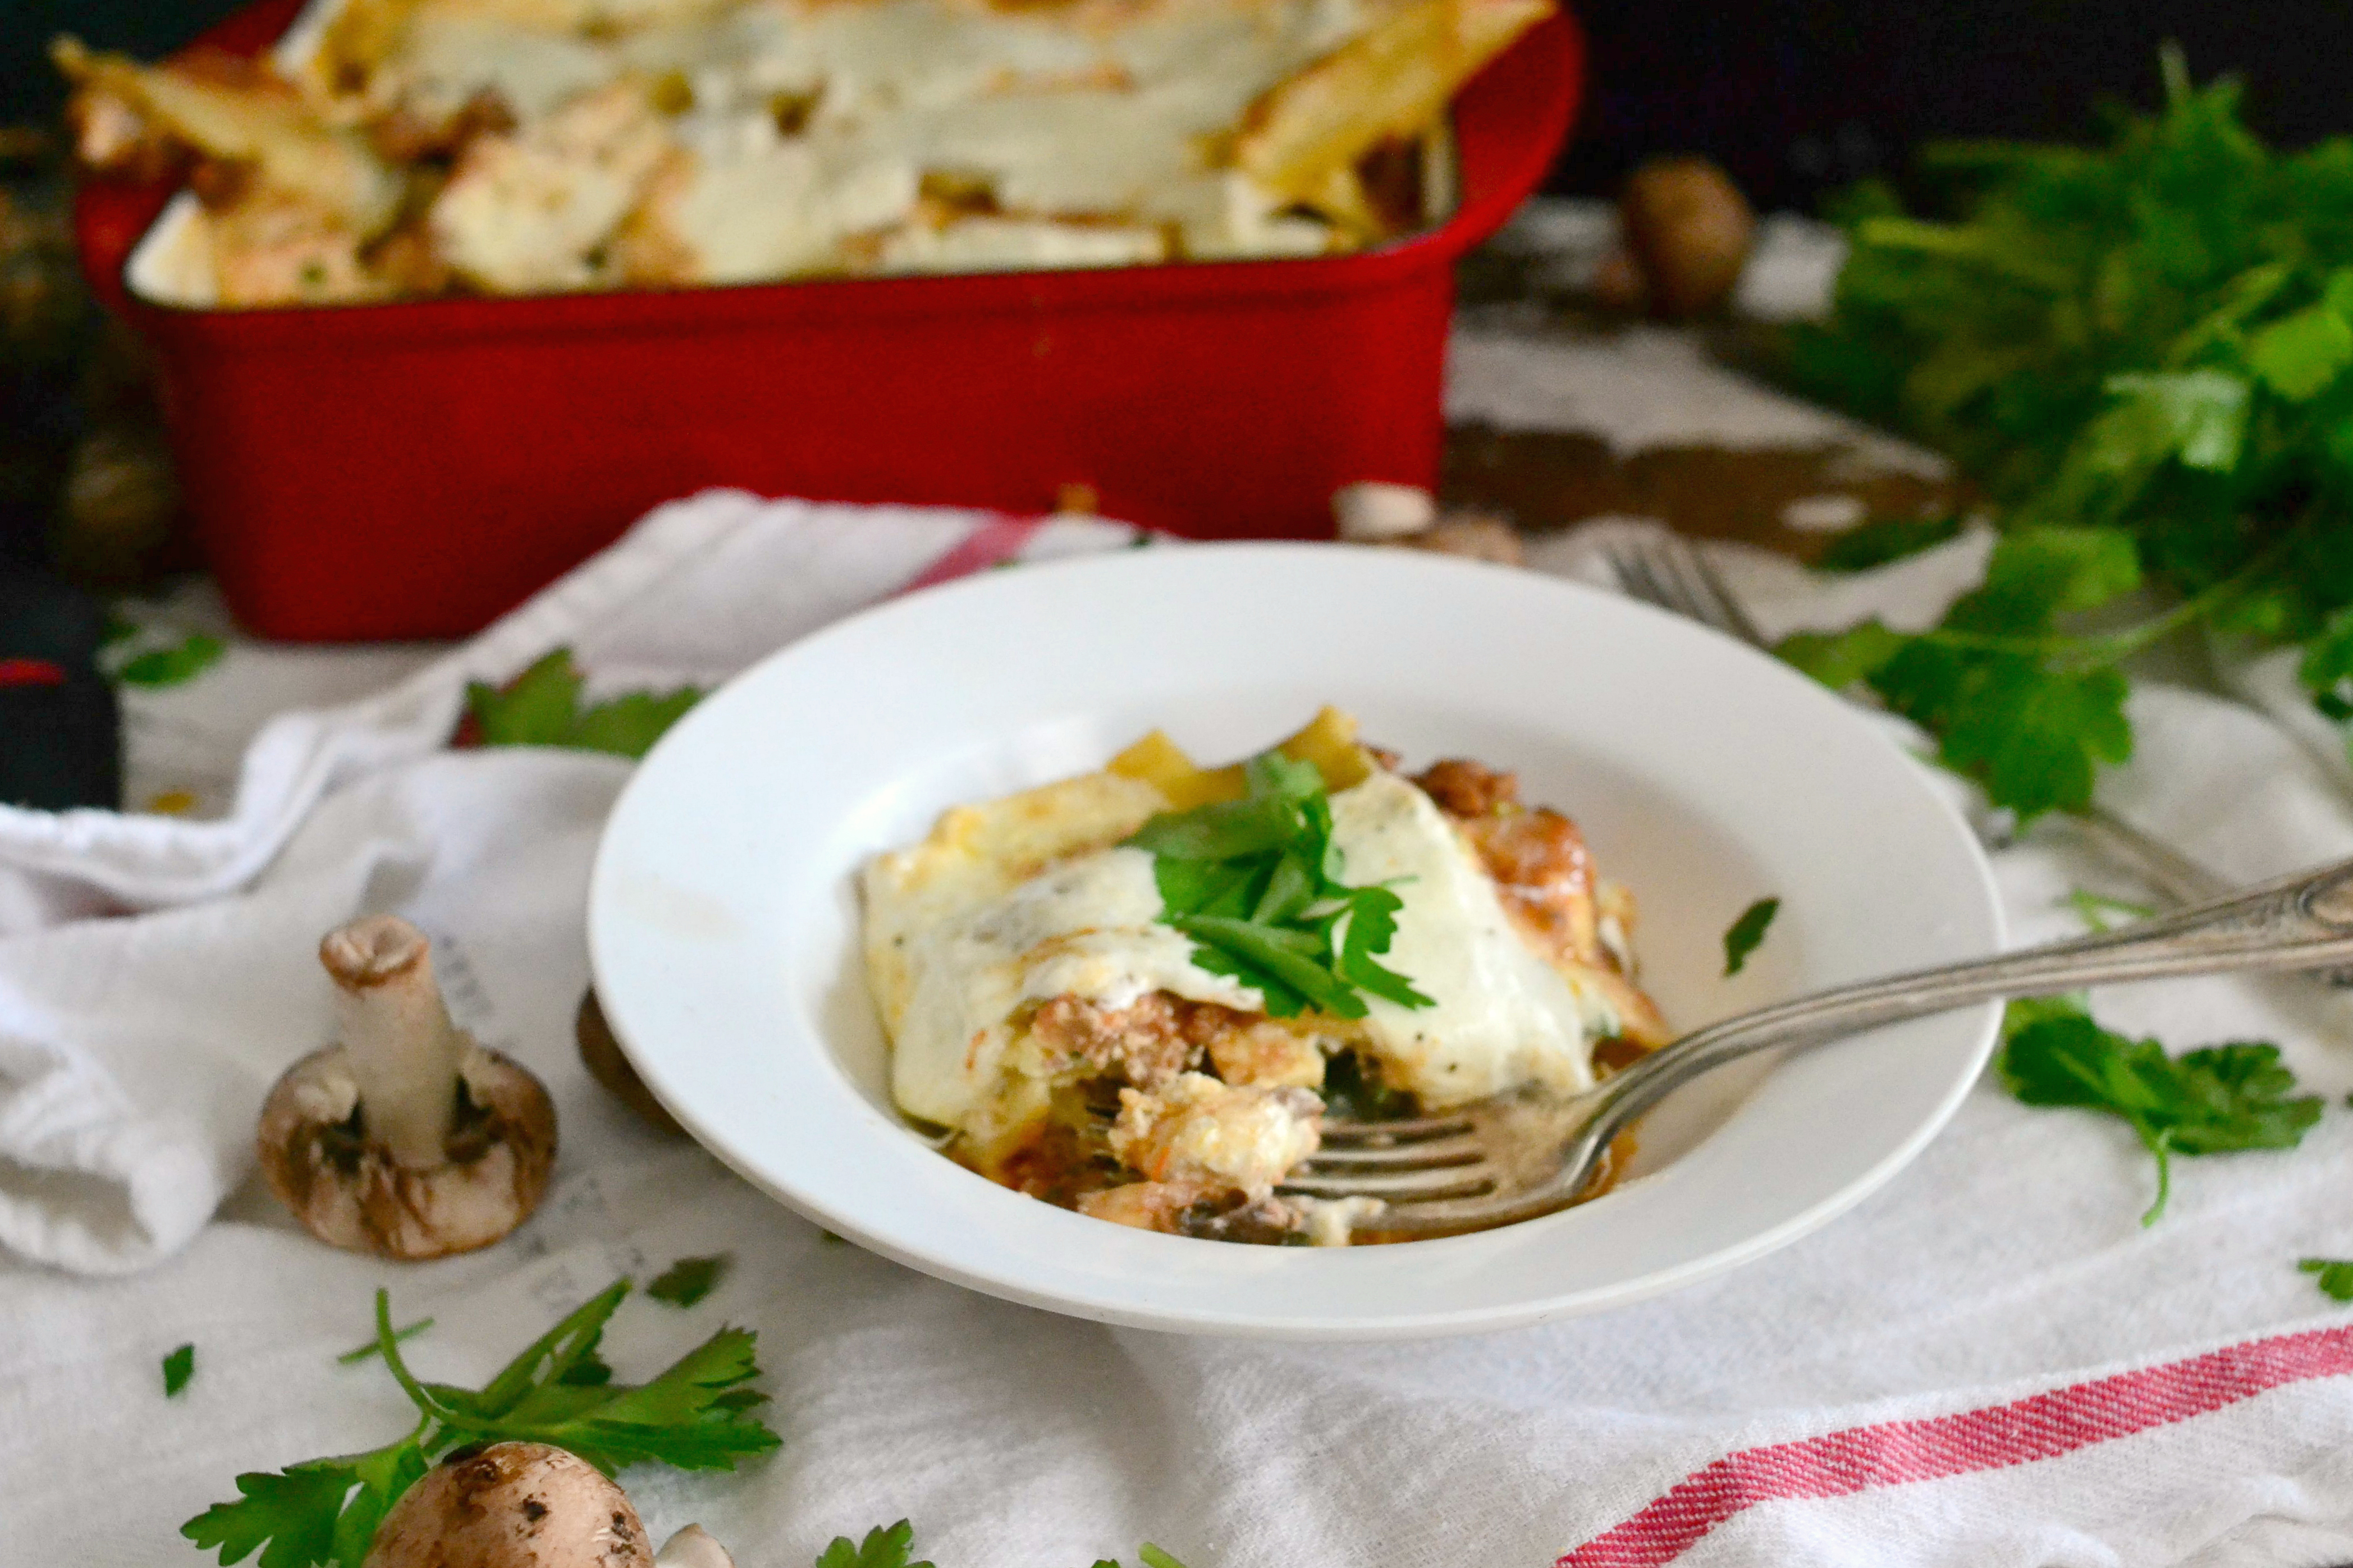
Simple Homemade Lasagna
 PIN IT!
This shop has been compensated by Collective Bias, Inc. and its advertiser. All opinions are mine alone. #PickedAtPeak #CollectiveBias
Today we’re going back to the basics with a simple homemade lasagna recipe. As much as I love the funky recipes like these melon and tofu spring rolls or this beef stew and french onion soup hybrid, I also love classics. When it really comes down to it, the food I most crave are the comfort food classics I grew up eating.
Like lasagna. I’m such an addict when it comes to Italian food though. I could eat pasta with some sort of sauce, olive oil, crispy italian bread and proscuitto every day for the rest of my life and never tire of it. I’ve been all over the world and some of the most memorable meals I can remember come from my trip to Italy with my family in 2010.
That trip was so special for a multitude of reasons, but it really changed the way I think of food and eating all together. I saw how much the Italians savored every bite, how meal time was a time to catch up with friends and family. Food wasn’t just something to eat to pass the time to get your nutrients, it was romantic and sensual. I came home with an entire new appreciation for eating, serving and cooking.
I like to say I held onto that feeling, but when I was busting out recipe after recipe for the past 3 years of my life, I kind of lost it. I turned from cooking with love to cooking for money and income. Even though I’ve been out of that world for 3 months now, it’s still taking me time to find that happiness I once had in the kitchen.

I will say, though, it’s coming back in spurts and certain foods really ignite that Italian mentality when I’m cooking, like this simple homemade lasagna. It’s not a complicated dish or an expensive one, but it’s one that just brings back so many amazing memories of growing up with my mom in the kitchen. It’s one that you can’t just shovel down in front of the tv. Every bite should be savored and tasted. That’s why I love Prego’s Farmer’s Market Marinara sauces – they taste like something you’d have at a mom and pop shop in Italy, but you can simply hop over to your nearest Walmart and add that fresh, homemade taste to your own lasagna with ingredients you’d find at your nearest farmers market or favorite Italian market, without the $1,000 plane ticket.

I realize how crazy, corny and “Eat Pray Love” that sounds, but it’s true. This was the first meal in a long time that my husband and I just ate, together, with a bottle of wine and no background noise. And if a dish can turn us away from our TV rut, it deserves at least a blog post, don’t you think?
Simple Homemade Lasagna
CLICK HERE FOR THE PRINTABLE VERSION OF THIS RECIPE!
Serves about 12. Inspired by All Recipes.
Prep time: About 45 minutes – 1 hour
Cook time: 40 – 50 minutes
Total time: 1 hour and 50 minutes
Ingredients:
- 16 ounces lasagna noodles
- 1 pound lean ground beef (I used 92/8)
- 2 cloves garlic, minced
- 1/2 cup finely chopped shallots **
- 1 cup chopped mushrooms
- 4 1/2 cups Prego® Farmers’ Market classic marinara sauce
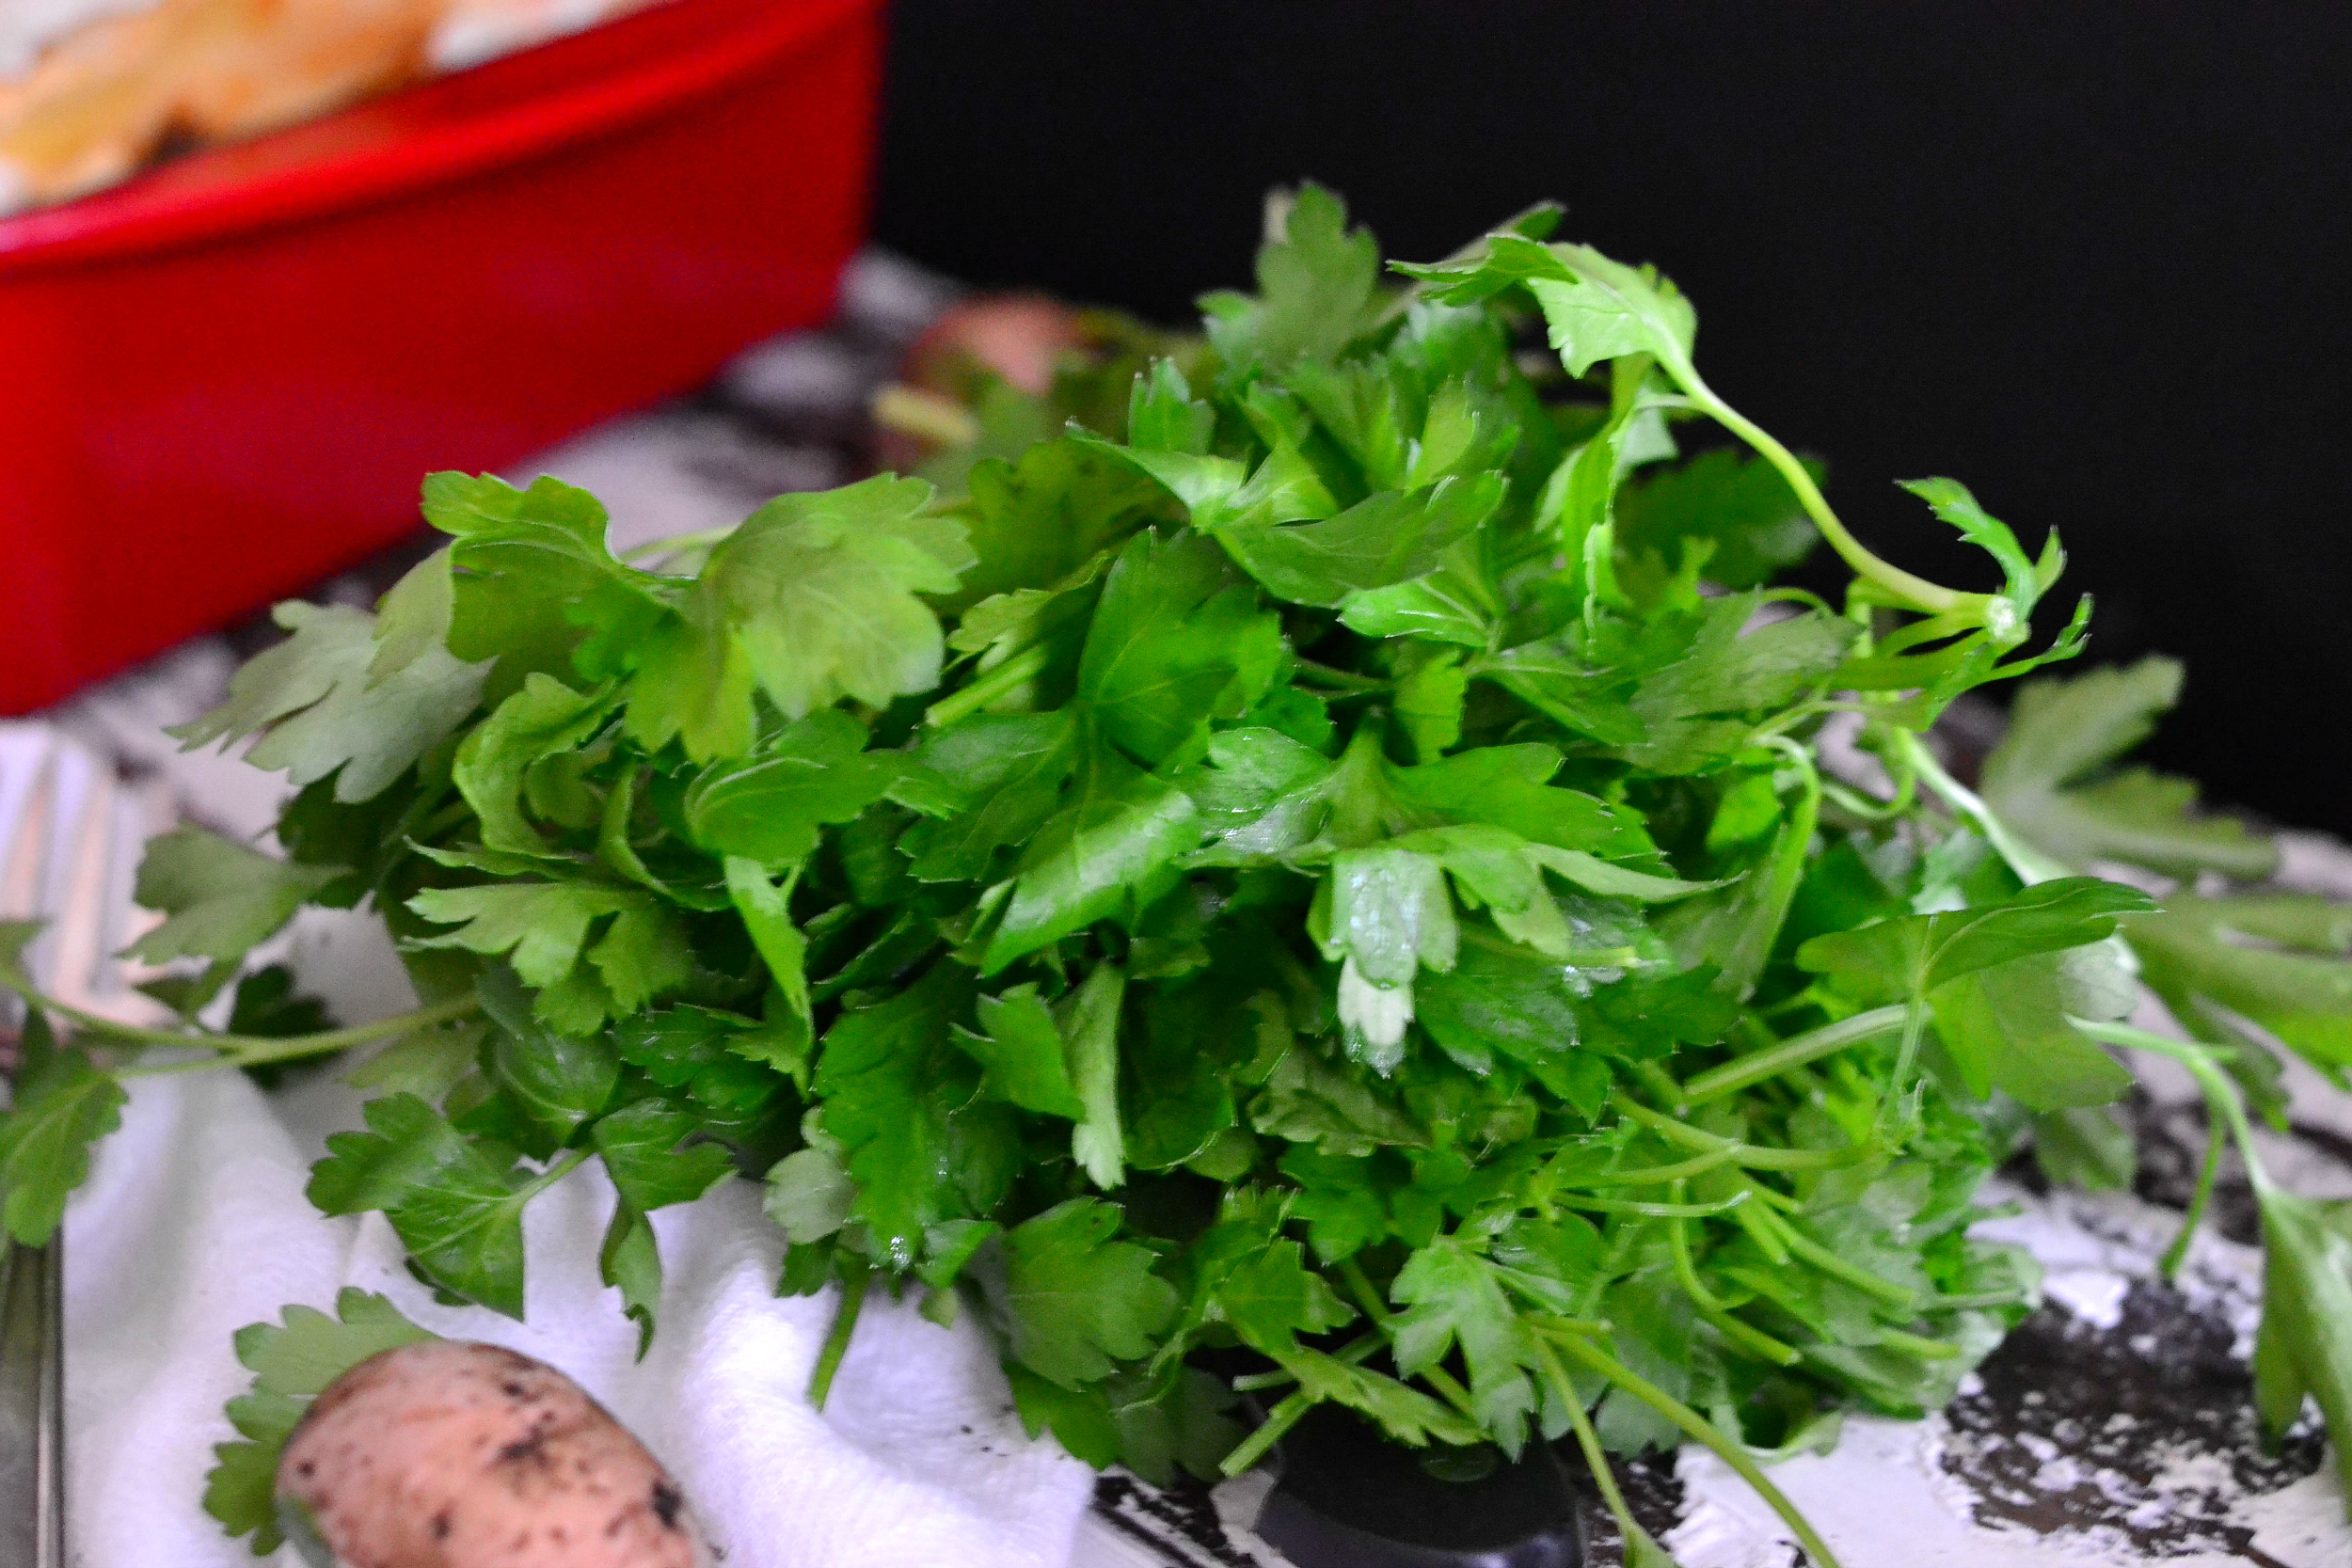
- 1 tablespoon chopped fresh parsley
- 1 tablespoon chopped fresh basil
- 1 teaspoon dried italian seasoning
- 1 teaspoon crushed red pepper
- Dash of sugar
- Dash of salt and cracked black pepper
- 2 cups part-skim ricotta cheese (16 ounce jar) (or precisely one pound of low-fat ricotta)
- 3 large eggs, room temperature (I used brown ones)
- 3/4 cup parmesan cheese
- 2 cups shredded part-skim mozzarella cheese
- 2 cups sliced fresh mozzarella cheese
*Sub in store bought if you don’t have time to make it from scratch.
** Use onions if you’d prefer.
Directions:
- Preheat oven to 375 degrees F. Grease a 9 x 13 glass baking dish with nonstick cooking spray and set aside.
- Bring a large pot of water to a rapid boil and add a dash of salt. Add the lasagna noodles and cook until al-dente, about 8 – 10 minutes. Place in a colander and rinse in cold water, set aside.
- Meanwhile, add the ground beef to a large skillet and cook, over medium-high heat, until golden brown. Drain excess fat (reserving one tablespoon) and place in a large bowl. In the same skillet with the fat, add the shallots, garlic cloves and chopped mushrooms. Cook on medium low until fully caramelized and vegetables are softened. Return the beef to the skillet and pour in the sauce, chopped fresh herbs (parsley and basil), dried seasoning, crushed red pepper, salt, pepper and dash of sugar. Reduce heat to low and simmer for about 15 – 20 minutes, or until thickened.
- In a large bowl, mix the ricotta cheese, eggs and parmesan cheese. Stir until thick and mixed.
- To layer the lasagna, scoop about 1/2 cup of the meat sauce into the bottom of the pan and spread with a spatula. Top with 3 – 4 lasagna noodles. Top with 1/2 cup of cheese mixture, 1/2 cup of mozzarella cheese, 1/2 cup of sauce and another 3 – 4 noodles. Repeat until the cheese and noodles have been used. Top remaining noodles with sauce.
- Cover the remaining sauce with slices of fresh mozzarella and a dash of pepper.
- Cover tightly with foil and bake for about 35 minutes. Remove foil and bake an additional 10 minutes, or until cheese is brown and bubbly.
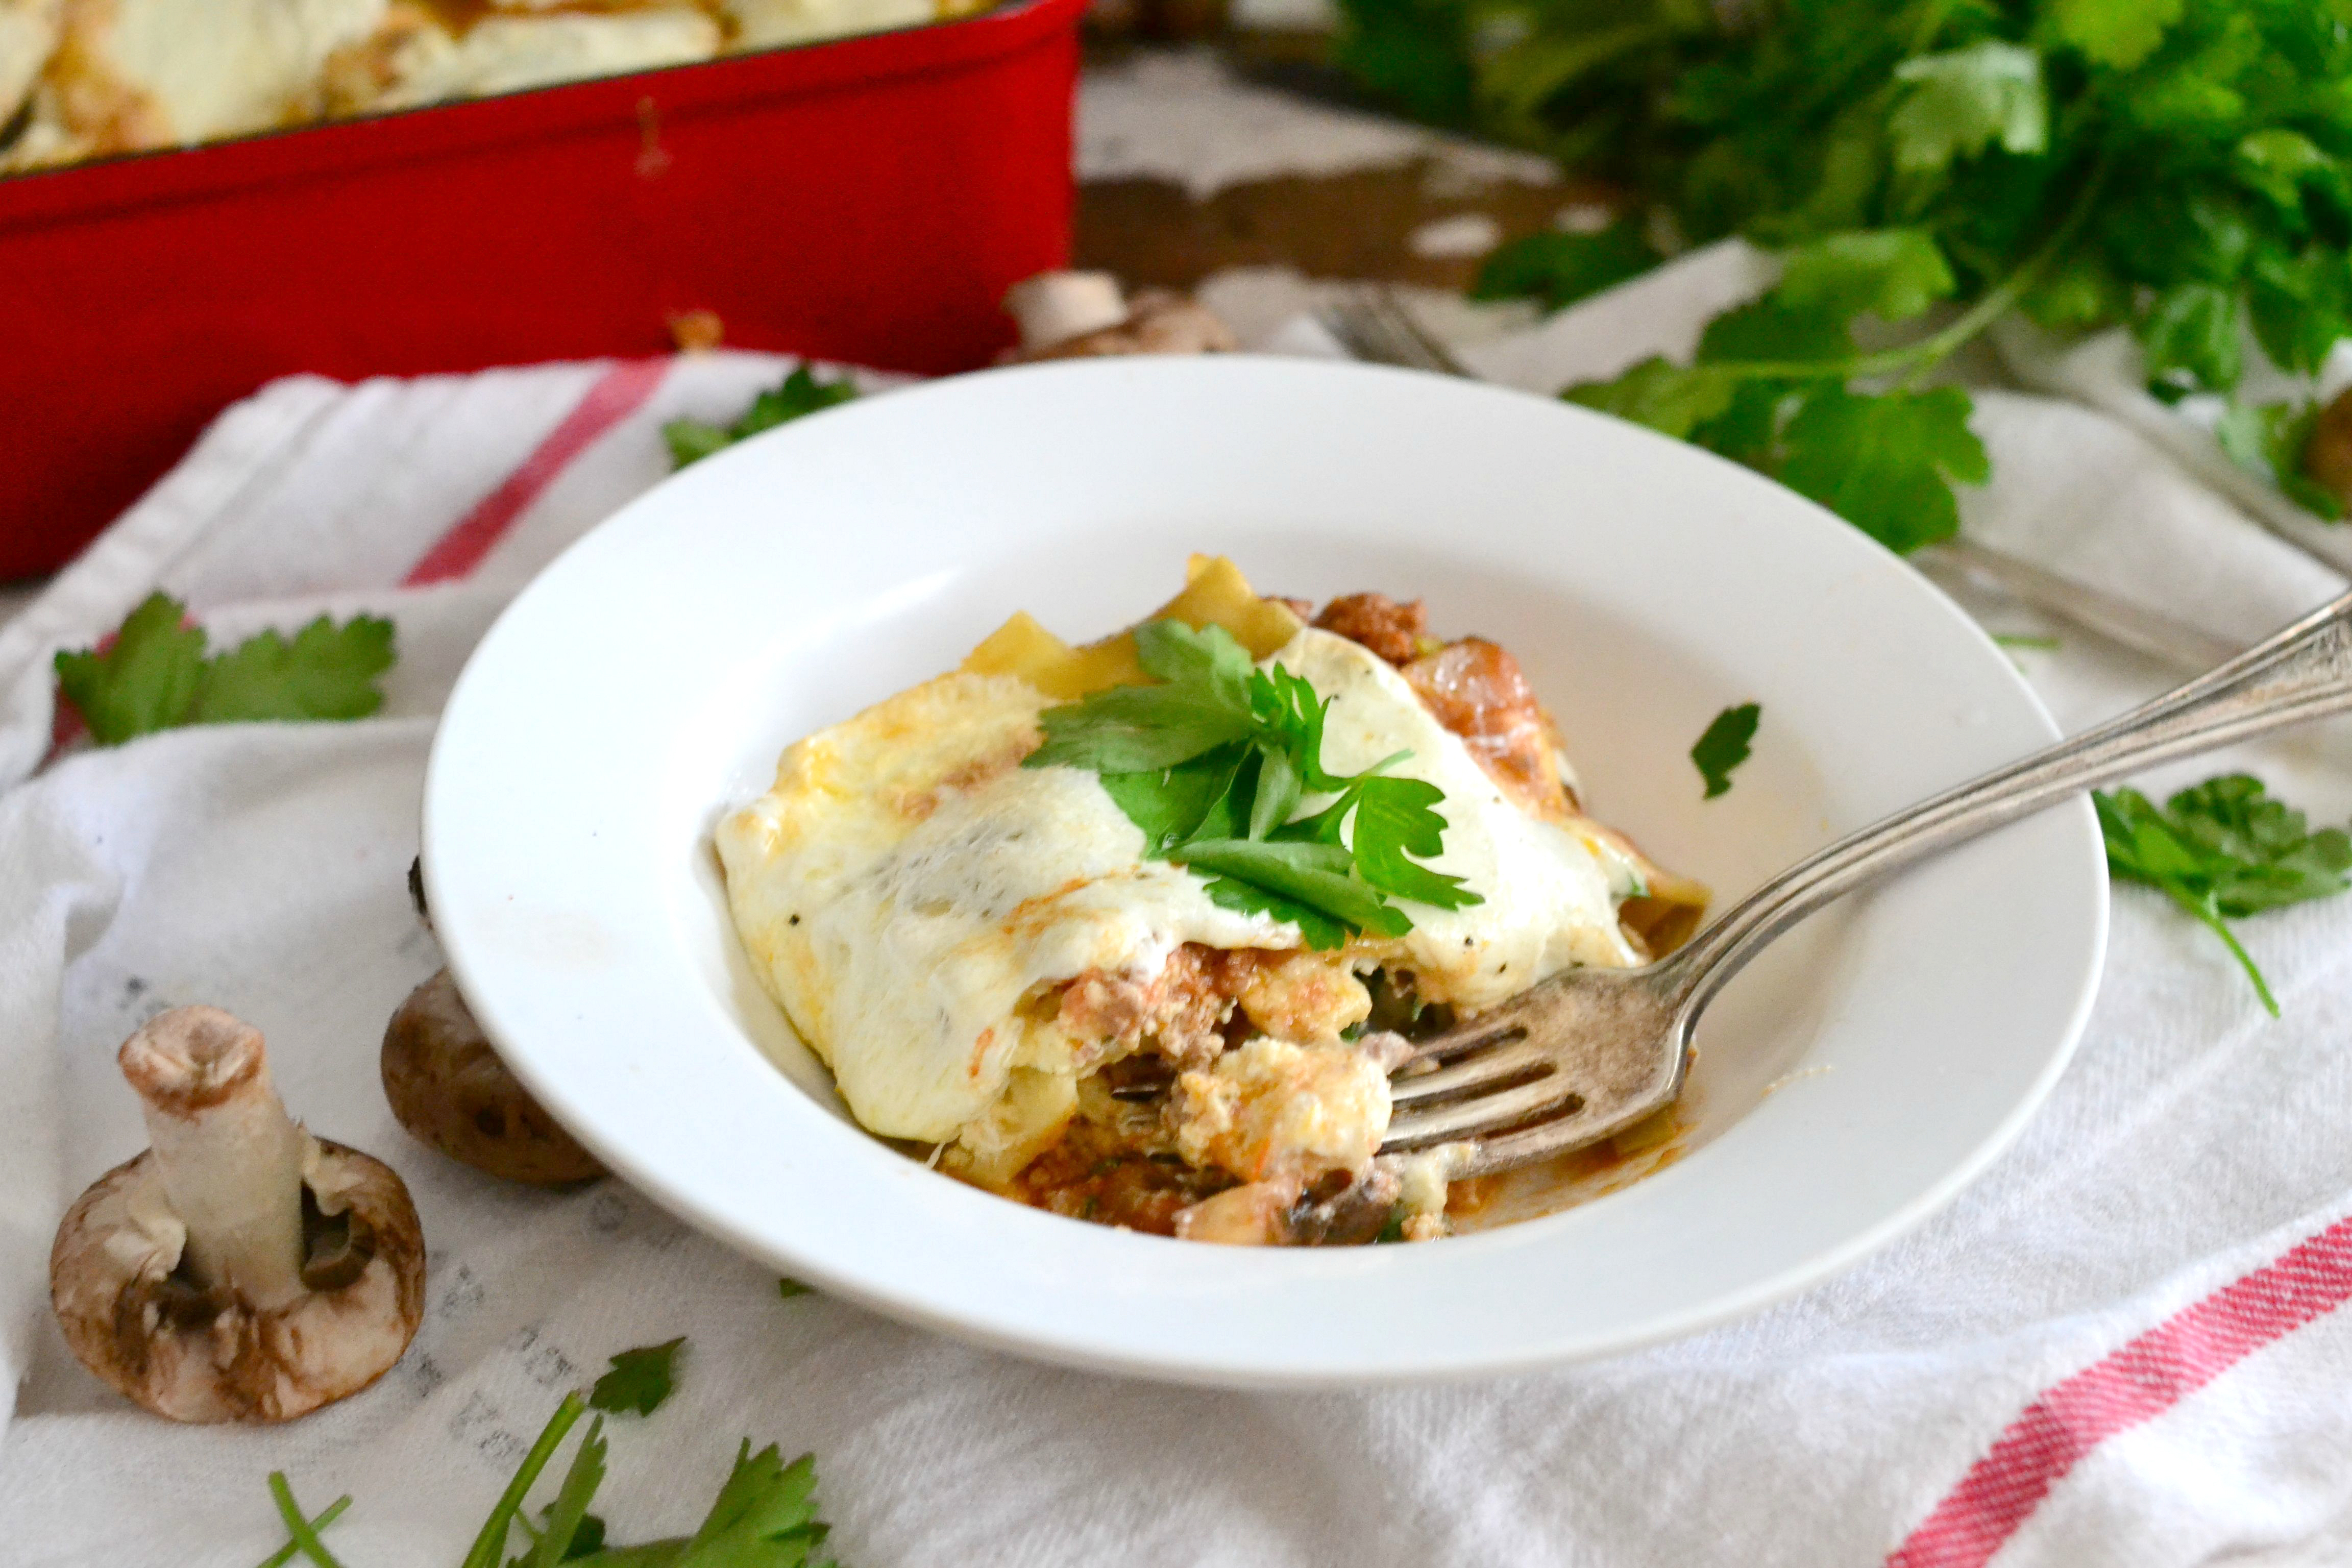
- Serve immediately with a dash of fresh parsley.
Nutritional information per serving:
Calories: 490
Fat: 16.5 grams
Carbohydrates: 40 grams
Fiber: 5.5 grams
Protein: 25 grams
Weight Watchers Points: 10
 Claire
Tags:classic recipes, easy lasagna recipes, homemade italian recipes, homemade lasagna, lasagna recipes
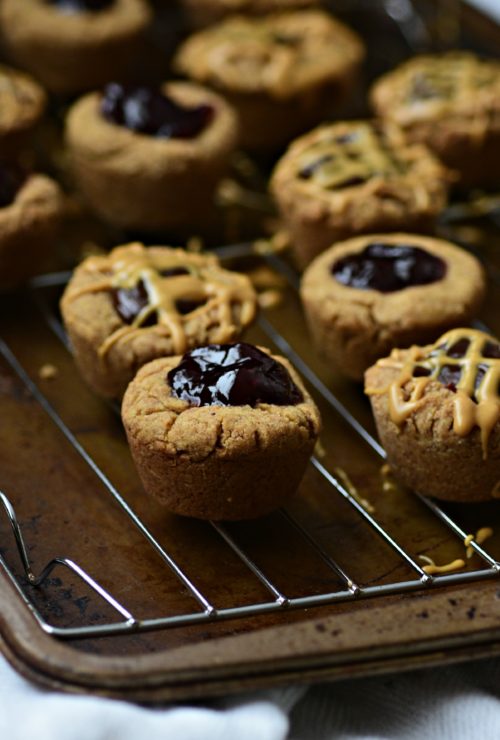
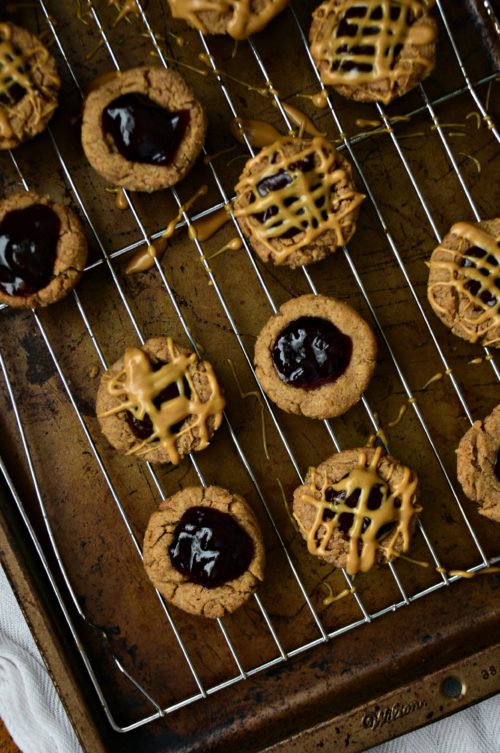
Almond Butter Thumbprints
It’s always a good time for cookies, and these almond butter thumbprints are the ultimate snack (that’s paleo to boot!)
It’s Friday. It’s 98 degrees in Chicago. I have 2 articles due, a three hour train ride back to my parents and have to squeeze in a workout. I think I deserve a cookie.
As you know, I just got back from a 16-day expedition cruise through the icebergs of Greenland and the fjords of Norway. I’m still trying to wrap my brain around the fact that I’m no longer on that ship, with those strangers who quickly became family, staring at what is easily one of the world’s most beautiful natural landscapes. I’ve had some incredibly life-changing trips and travel experiences that I’ve been beyond blessed to experience and write about, and I can never answer the question “what’s the best place you’ve been?” Because in all honesty, they’re all the best places I’ve been. The world is such a uniquely wonderful place, and I can’t possibly pick a favorite.
I can say now, though, that Norway and Greenland are two that have left a massive impact on me, for a myriad of reasons. Many of which I still can’t find the words for. So, until then, just check out the photos (that don’t do it justice) on my instagram and know that I’ll tell the story of these places as soon as I can sit down to type without massive tears welling up in my eyes.
CAN WE TALK ABOUT COOKIES NOW? My emotions are so incredibly raw and vulnerable lately (read this to understand why), and I haven’t had a solid nights sleep in probably 11 months. I’m on my THIRD venti coffee (and second PSL – don’t judge) and it’s just 11am. So, I’m jittery, crazed and will most likely crash into a pool of my own basic drool on the train ride in about an hour.

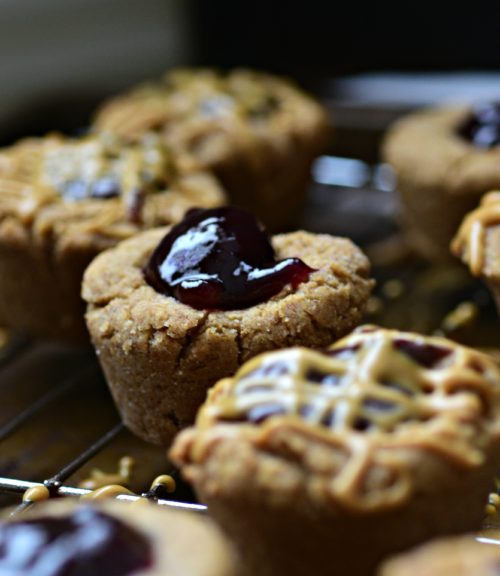
So cookies. These thumbprints are probably one of my favorite things in the world. I know it *might* be a little early to start talking cookies, but these babies are too good NOT to share immediately. Not only are they made with almond butter (that I whipped up from scratch), they’re made with almond and coconut flour, which means they’re….drumroll please…PALEO. I’m not paleo in my own diet and don’t have many plans to adapt it, but I do have plans to eat as grain-free as possible since I’m completely stalled on my weight loss.
So, when I have cookies, they’re going to be protein-packed and flour-free, and are probably going to have heaps of natural nut butters in them because that’s all I can seem to stomach lately. So, join me in the celebration of the weekend and let’s eat some mother &^*(ing cookies, alright?
Almond Butter Thumbprints
CLICK HERE FOR THE PRINTABLE VERSION OF THIS RECIPE!
Yields about 18 – 20 cookies. Slightly adapted from Bakerita.
Prep time: >10 minutes
Cook time: About 12 minutes
Ingredients:
For the almond butter:
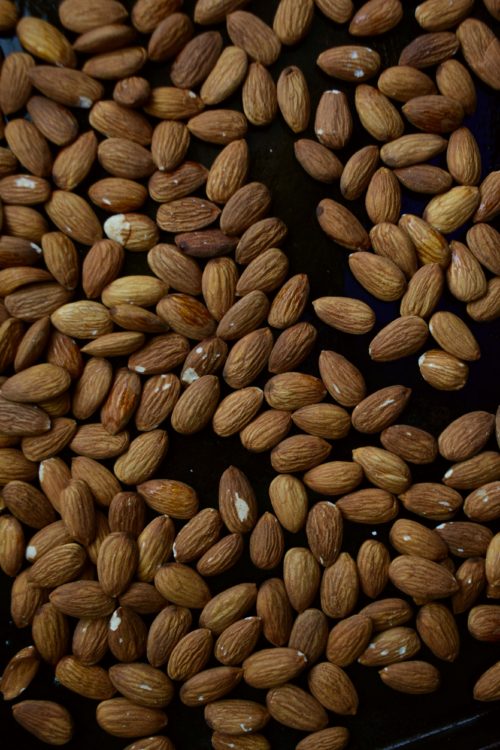
- 3 cups almonds
- Dash of salt
For the cookies:
- 3/4 cup homemade almond butter
- 1 egg
- 1/4 cup honey or maple syrup
- 1/4 cup unsweetened applesauce
- 1 teaspoon vanilla extract
- 1/2 cup almond meal (I used Bob’s Red Mill)
- 1/2 cup organic coconut flour (I used Bob’s Red Mill)
- 1/2 teaspoon baking soda
- Dash of salt
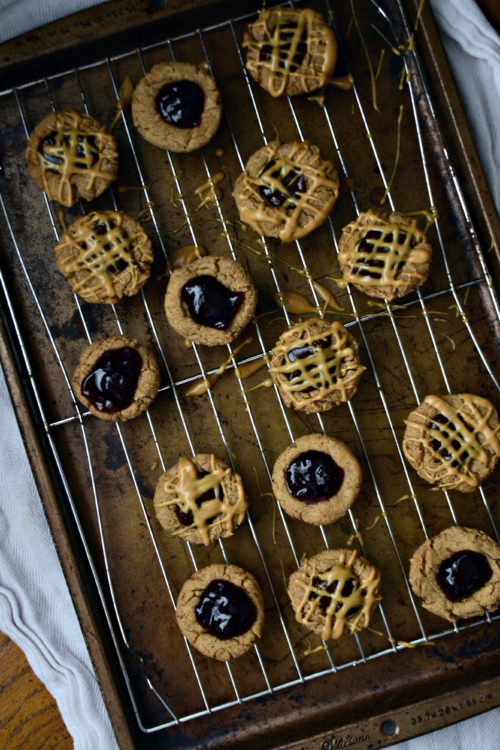
- 1 cup naturally sweetened jam or unsweetened chocolate chips
Directions:
- Preheat oven to 350 degrees F. Spray a mini muffin tin with nonstick cooking spray. **
- To make the almonds, spread evenly over a large baking dish. Sprinkle with salt (lava or kosher is best). Bake for about 15 minutes (stopping to stir halfway 8 minutes in), or until fragrant. Let cool slightly and then pour into the canister of a food processor. Pulse on low for 20 – 25 minutes or until cream. The almond butter will look thick and clumpy for the first 20 minutes, that’s normal! It doesn’t start to cream until minute 21 – 23.
- In a large mixing bowl, beat the almond butter, egg, honey, applesauce and vanilla together until creamed.
- In another bowl, whisk the flours, baking soda and salt together. Gradually add the flour mixture to the almond butter mixture and stir until fully combined.
- Place the dough into the prepared muffin tin (I used a spoon to scoop it in). Using the back of your thump, gently push down the middle of the dough to make cups.
- Bake for about about 10 minutes or until golden brown. Let cool on a wire cooling rack.
- Once cooled, use a small spoon to scoop the jam into the center of the cookie cups. If you’re going to use chocolate chips, simply melt them in a microwavable glass dish with 1 tablespoon of vegetable oil and heat until smooth and cream.
**You can also place these on a regular baking sheet and bake them as you normally would.
Nutritional information per cookie:
Calories: 122
Fat: 8.3 grams
Carbohydrates: 9 grams
Fiber: >1 gram
Protein: 4 grams
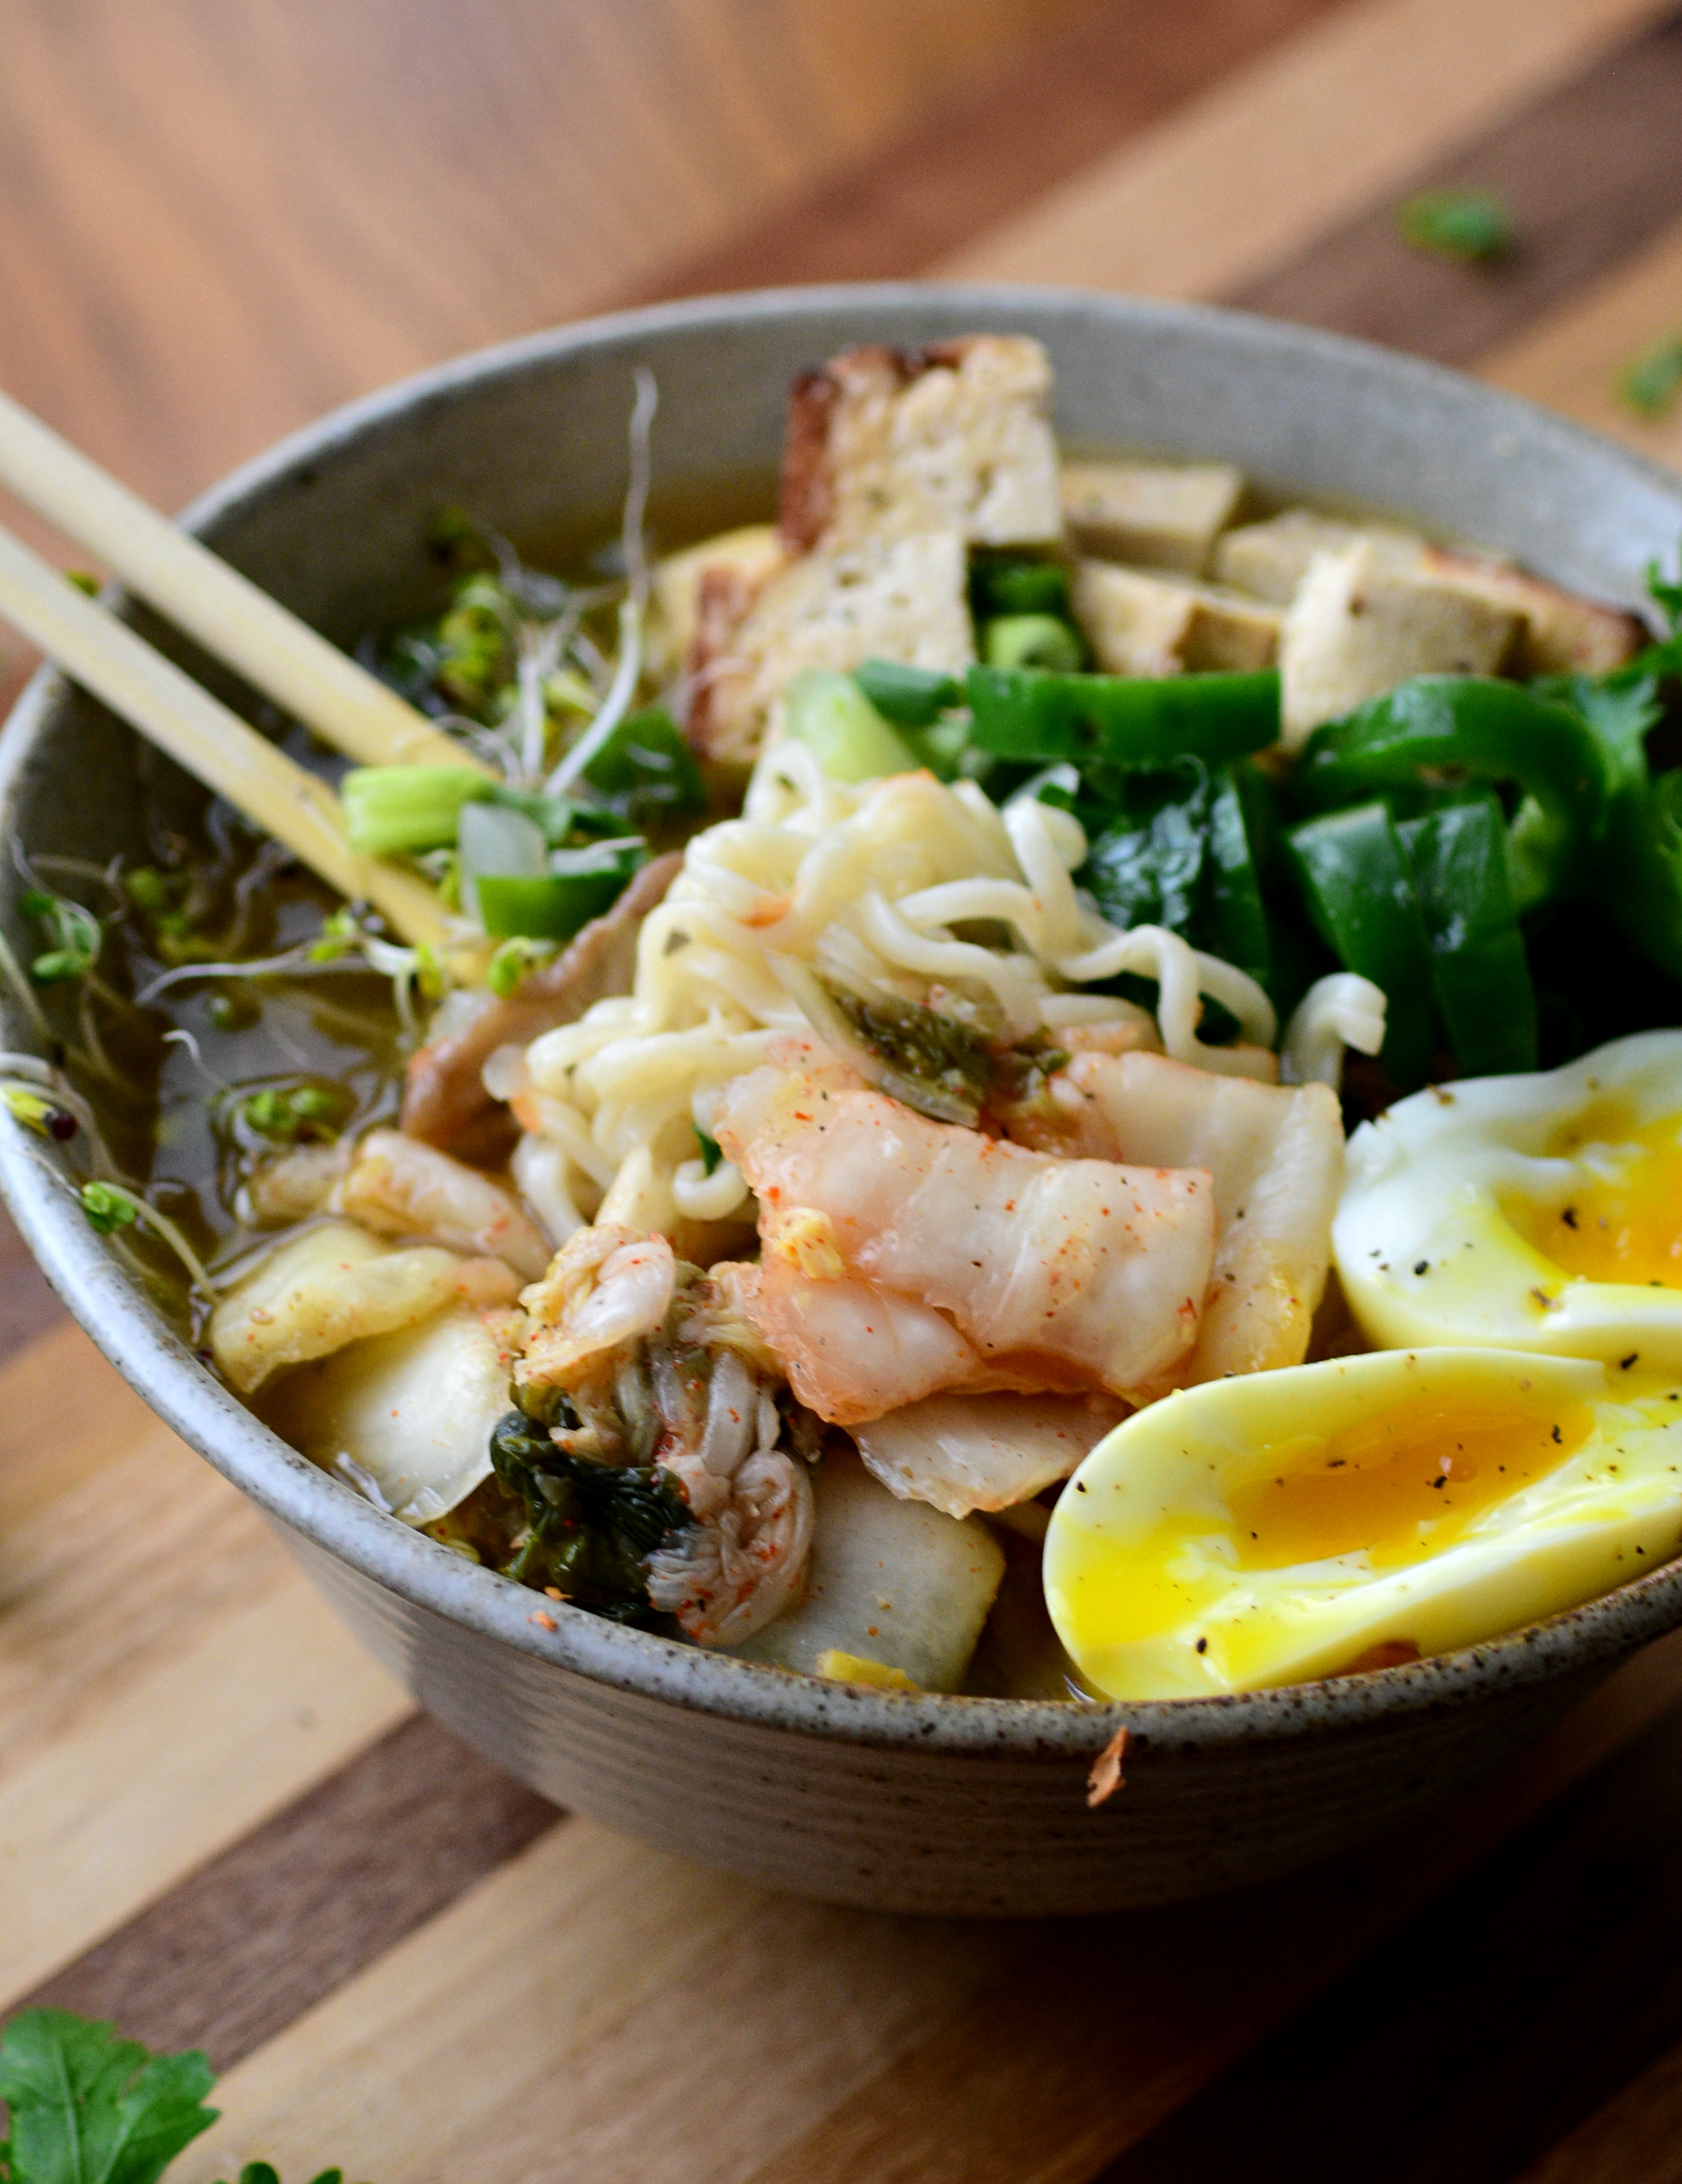
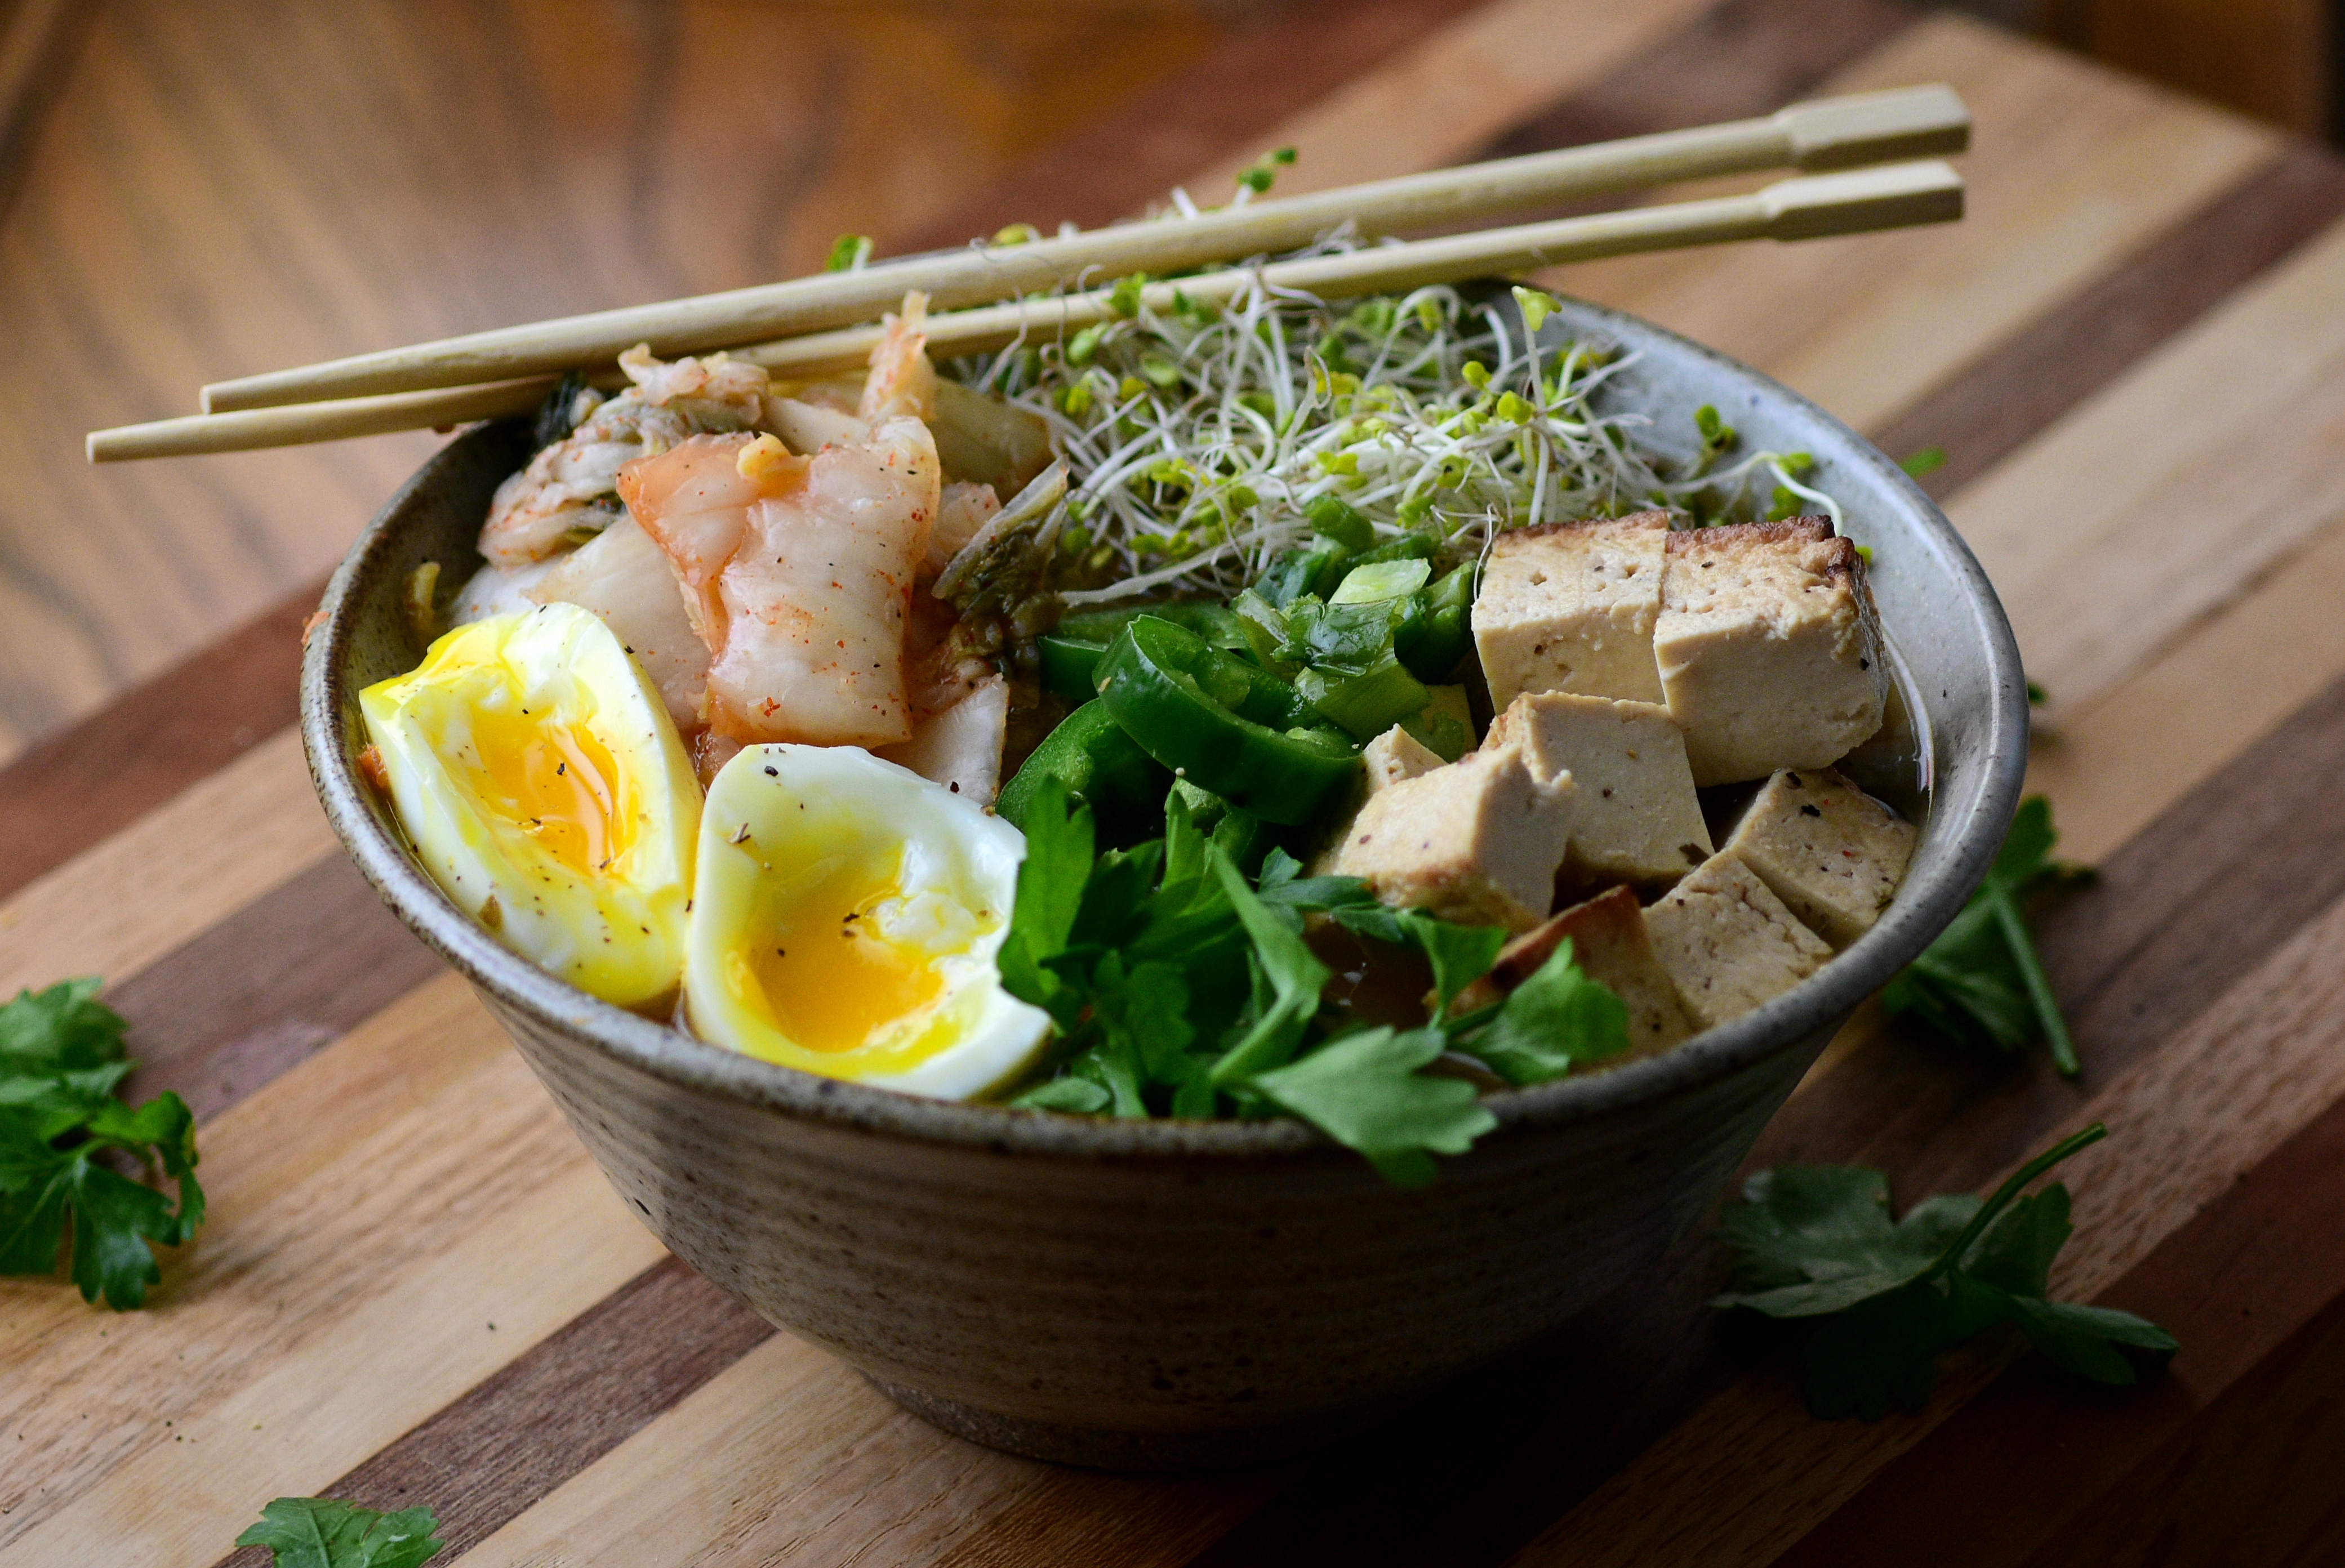
Easy Tofu Ramen
Craving some cozy, vegetarian comfort food? Whip up this light, easy and delicious tofu ramen!
I had such high hopes for a headline with this one. Want to hear my first option? It’s so punny I can hardly stand it. TO-PHO.
Get it? Like tofu and pho? But then I quickly realized this recipe isn’t for pho, it’s for ramen, and my heart crushed. Since I’ve been up for hours writing, I gave up quickly and stuck with easy tofu ramen.

I promise people pay me to write sometimes. I know it’s summer and you’re googling cherry recipes, zucchini noodles and all of the tomato-based dishes you can muster, but I’ve always danced to the beat of my own drum and think people – probably crazy ones – are craving a recipe for ramen when it’s 560 degrees outside.

See, for me, ramen (and pho, for that matter) aren’t seasonally sensitive. When I lived in DC, I ate pho all the time, even in the DEAD of sweat-your-face-off-hell-on-earth-month (aka August). Some foods just inspire and ignite feelings of comfort, and for me, that’s always going to be Asian soups. They’re just simple. The flavors come from the fresh ingredients – the spicy chilis that grow along the sloping hills, the veggies and herbs that you can basically pluck from the side of the road.
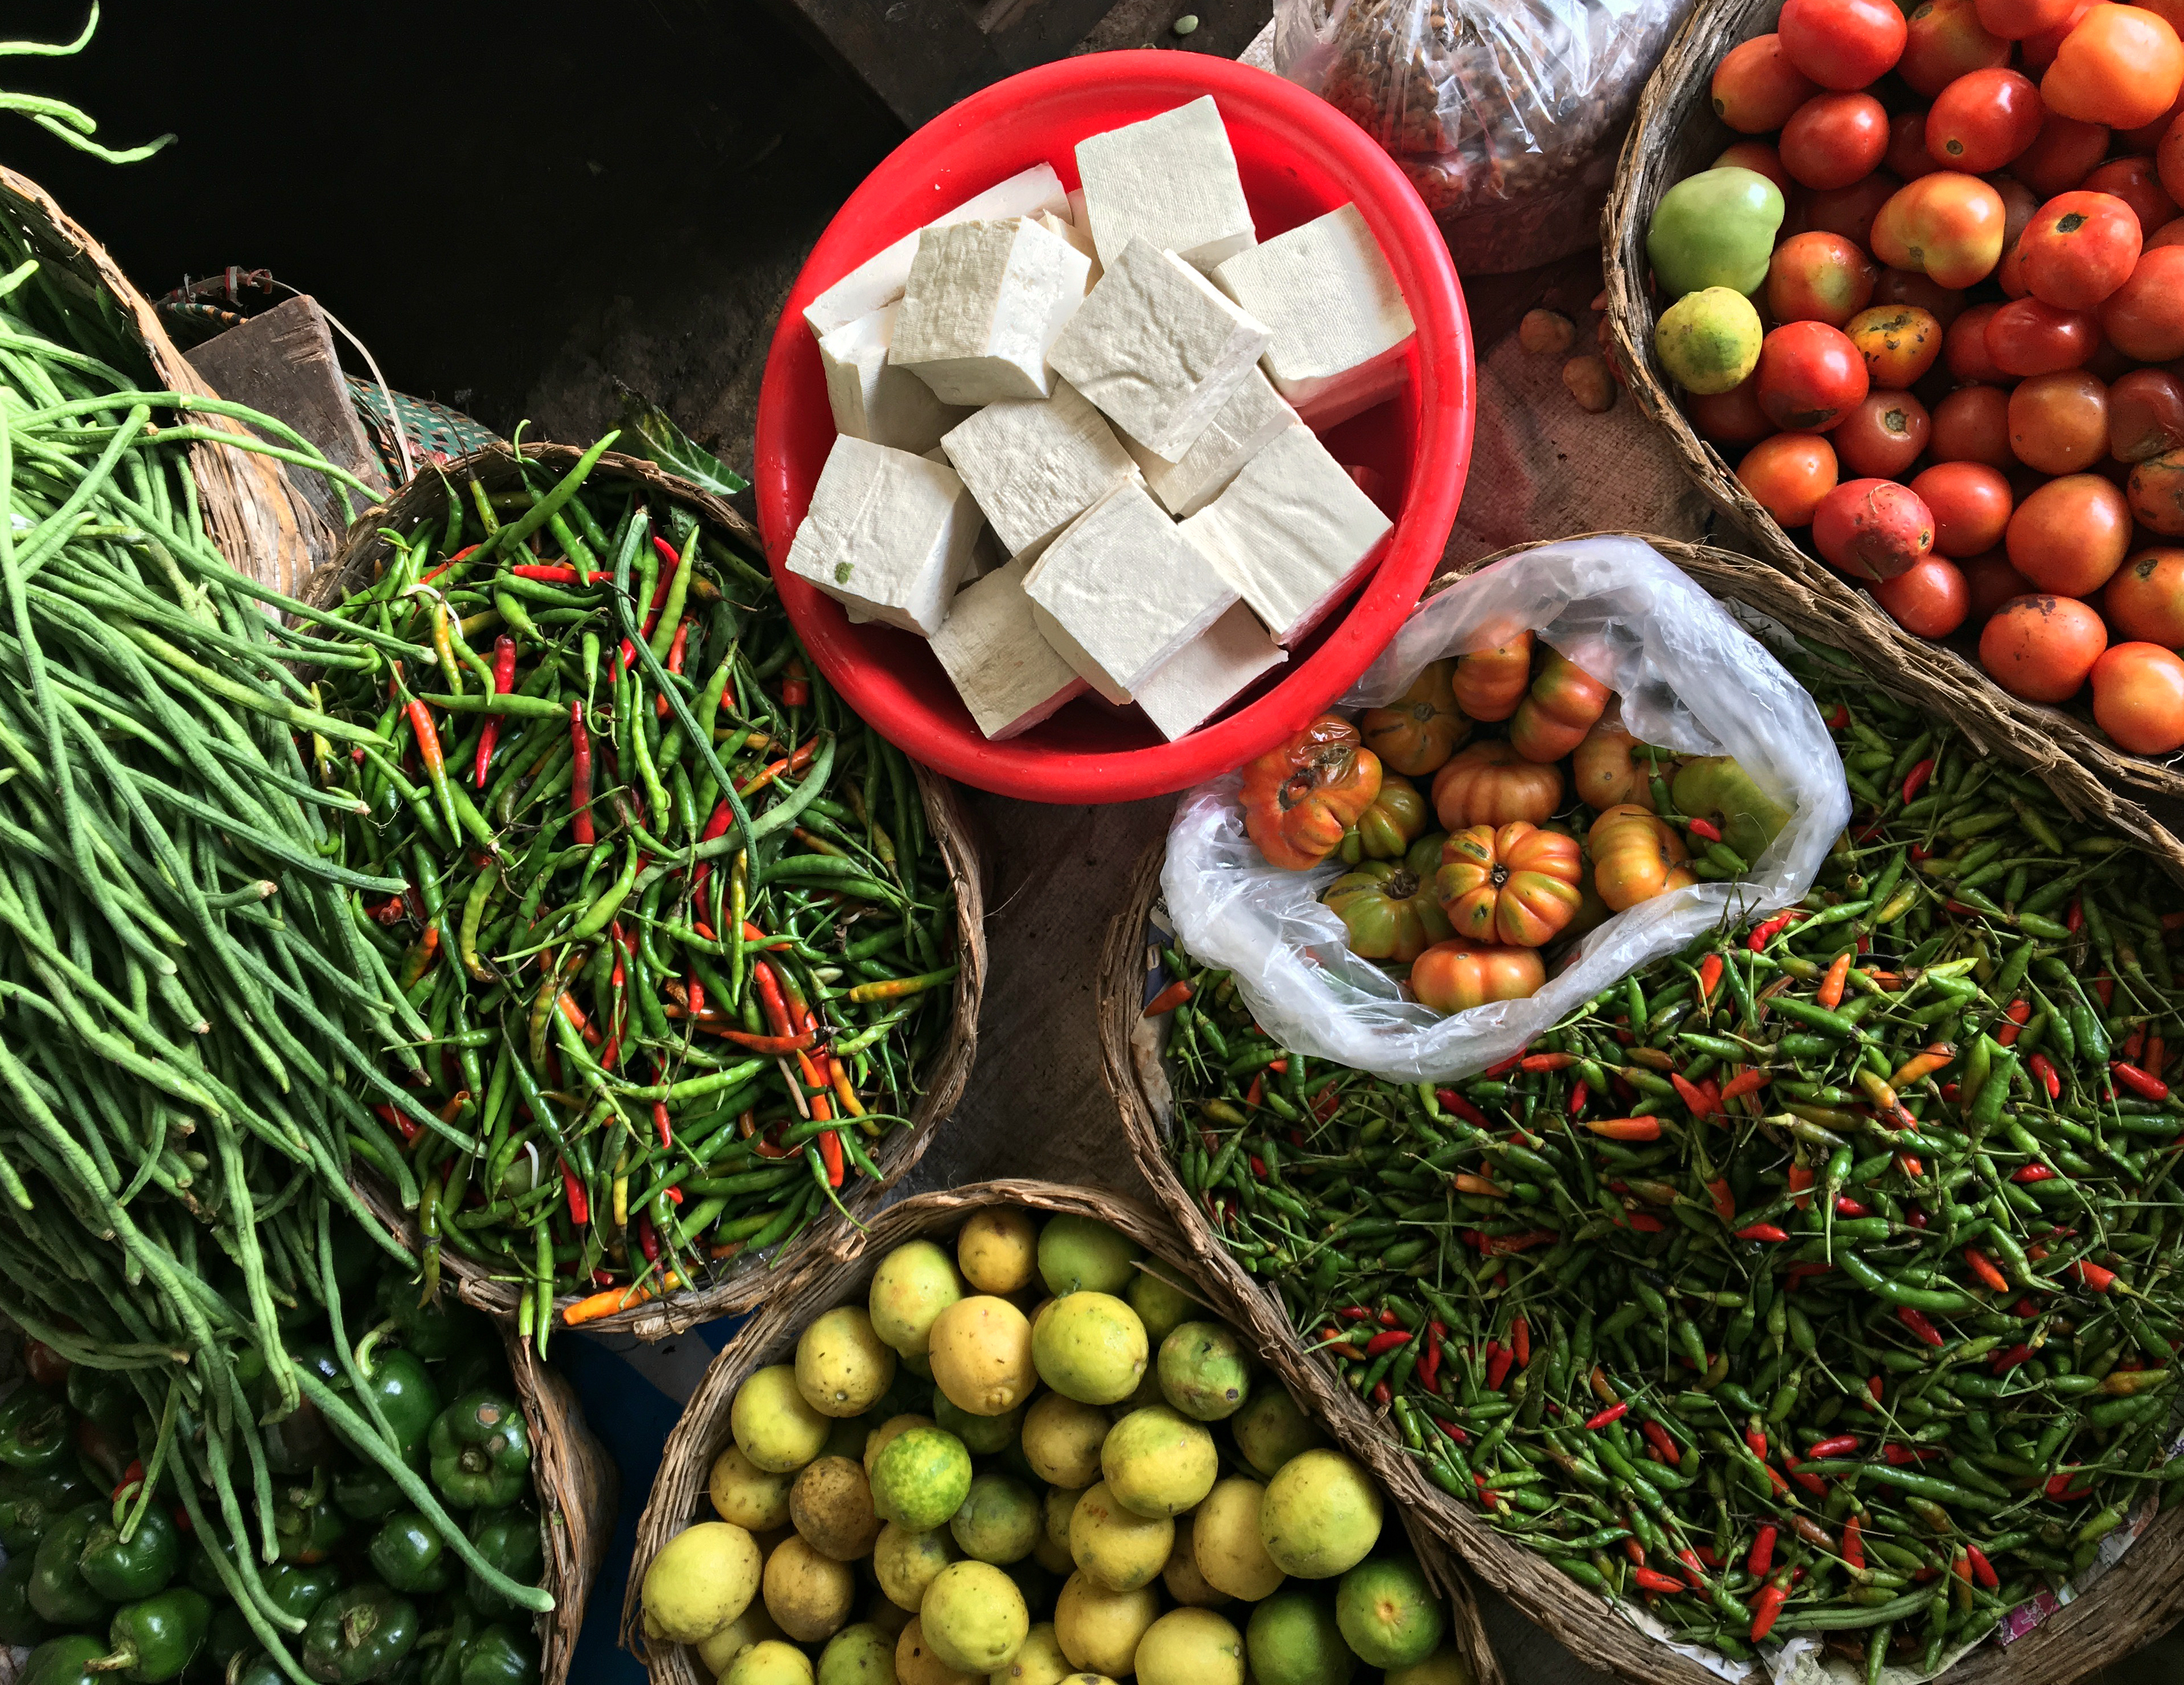
That’s one thing I miss so much about Southeast Asia. The freshness. It’s farm-to-fork before that concept was a buzzword in the US. It’s simply how they live. Most of the families living in the rural countryside villages of Myanmar, Indonesia, Thailand, Vietnam, Cambodia and China don’t have the resources to buy processed food from the store. I mean, most of them don’t have four walls on their homes, indoor plumbing or electricity, so the last thing they’re going to spend money on is tomatoes pumped with GMO’s. The food they eat is the food they grow. The meat they eat is raised right outside of their door.
They’ve been living the way we’ve been trying to for decades without a second thought. It’s a hard life – one that requires understanding, empathy, patience and courage – but a simple one. One I think we could all learn so much from.
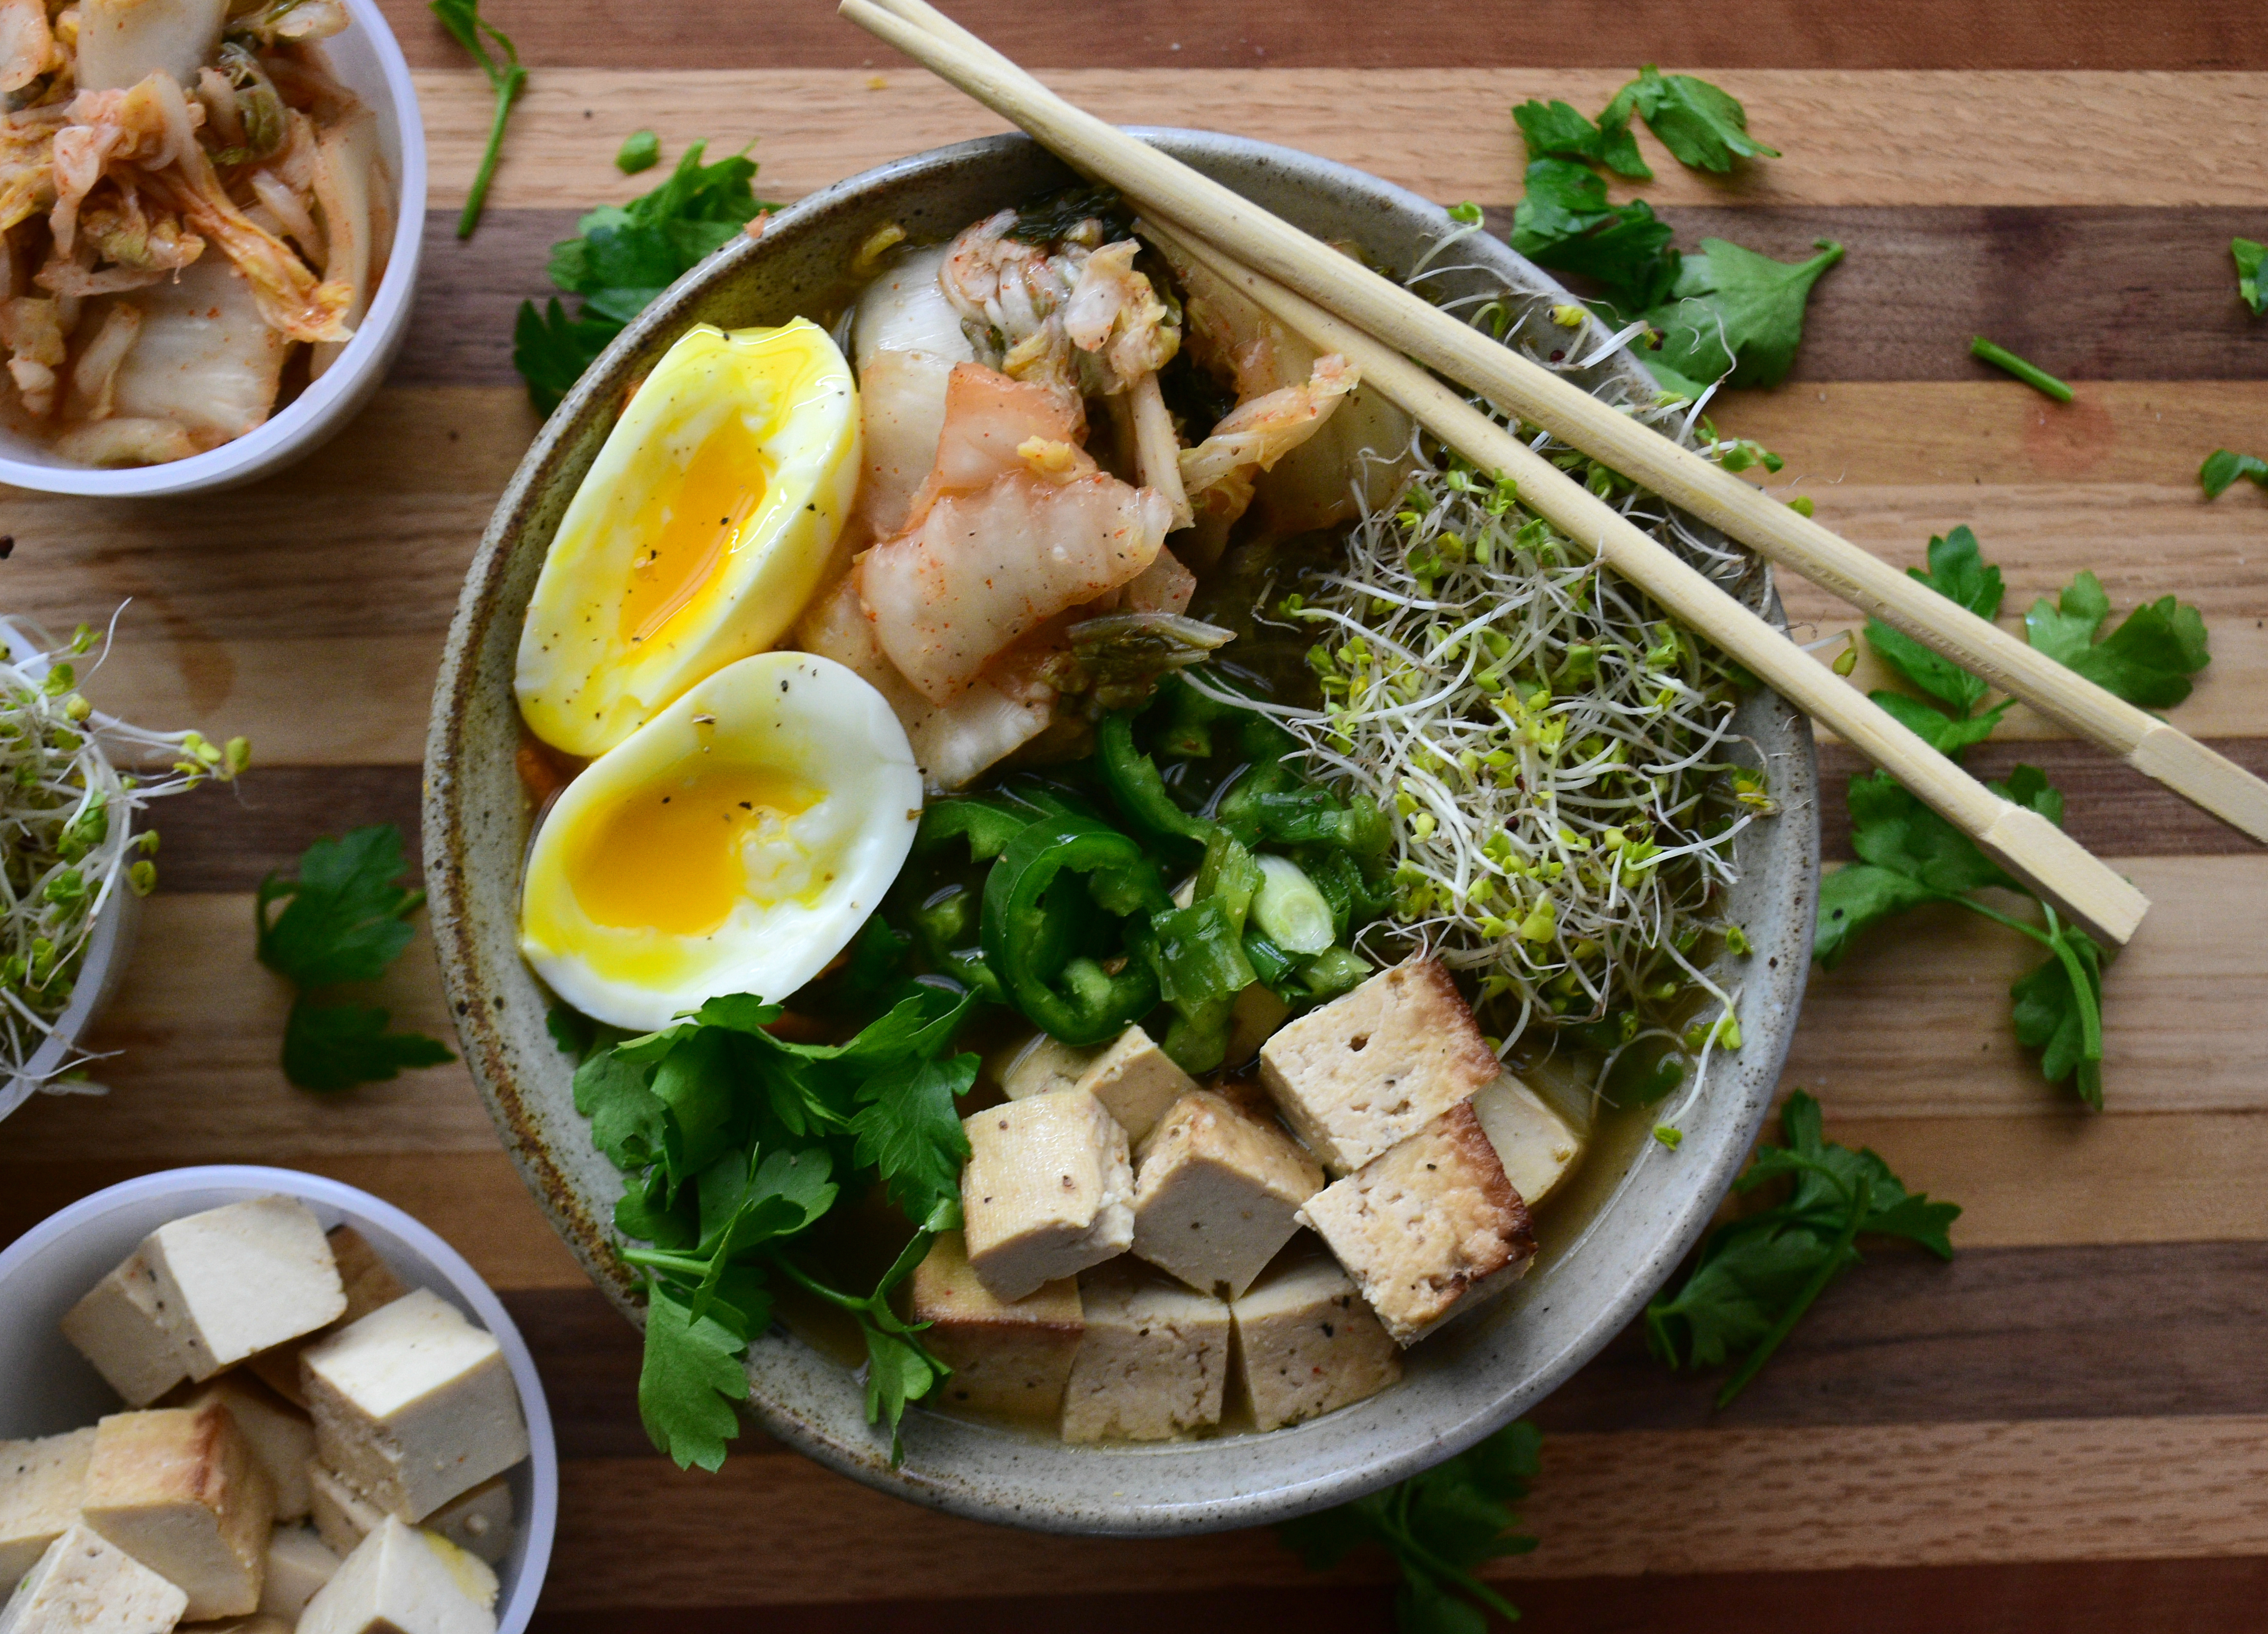
But, that’s a different story for a different day. Today, we’re going to chat a bit more about this ramen. As most of you know, I’m a vegetarian now (formerly a vegan), so clearly my ramen is completely meat-free. But guess what, you don’t miss it. The spiciness of the kimchi and chilies, as well as the herbaceousness of the cilantro paired with the crispy baked tofu more than make up for the flavor (and texture) you’d get from meat.
Plus, now you can eat heaps more without the guilt. Which, honestly, is all I care about.
Easy Tofu Ramen
CLICK HERE FOR THE PRINTABLE VERSION OF THIS RECIPE!
Serves about 4.
Prep time: 15 minutes
Cook time: 20 – 30 minutes
Ingredients:
- 2 tablespoons extra virgin olive oil
- 1 medium red onion, sliced and chopped
- 2 cloves garlic, minced
- 1 tablespoon minced ginger
- 1 quart low-sodium vegetable broth (homemade or store bought)
- 3 – 4 tablespoons soy sauce, divided (I used low-sodium)
- 12 ounces ramen noodles
For the tofu:
- 1 package extra-firm tofu, drained and pressed
- 2 tablespoons hoisin sauce
- 2 tablespoons spicy Asian chili sauce
- 2 tablespoons soy sauce
For the toppings:
- 2 jalapeños, seeded and sliced
- 1 cup kimchi, divided
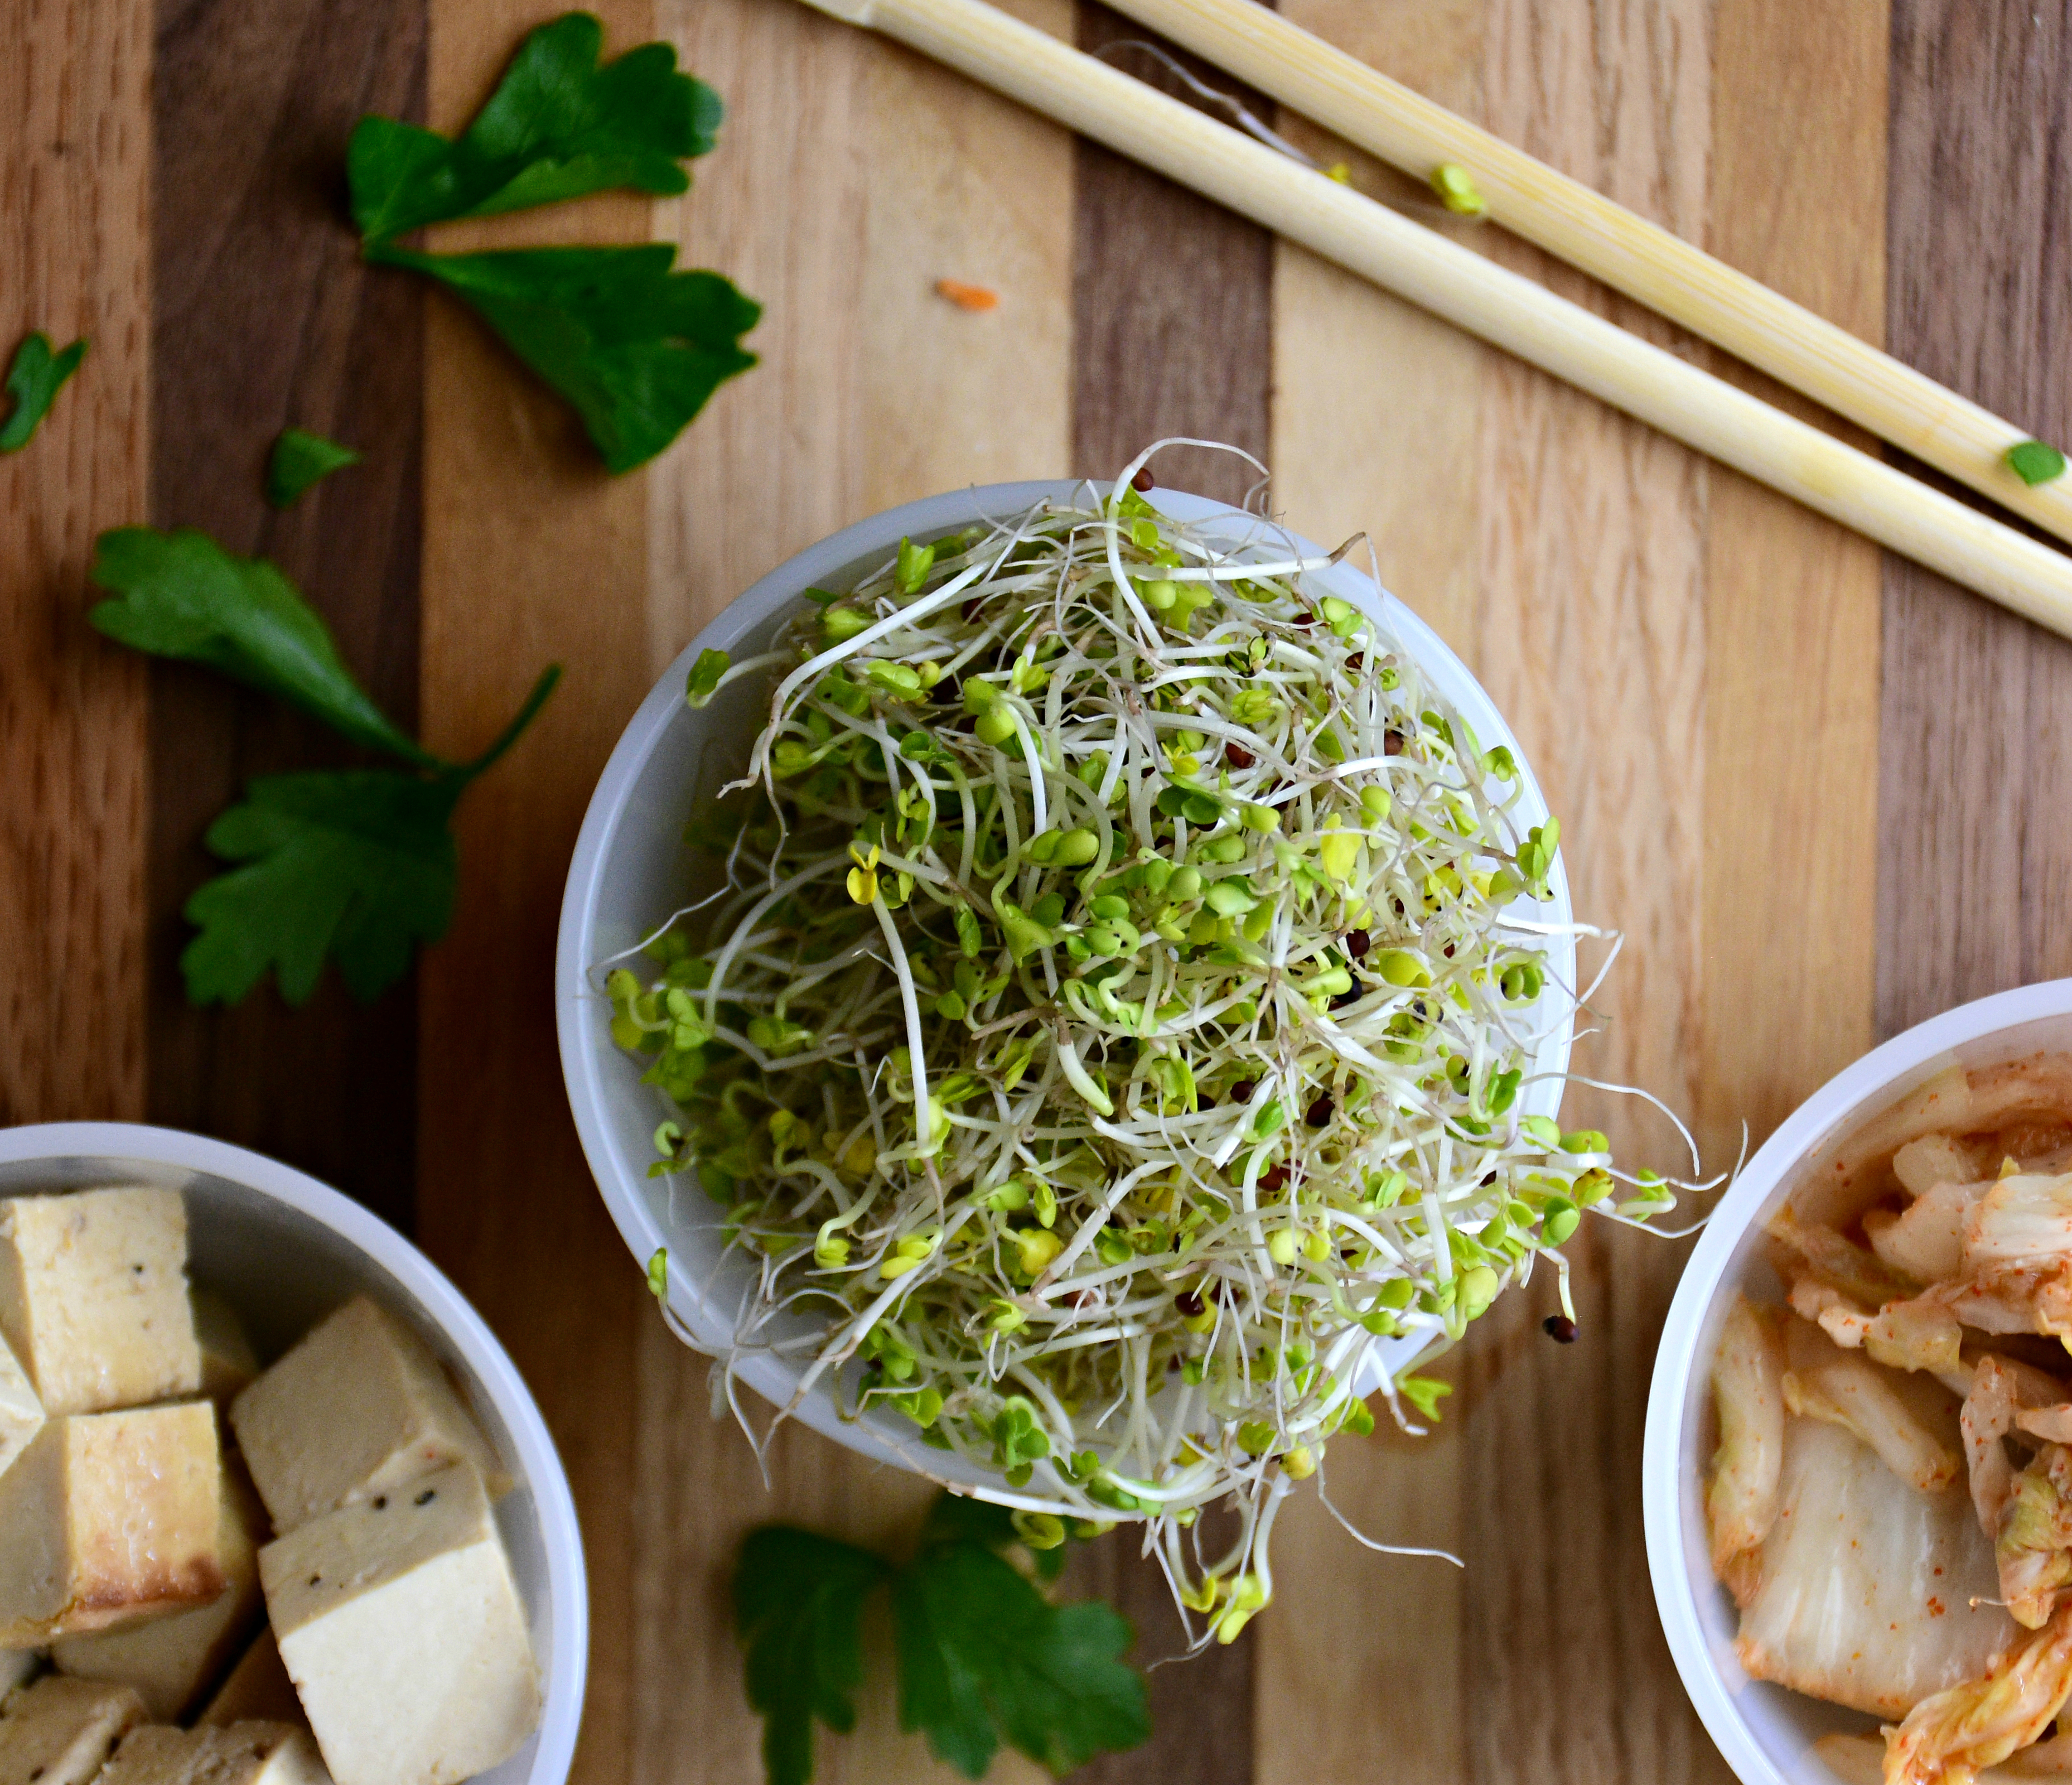
- 1 cup bean sprouts
- Fresh cilantro
- Sriracha for garnish
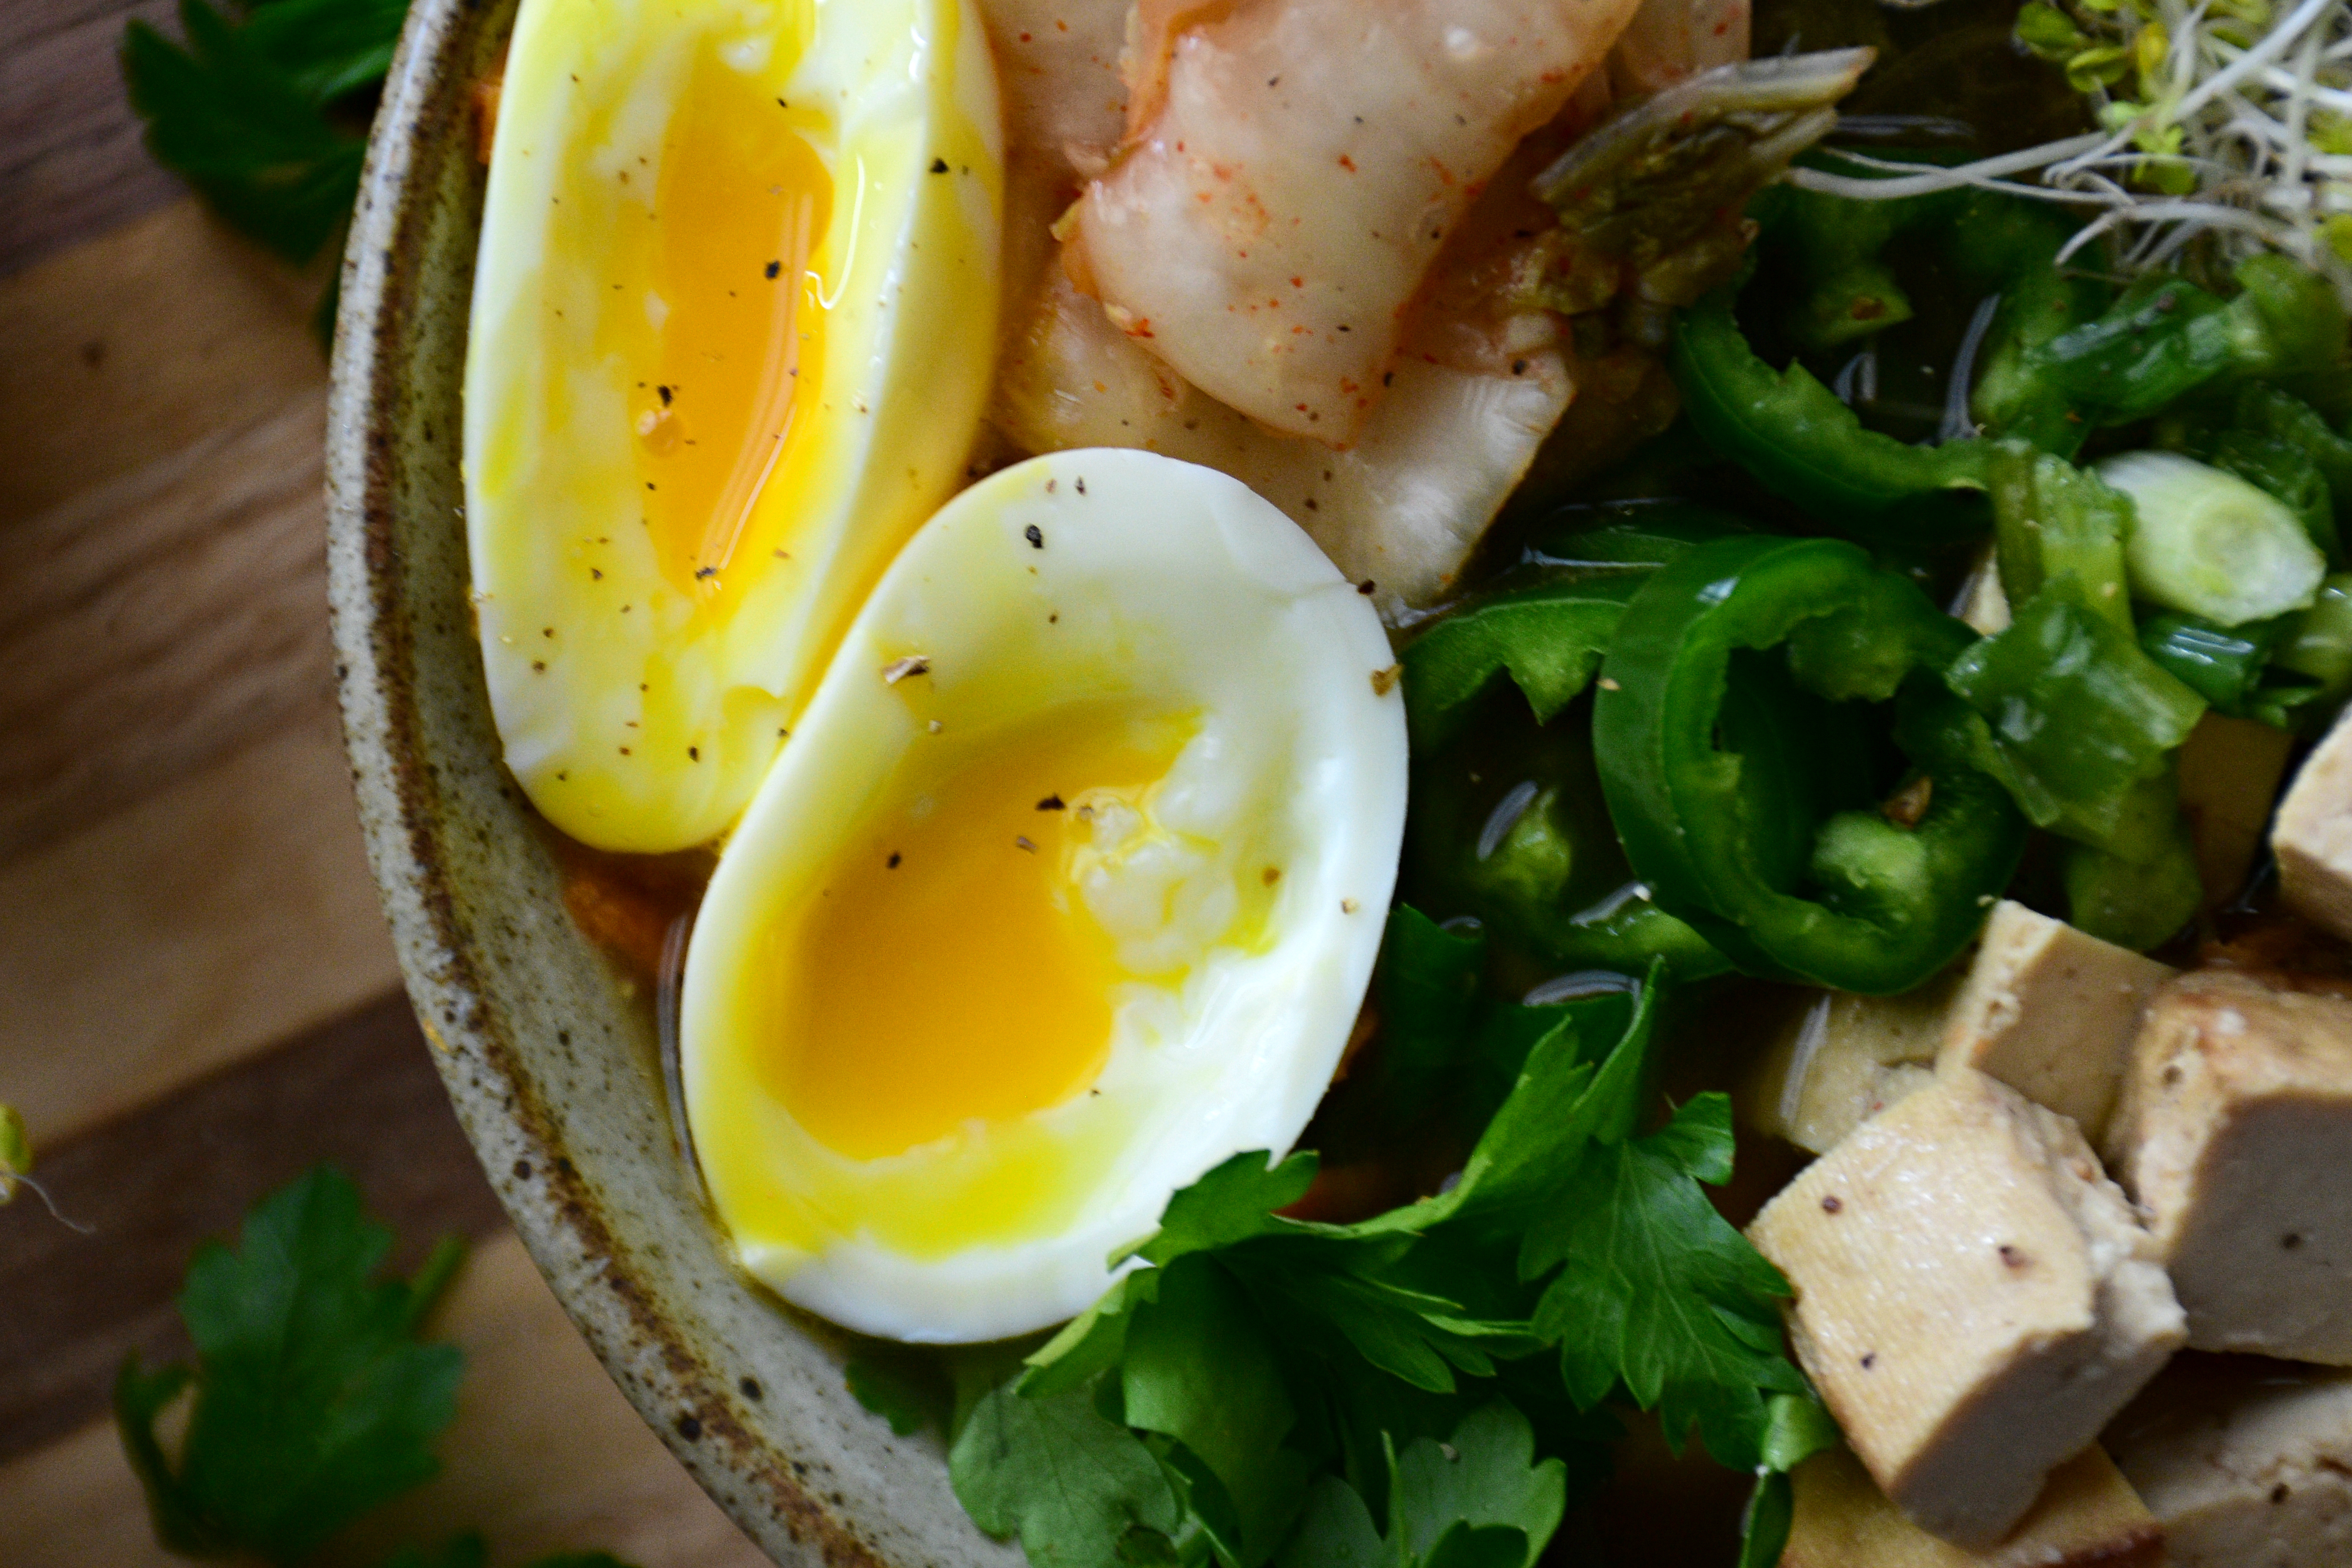
For the soft boiled eggs:
- 4 eggs
Directions:
- Cut the tofu into bite-size pieces. In a bowl, whisk the hoisin, spicy Asian chili sauce and soy sauce together. In a large ziplock bag, mix the tofu pieces and the marinade together. Chill for at least 1 – 2 hours.
- Once marinated, preheat oven to 400 degrees F. Scoop the tofu out of the marinade and place in the baking dish, careful to evenly distribute the tofu. Drizzle 2 – 4 tablespoons of marinade over the tofu and bake for about 25 – 30 minutes, stopping to toss the tofu after 10 minutes so it evenly bakes.
- In a large Dutch Oven over medium heat, add the olive oil. Add in the garlic and cook for about 1 minute, or until slightly fragrant. Add the onions and cook over medium-high heat for 2 – 3 minutes. Stir in the ginger, broth and soy sauce. Reduce heat to low, cover and let simmer for about 10 – 15 minutes.
- Bring another small pot (about 4 – 6 cups) of water to a rapid boil. Add the ramen noodles and cook for about 4 – 6 minutes, or until soft. Drain and set aside.
- To make the soft boiled egg, fill a saucepan with a few inches of water (enough to cover an egg) to a rapid boil. Reduce the water to a rapid simmer and gently (VERY GENTLY) lower the eggs into the water. Cook the eggs for about 5 – 6 minutes. Remove with a slotted spoon and then immediately rinse in cold water. To peel, wrap in paper towels and gently tap the egg with the back of a spoon to crack it. Gently peel.
- When ready to serve, spoon the broth into four bowls. Add in the ramen noodles and top with a few tablespoons of jalapeno, 1/4 cup kimchi, 1/4 cup bean sprouts, fresh cilantro, 2 soft boiled eggs and a heap (like 2 – 4 tablespoons) of crispy tofu.
Nutritional information per serving:
Calories: 430
Fat: 17.5 grams
Carbohydrates: 21 grams
Fiber: 1 gram
Protein: 17.2 grams
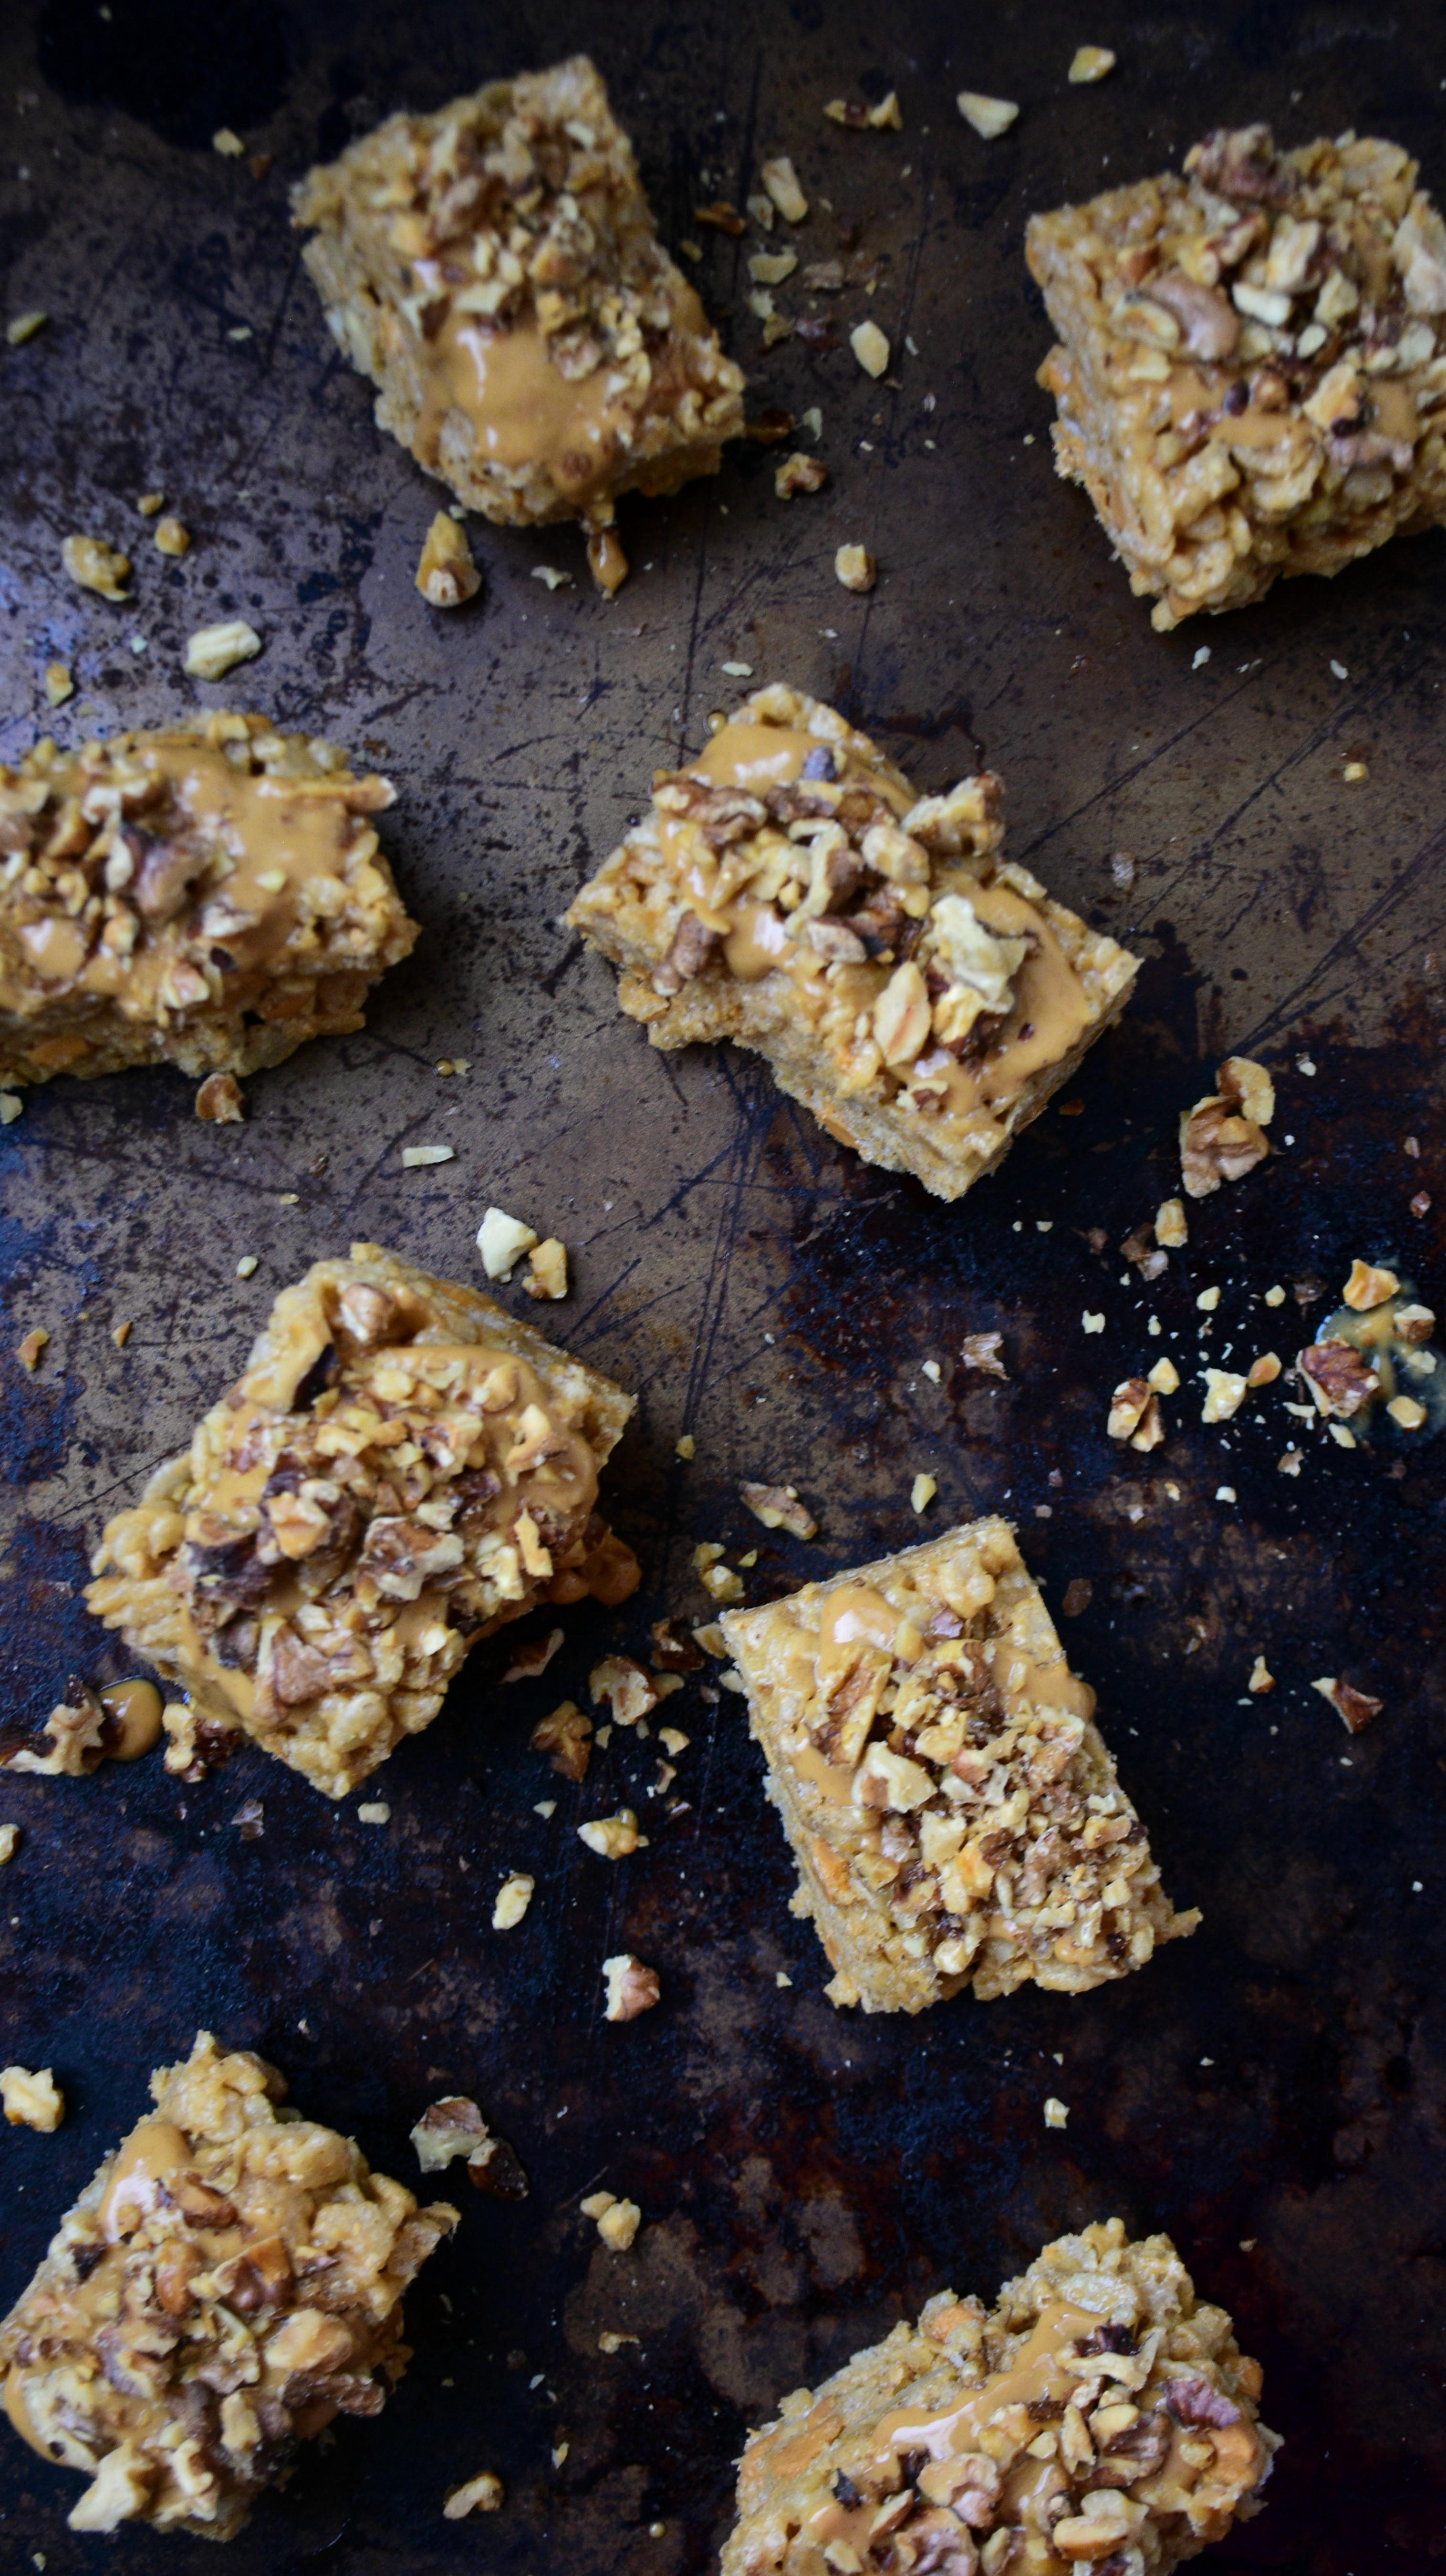
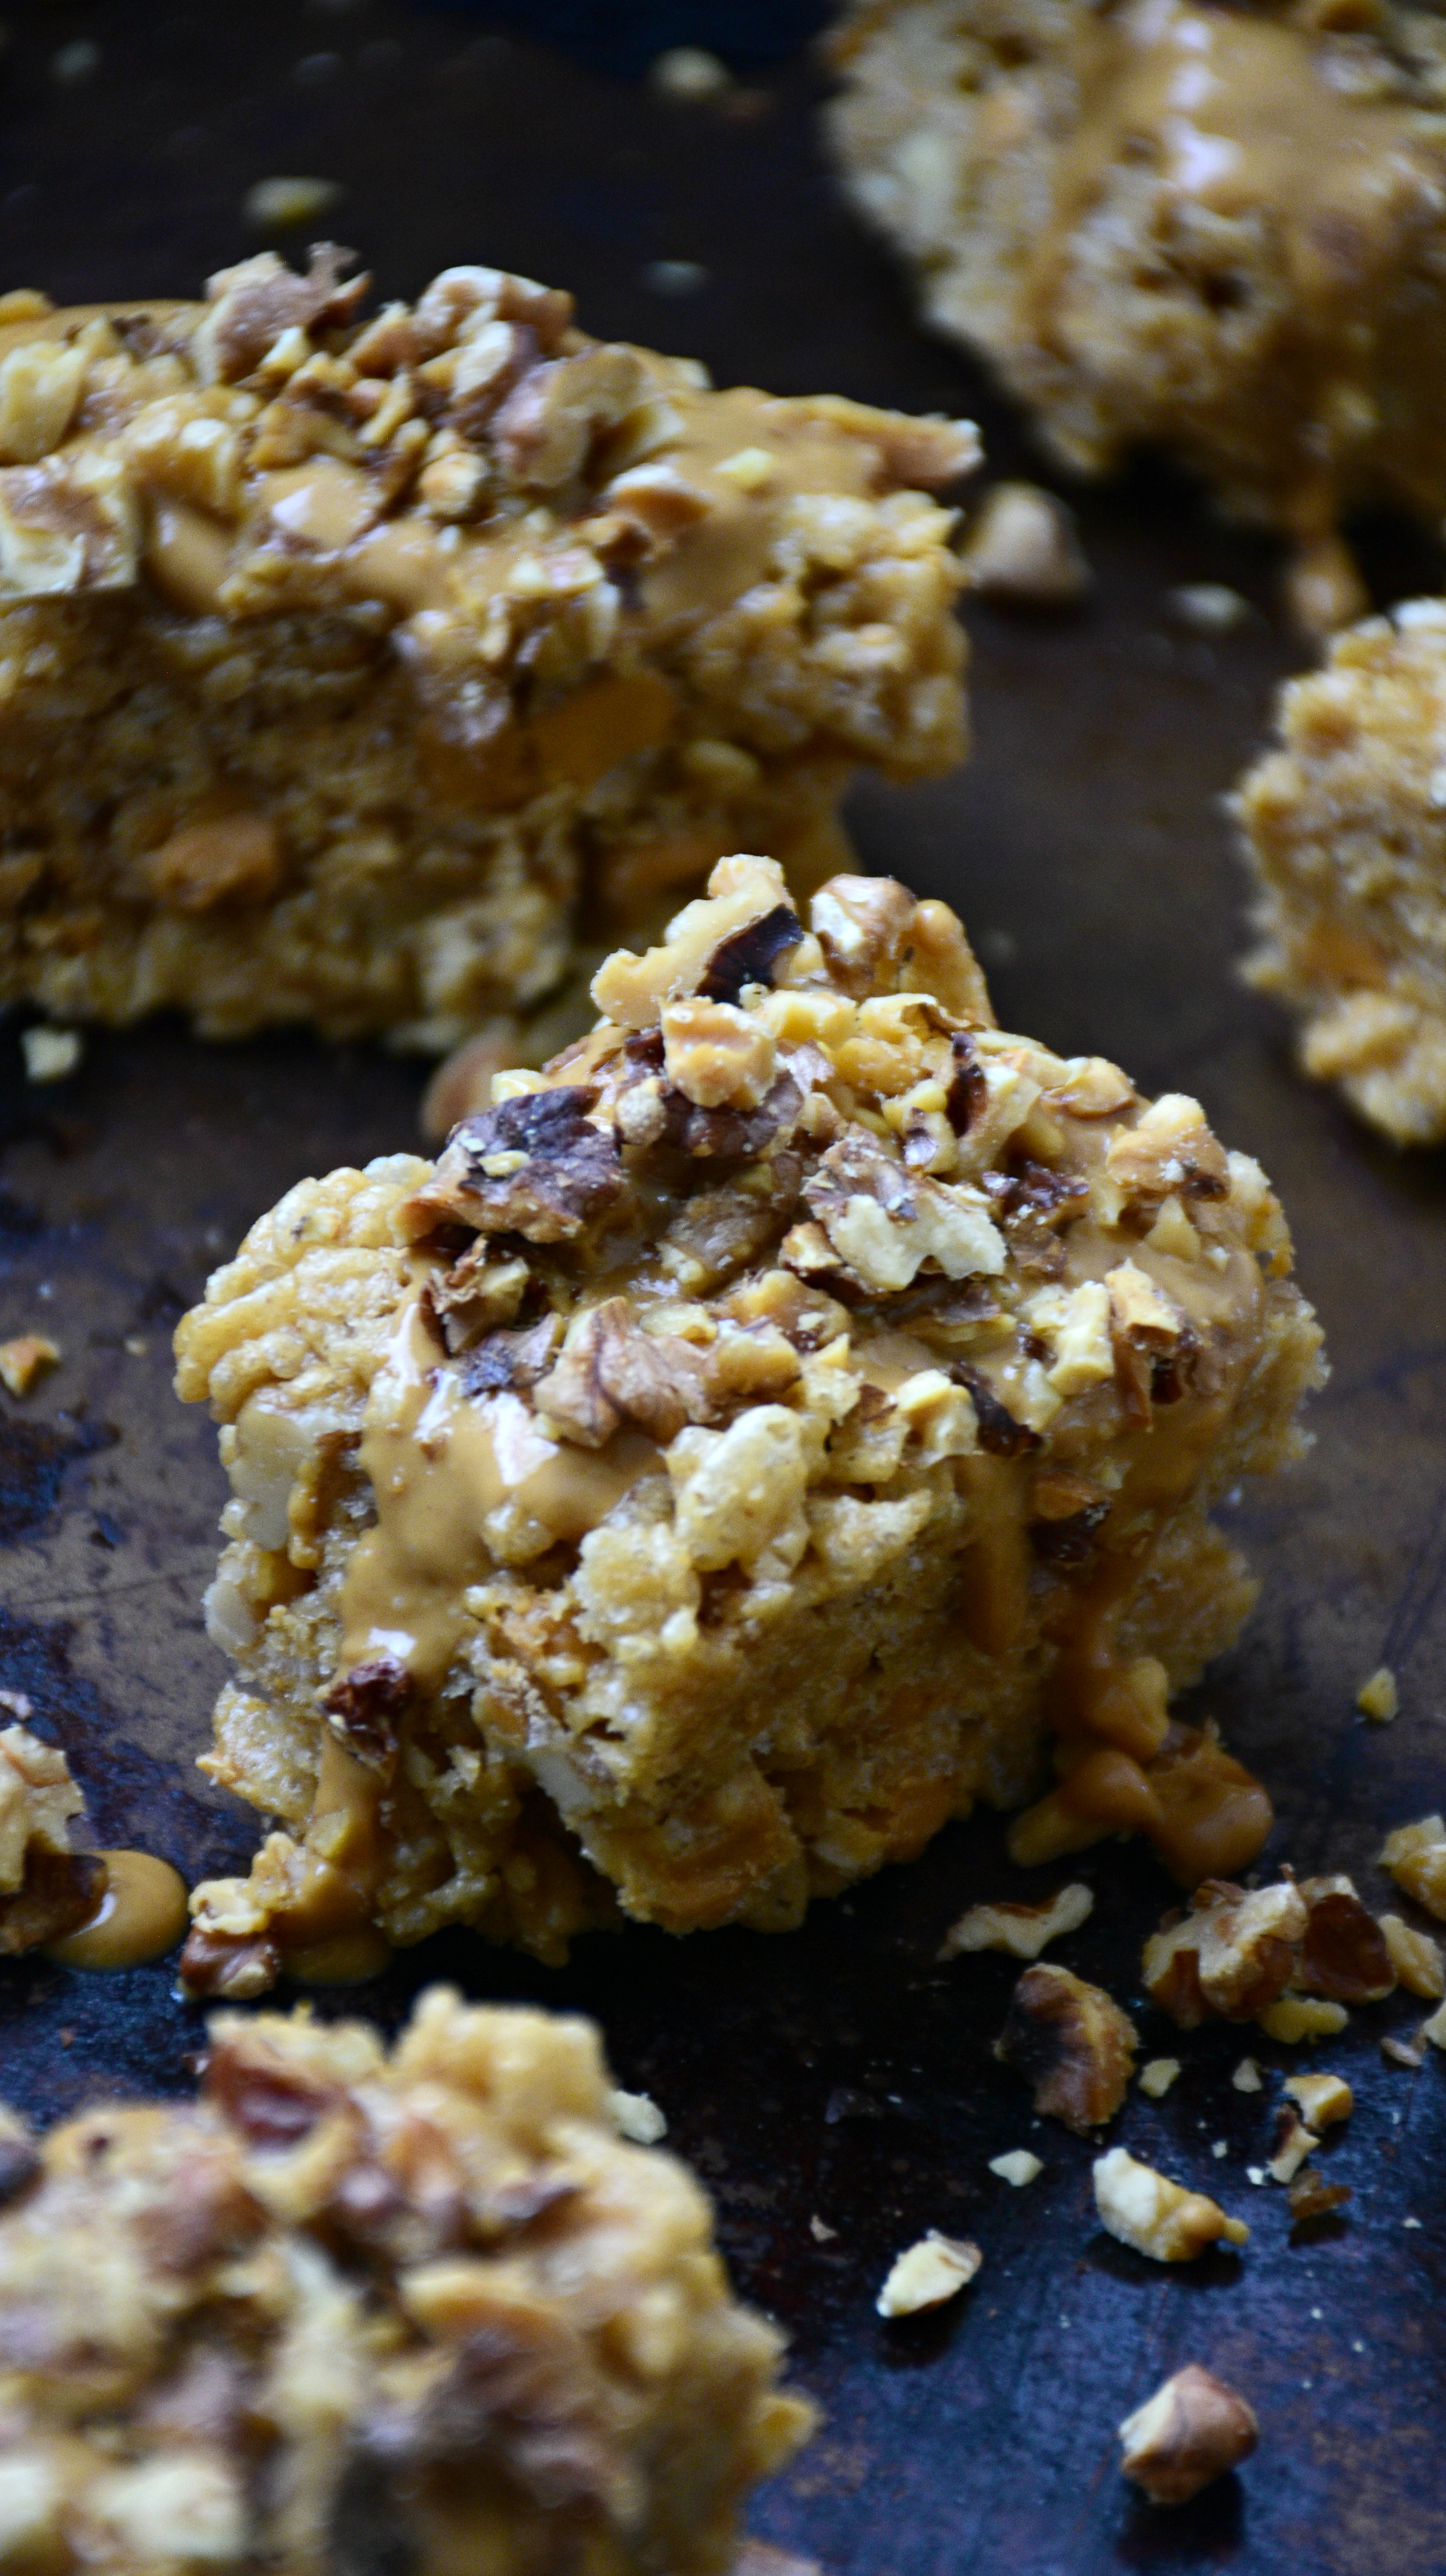
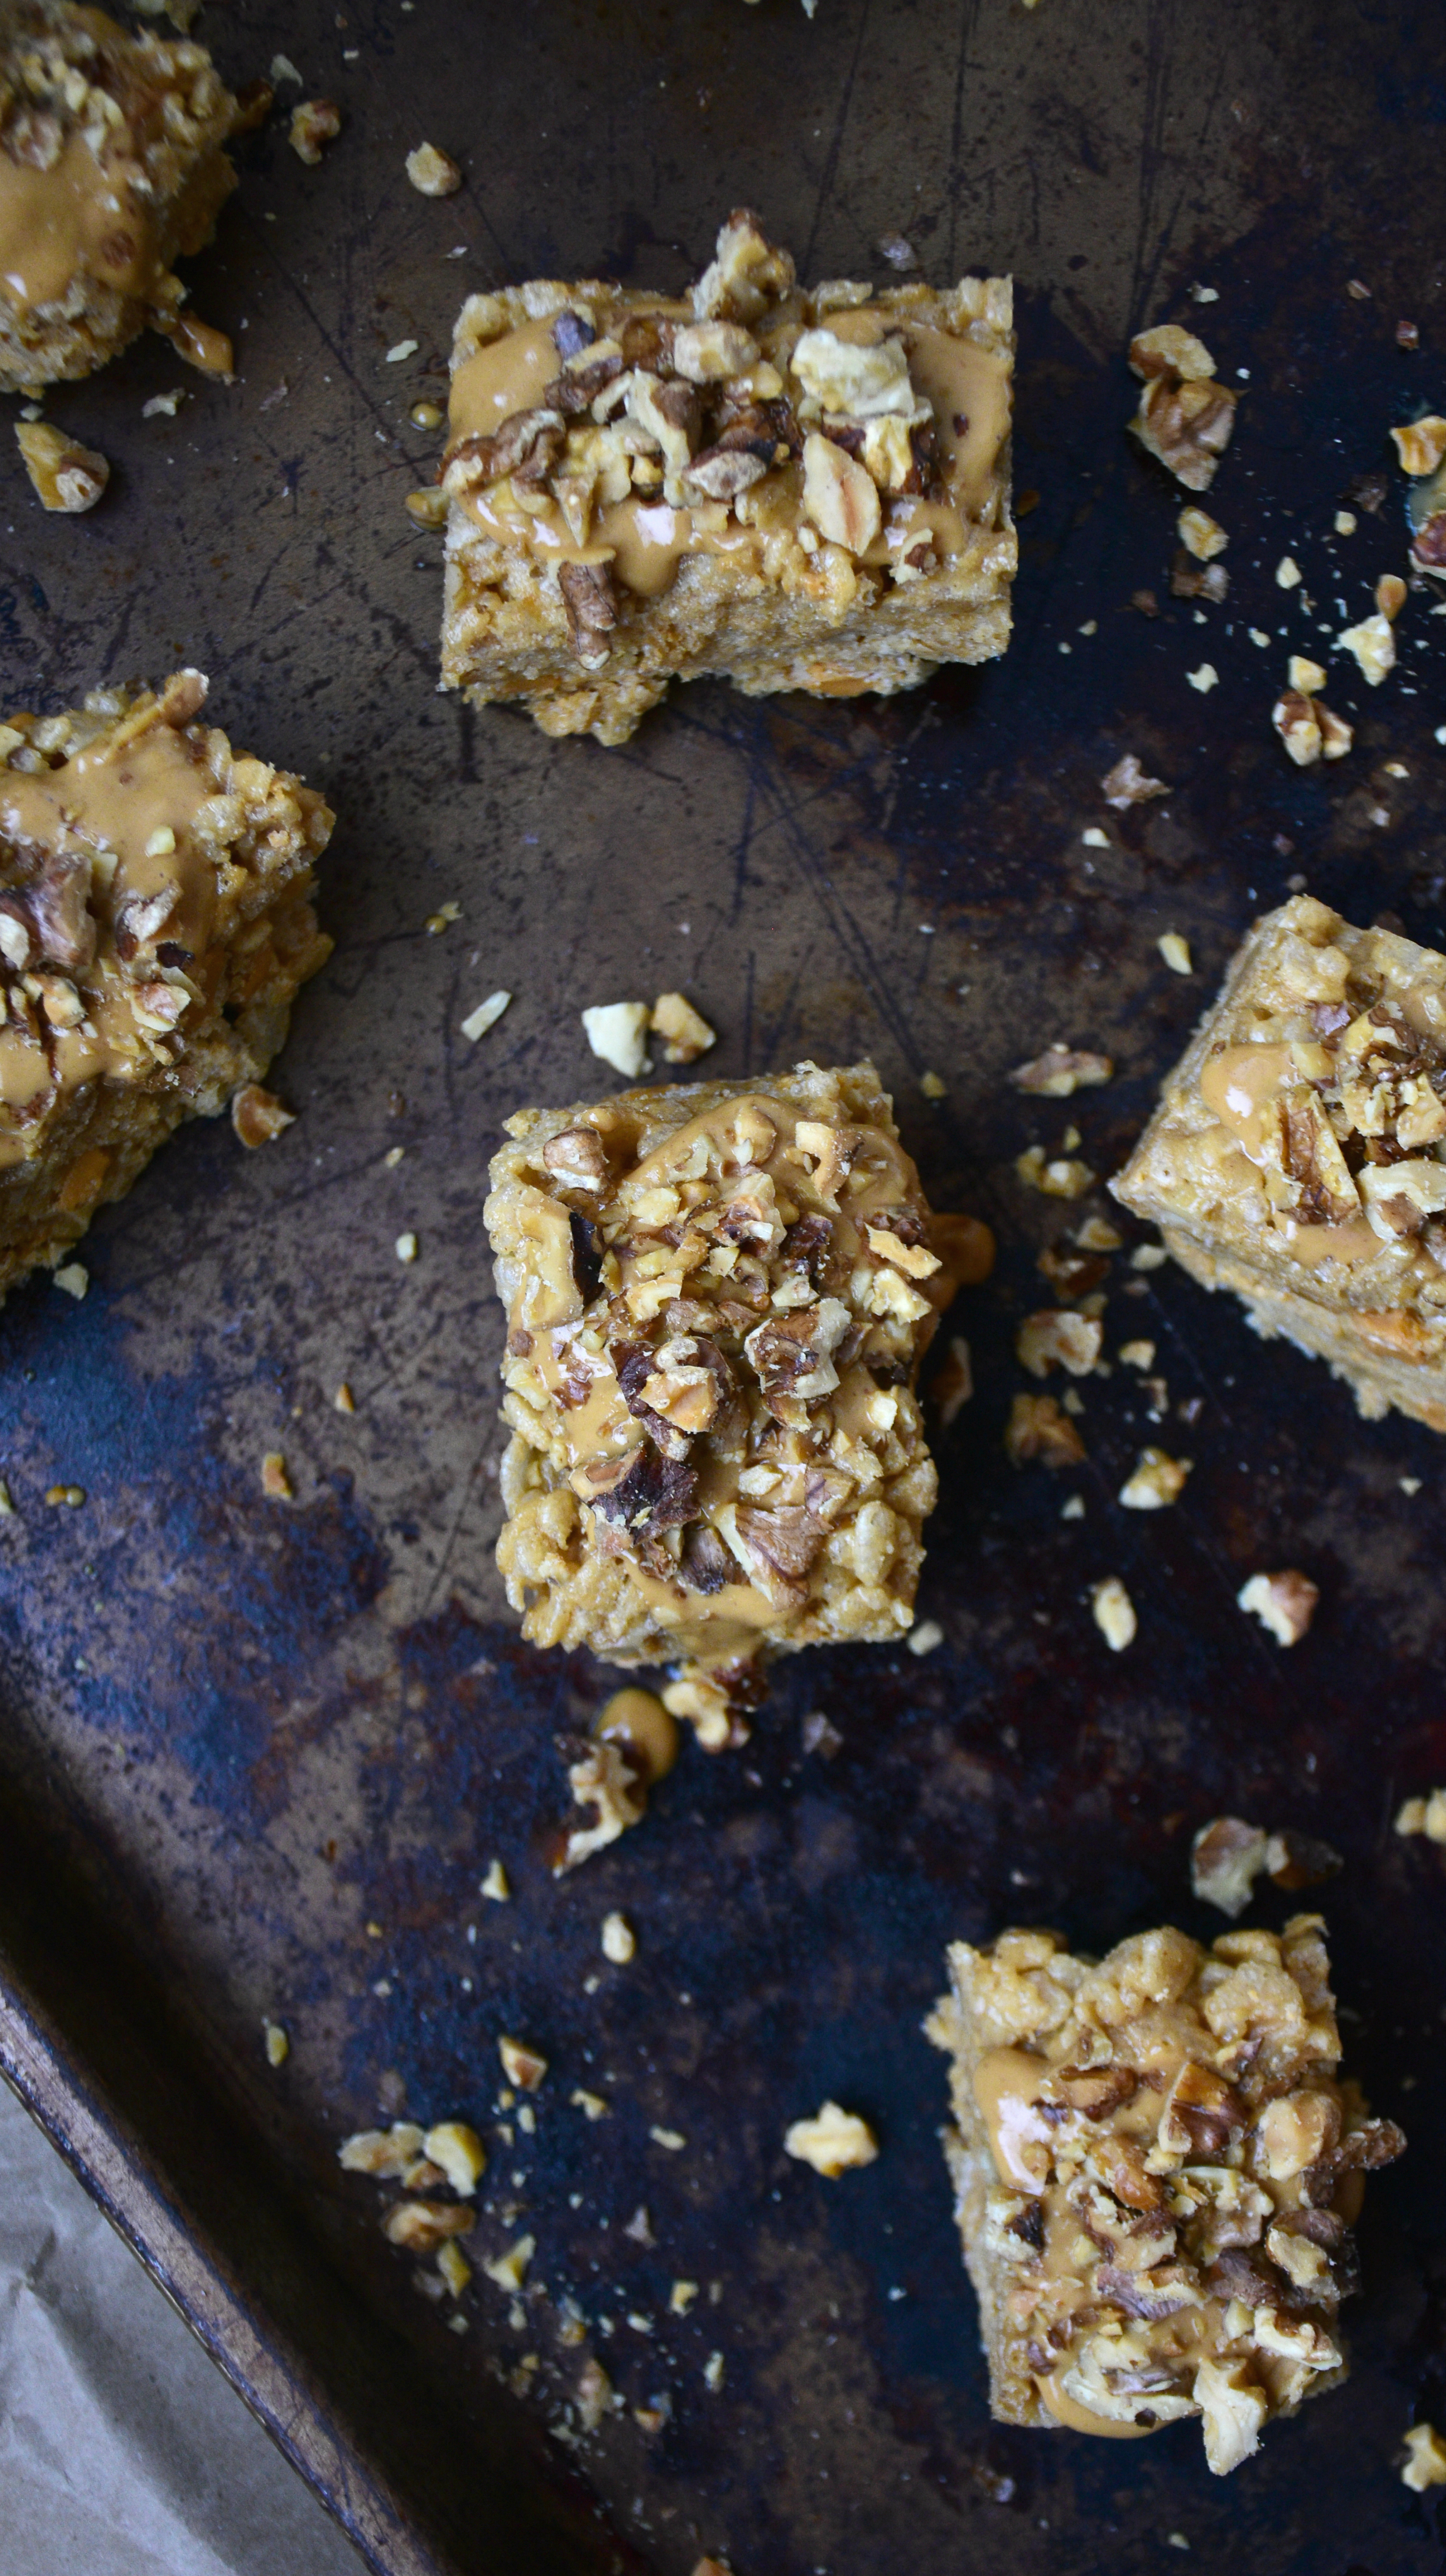
No Bake Almond Butter Protein Rice Krispies Treats
These protein-packed, no bake almond butter protein rice krispie treats are the ultimate way to get a dose of energy and a dash of sweetness in one delicious bite!
I’ve always loved protein bars. Yes, even those really chewy, really hard to determine the actual flavor, probably filled with more chemicals than actual food kind. When I was swimming in highschool, those bars fueled me, especially during those 4am wake up calls, 6-hour long meets and long drives home. Looking back now, I want to scream at myself for not filling myself with actual food before and after such an intense workout.
Even though I still nosh on protein bars from time to time, I prefer the ones that are homemade or filled with ingredients I recognize – like Kind Bars or these all-natural, organic sprouted nut bars. Even though these are relatively good for you, they still have more sugar than I’m trying to consume right now. That’s why I’ve reverted to making my own bars at home – a task I’m whole-heartedly addicted to right now. I’ve made three different varieties, all of which were so good none of them made it to the photographing phase of the recipe development. Except these. And that’s only because my protein-obsessed brother was at work. I’m not kidding, the kid eats 450 grams of protein a day, I’m sure of it.
Now, I really didn’t have any intentions on making these a protein snack. In fact, I just set out to mix two of my favorite things together for a dessert that wasn’t as horrible as the cake I just made. However, I spotted some whey vanilla protein powder on the fridge and immediately thought “why can’t rice krispies be a post-workout snack?” And then these crispy little numbers were born and I haven’t looked back since.
I certainly am not going to advise eating an entire plate of these before an Orange Theory workout, but one will give just the right amount of protein to fuel you, carbs to give you some energy and a dash of sweetness to keep you from crying when you’re doing yet another set of burpees.
*I’ve always been a fan of a heartier rice krispie, so I made them in an 8 x 8 pan. For a bar that more resembles a granola bar, I’d suggest a 9 x 13. See more protein bars here.
No Bake Almond Butter Protein Rice Krispies Treats
Yields about 10 – 12 bars. Adapted from Making Thyme for Health.
Prep time: 5 minutes
Chill time: About an hour
Ingredients:
- 3 cups puffed rice cereal
- 1/2 cup peanut butter
- 2 tablespoons honey
- 2 tablespoons tahini
- 1/4 cup vanilla protein powder (or your favorite)
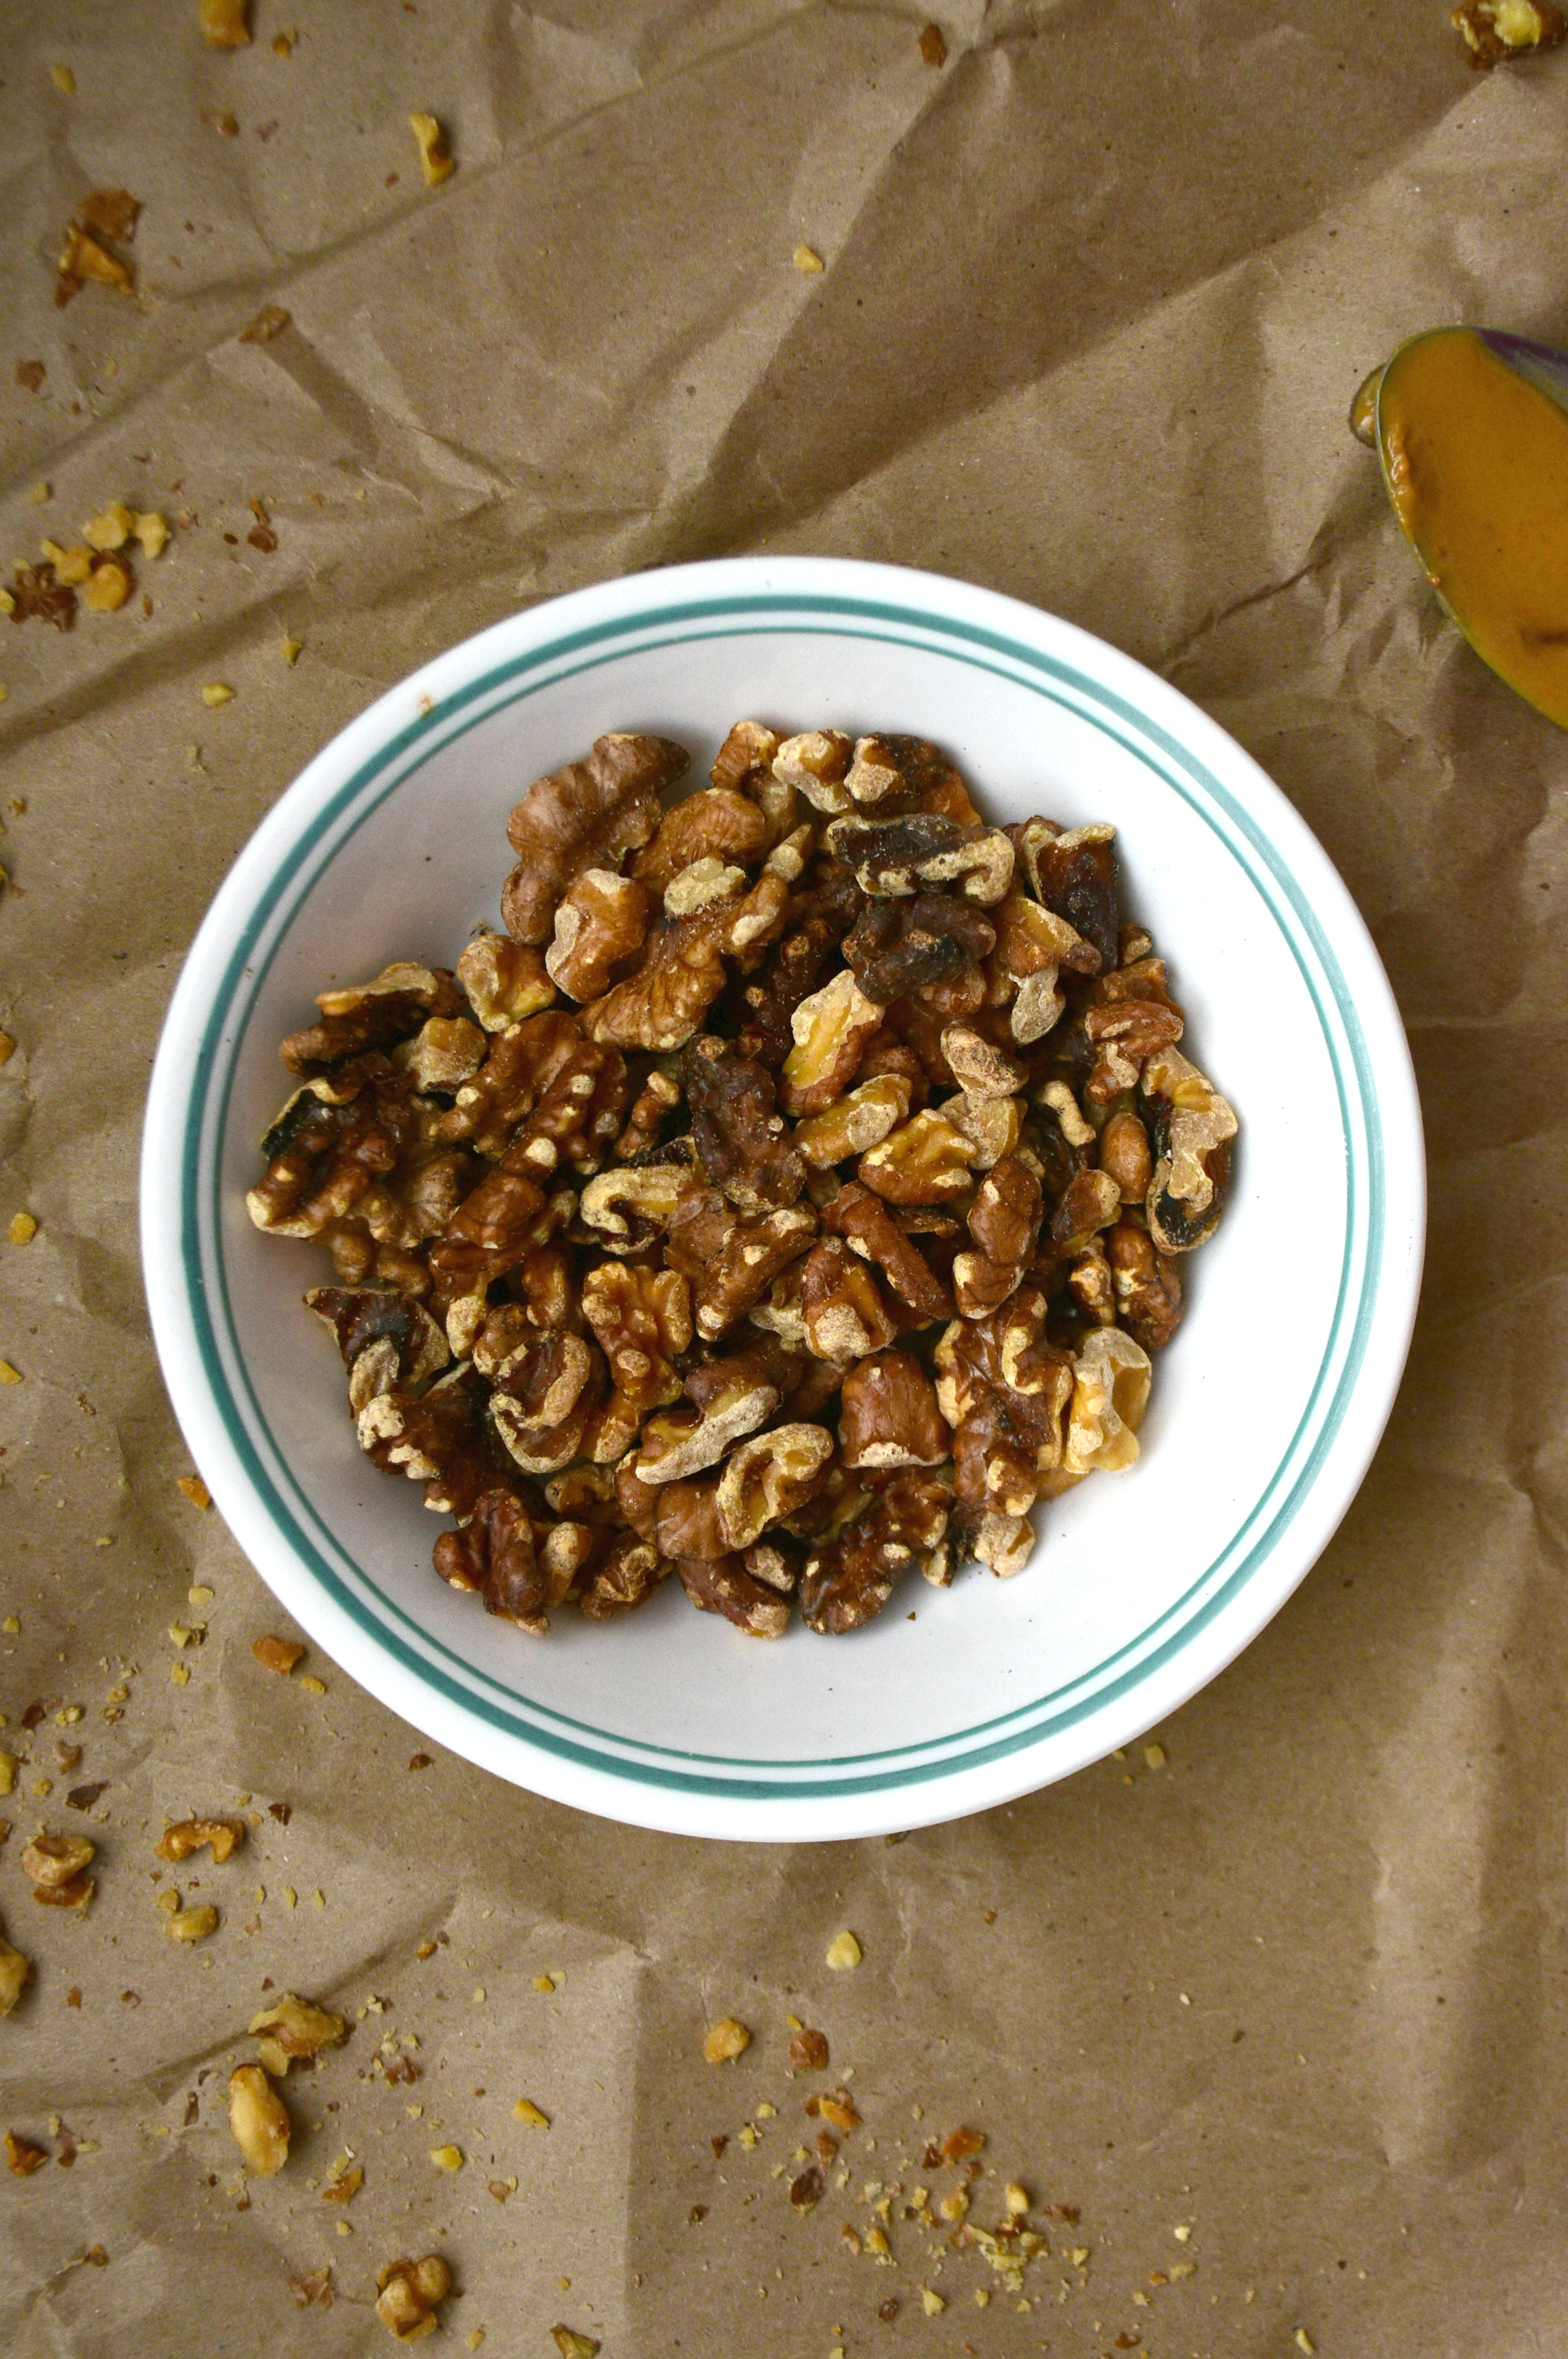
- 1/2 cup chopped walnuts or almonds
- 1/2 cup chocolate chips
Directions:
- In a large bowl, mix the cereal, peanut butter, honey, maple syrup, protein powder, chopped nuts and chocolate chips together. Mix well.
- Line an 8 x 8 glass baking dish with parchment paper. Using a spatula, spread the mixture into the dish and press it down firmly. Cover with saran wrap and chill for at least an hour.
- Once chilled, cut into bars and enjoy! Can freeze for up to 1 week.
Nutritional information per bar:
Calories: 200.75
Fat: 10 grams
Carbohydrates: 20 grams
Fiber: 3 grams
Protein: 6.75 grams
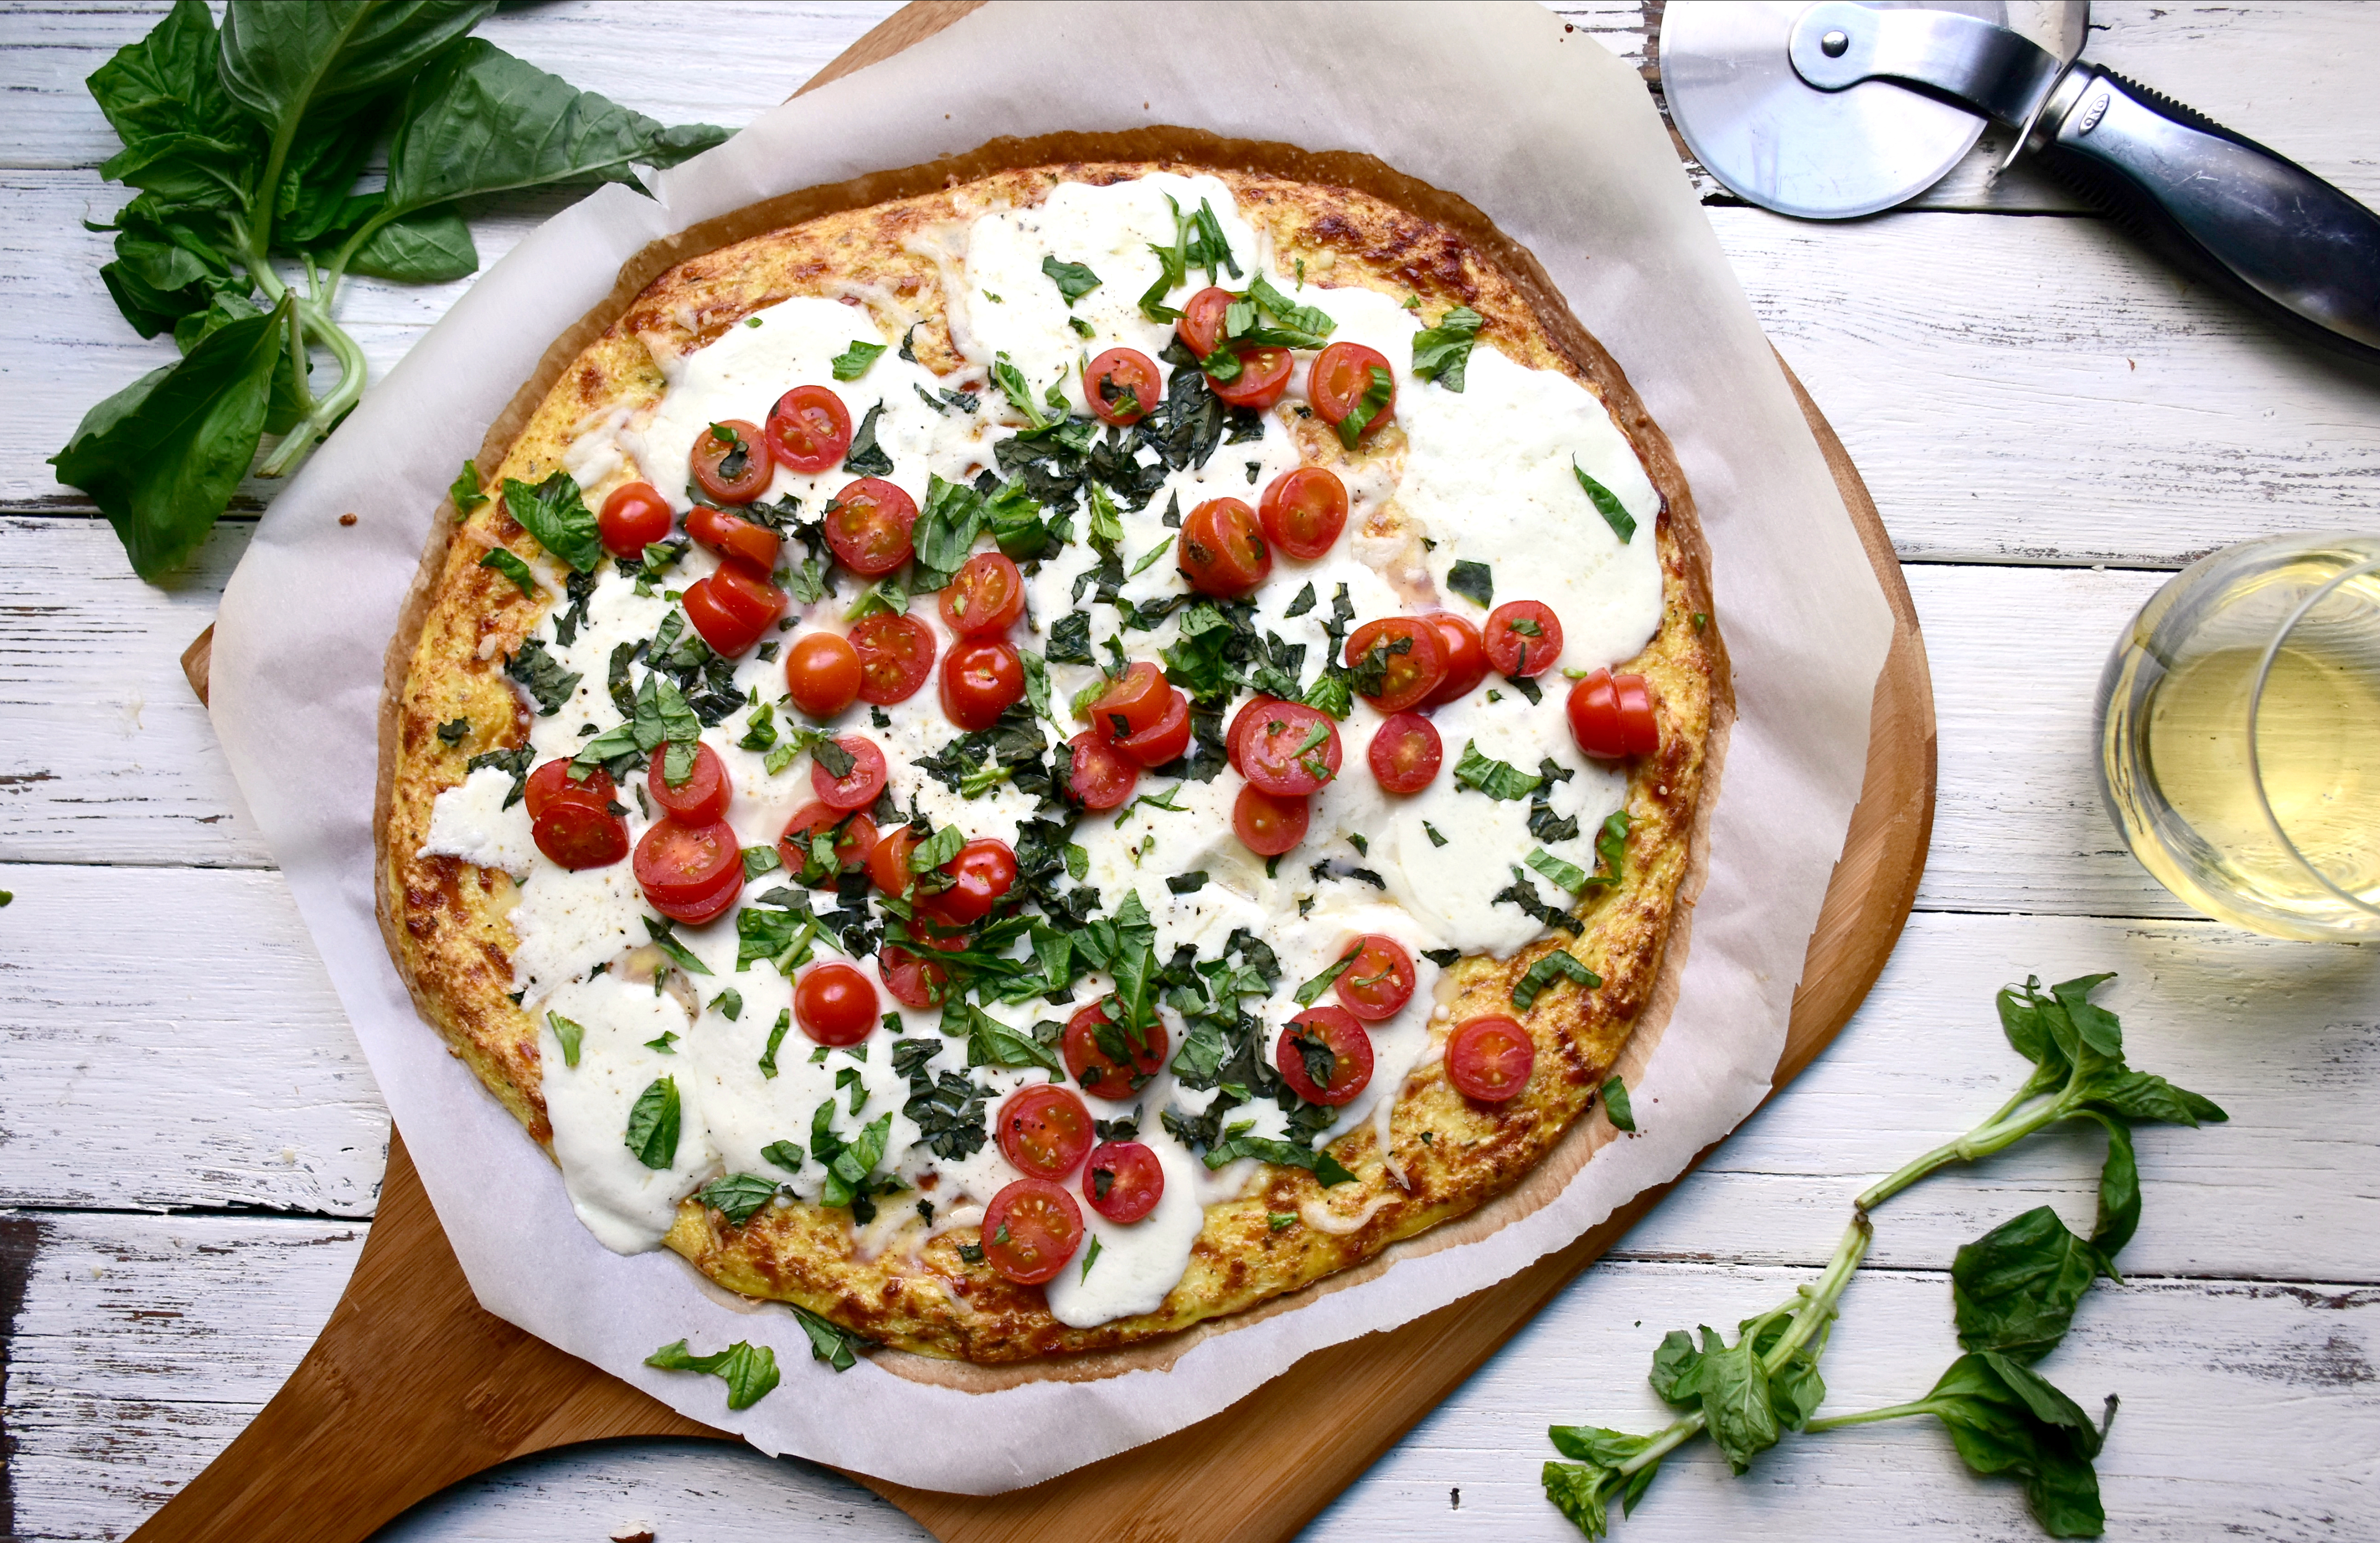
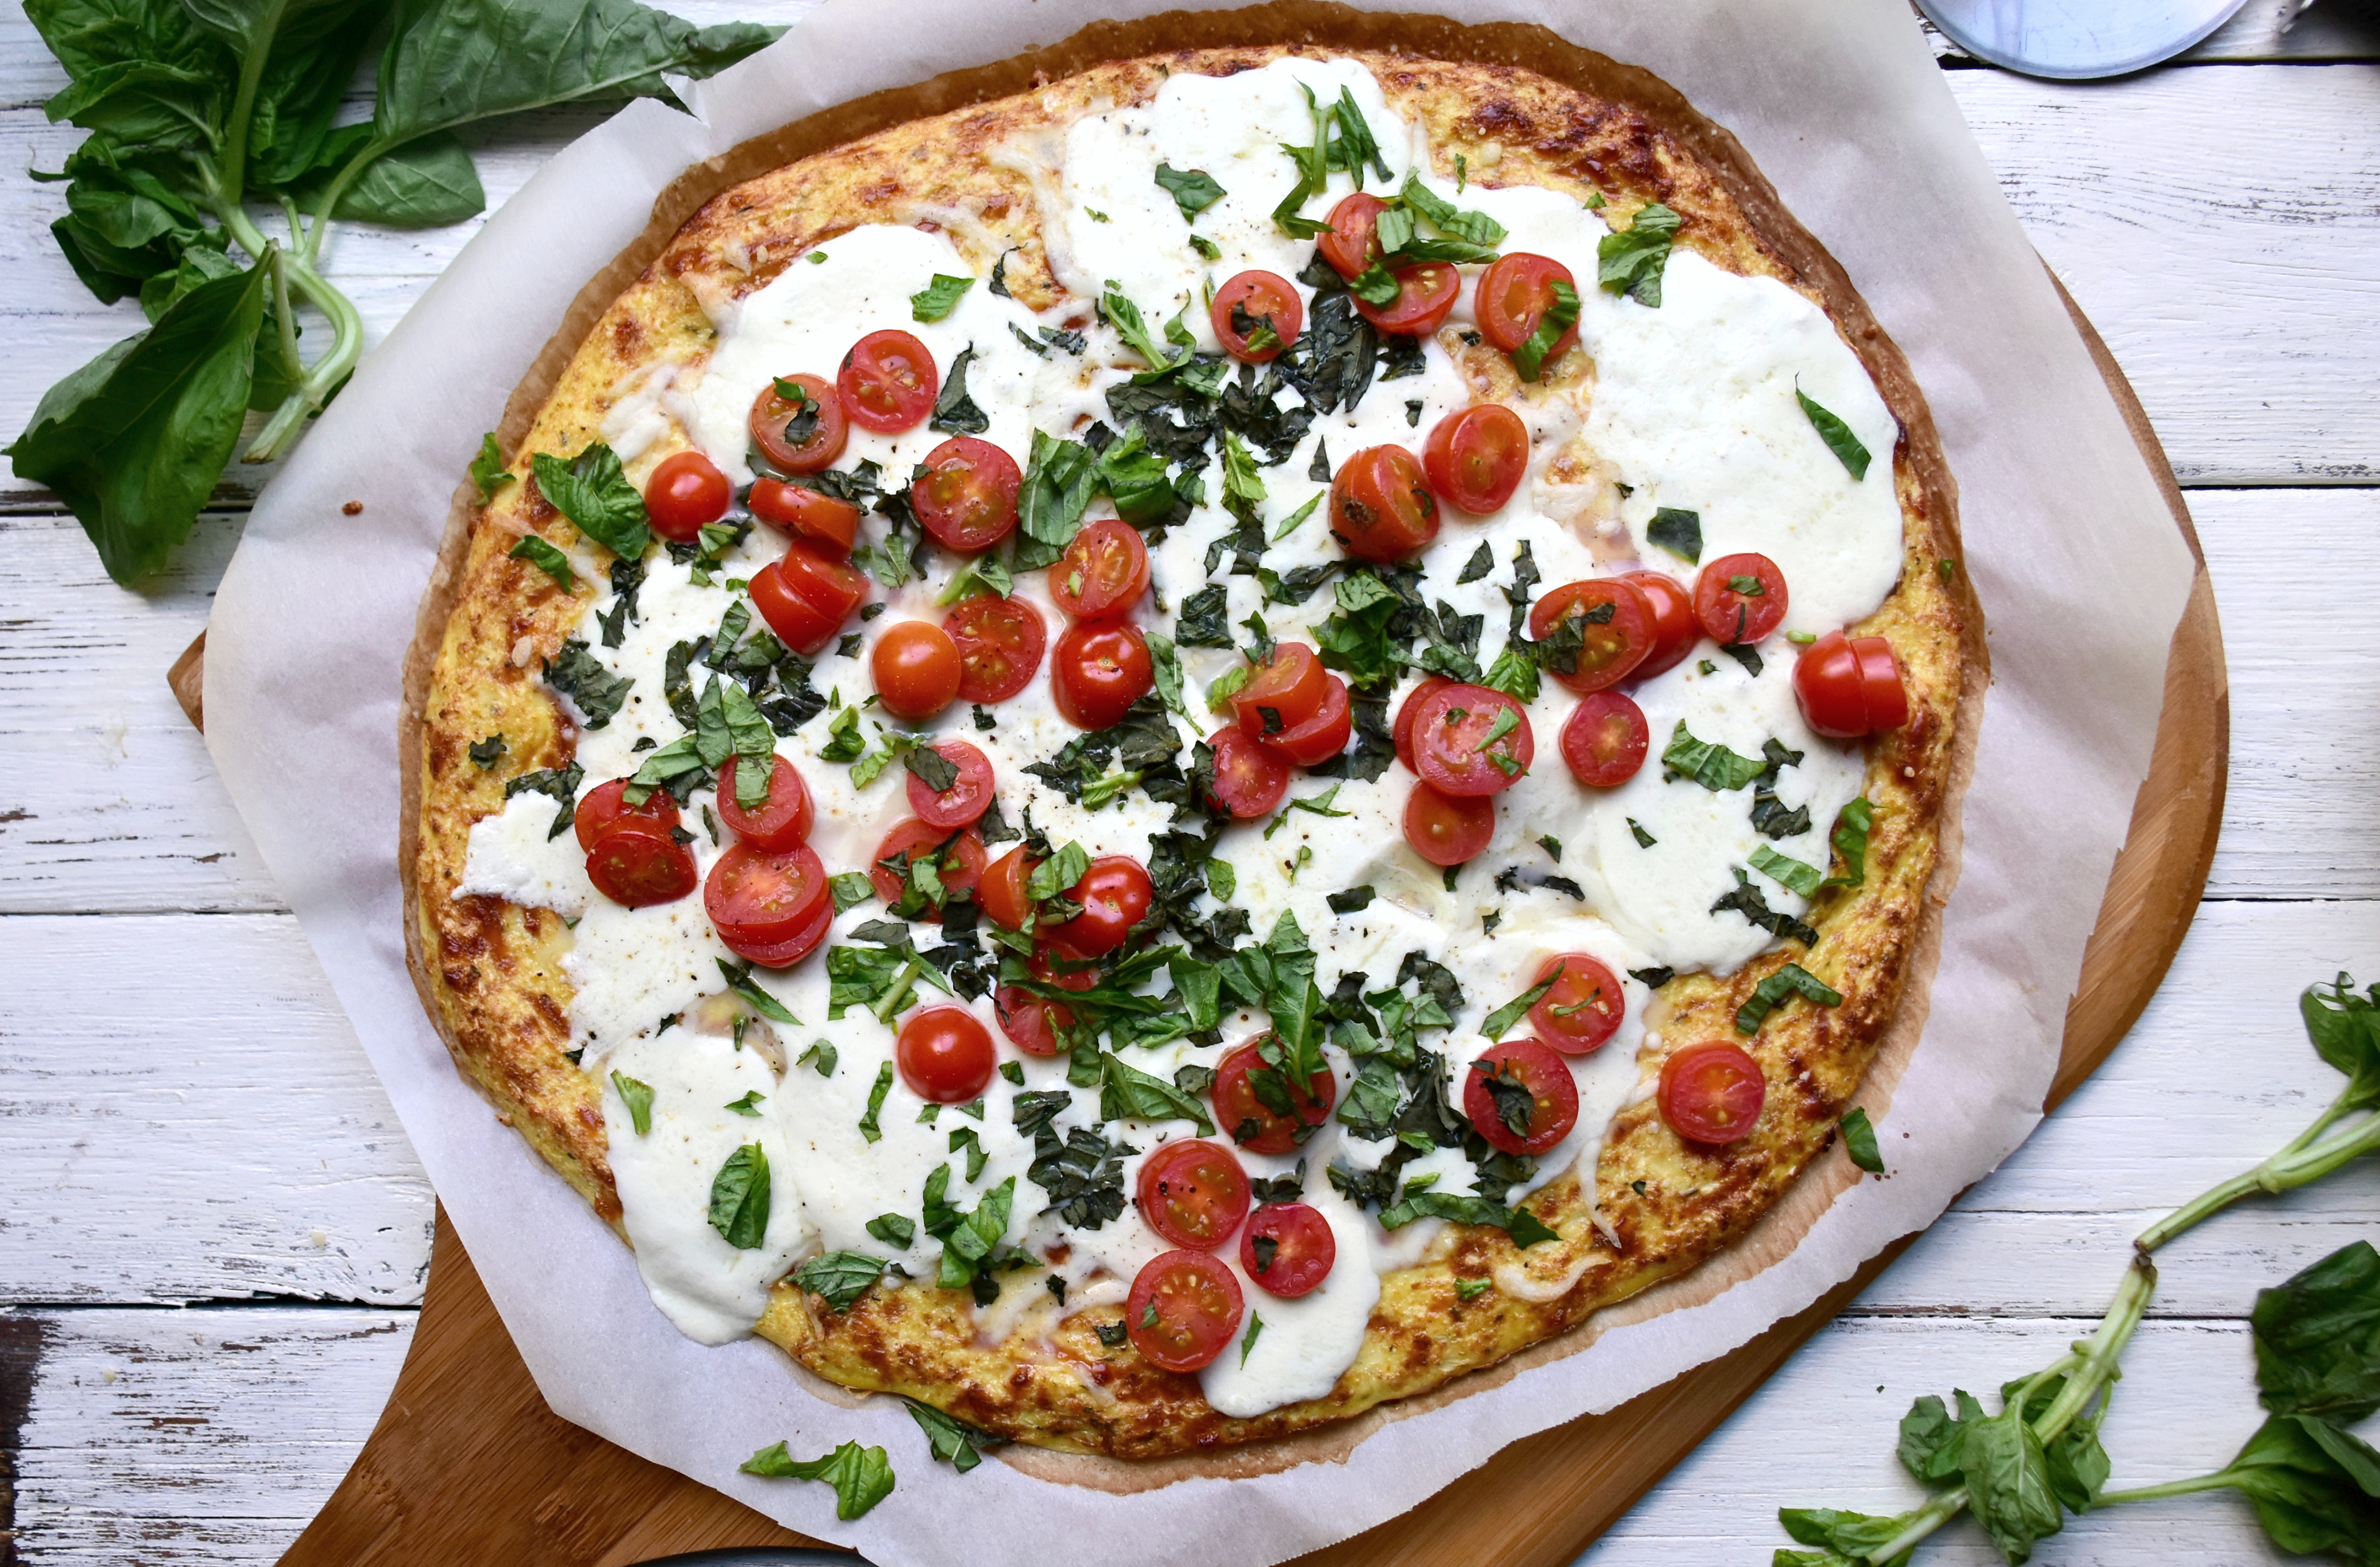
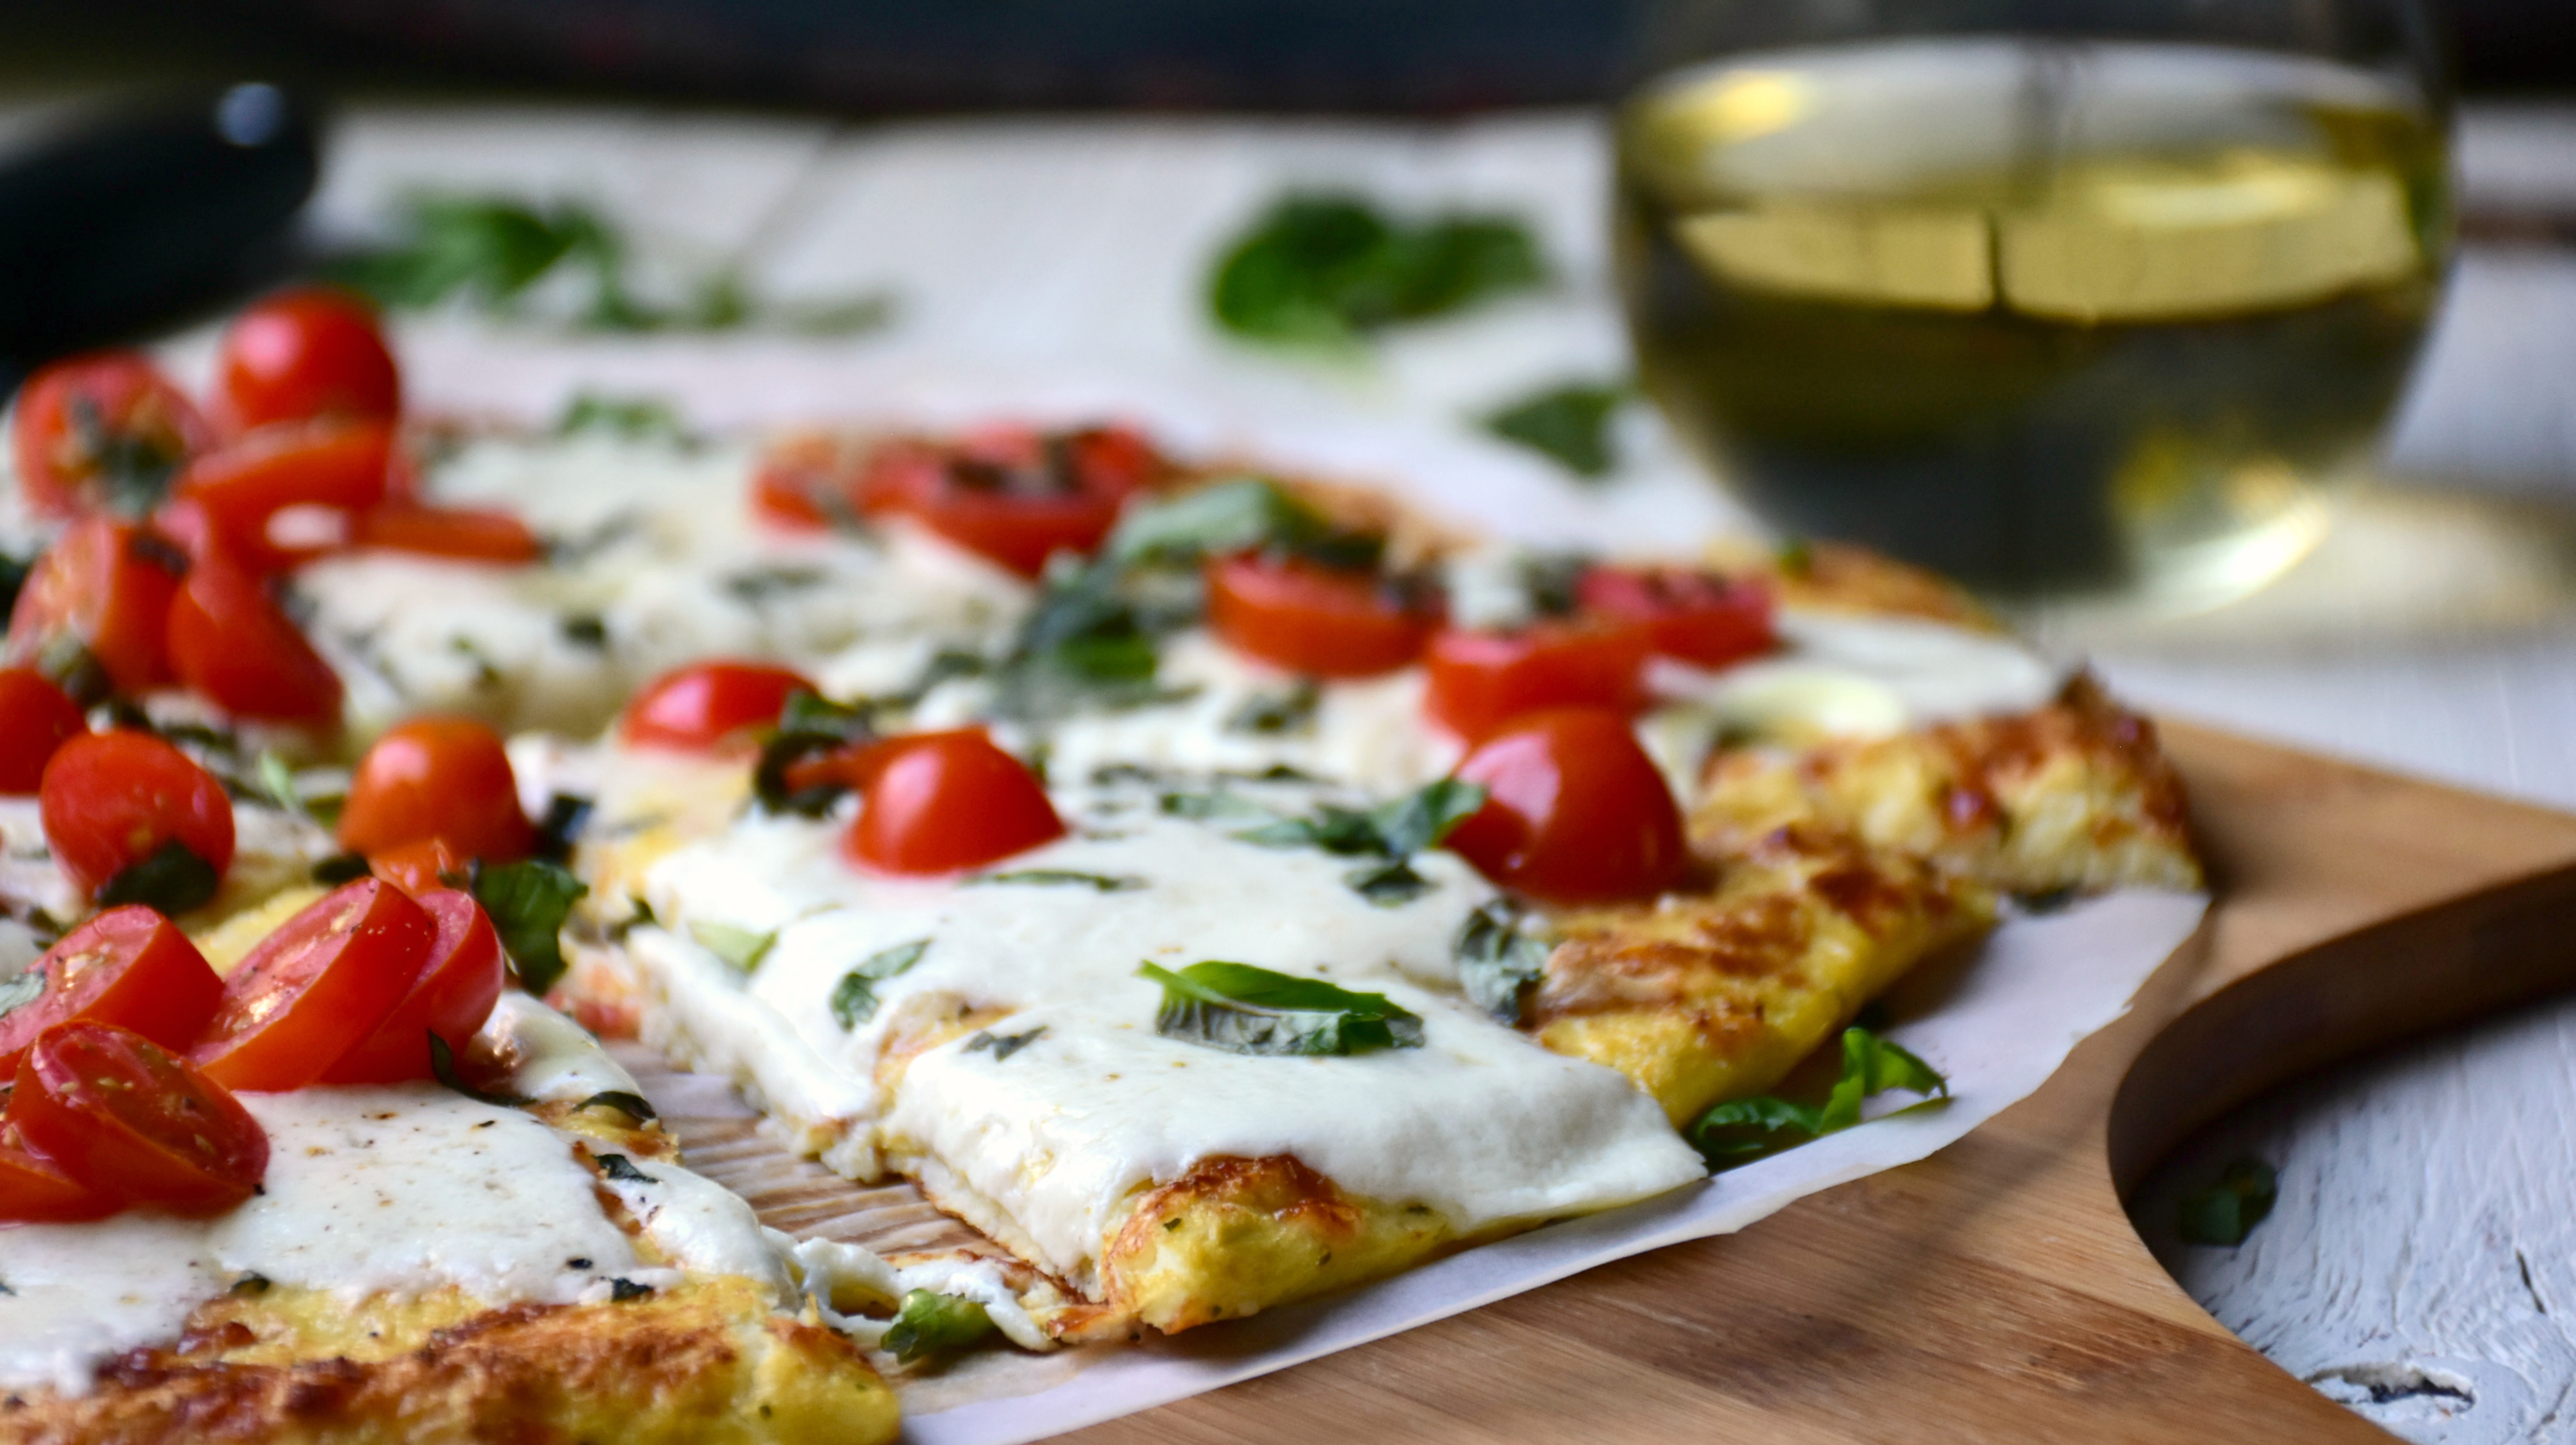
Cauliflower Margherita Pizza
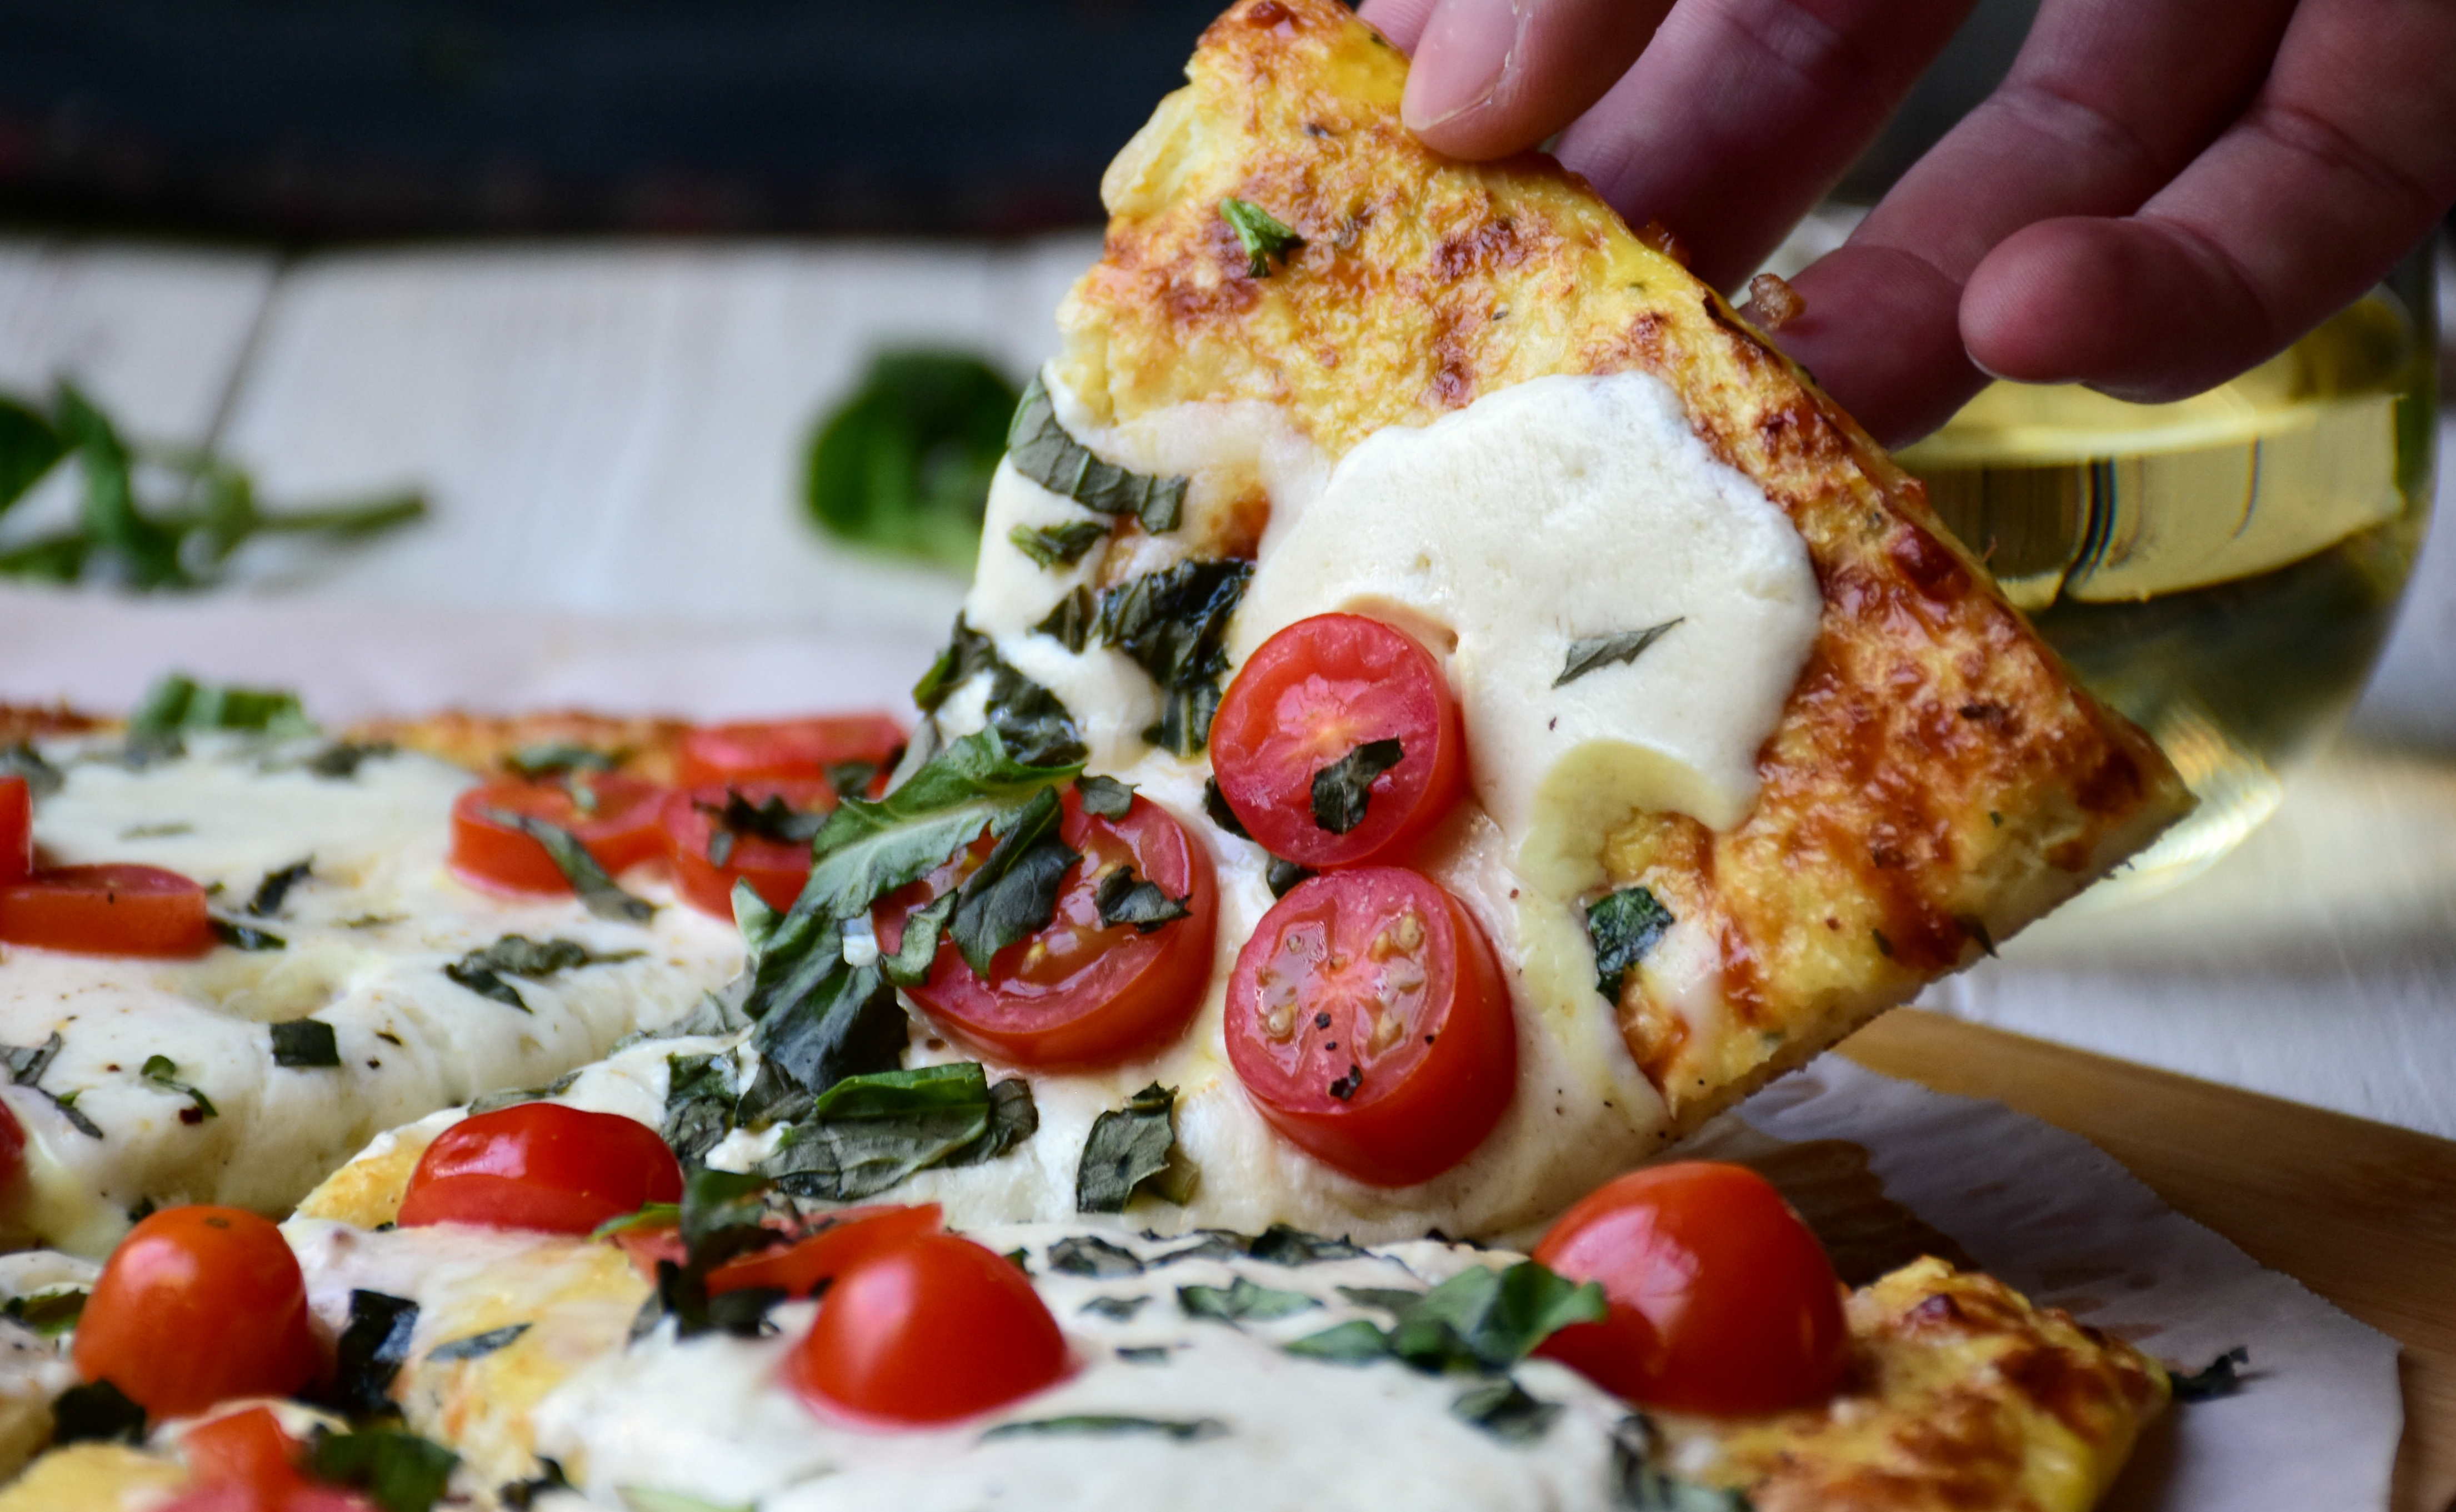
Enjoy pizza night without the guilt by sinking your teeth into one of this cauliflower margherita pizza – low carb and full of flavor!
I know what you’re thinking – 2 years called and they want their recipe back. I GET IT – I’m a little late to the whole cauliflower pizza crust craze. But in my eyes, it’s better late than never and also I love pizza and am on a perpetual diet.
Things have been getting a little desperate over here. I’ve been trying, really trying, to shed this extra weight. I’ve given up desserts, I force-feed myself breakfast every morning and I’ve been doing my best to cut out carbs.
I KNOW – BELOVED CARBS.
And as you know, pizza is full of those pesky, albeit delicious, sugars, starches and fibers. Instead of giving up pizza all together (which WOULD NEVER HAPPEN), I opted to make a crust lower in carbs but still loaded with flavor.

Enter cauliflower. Now, I’ve read so many recipes where people say they hate cauliflower but love the crust – which is odd to me because you definitely get the flavor of this vegetable when you’re eating it. To me, that’s no biggy since it’s one of my favorites (I eat this recipe ONCE A WEEK!) I will say though, if you hate it – I’d recommend not making this.

Case in point – my husband. He loathes cauliflower – down to his bones. So, I thought I could trick him into eating it if I baked it under gobs of fresh mozzarella, cherry tomatoes and our own fresh-grown basil. WRONG. SO VERY WRONG. As soon as he walked in the door he says “WHAT IS THAT SMELL? WHY DOES IT SMELL LIKE CAULIFLOWER IN HERE?” Then his gaze quickly darted to the stovetop where he saw a pizza, and soon, his mouth was agape. “WHY DO I SMELL CAULIFLOWER BUT SEE PIZZA? WHY IS THE CRUST WEIRD? CLAIRE, WHAT DID YOU DO!”
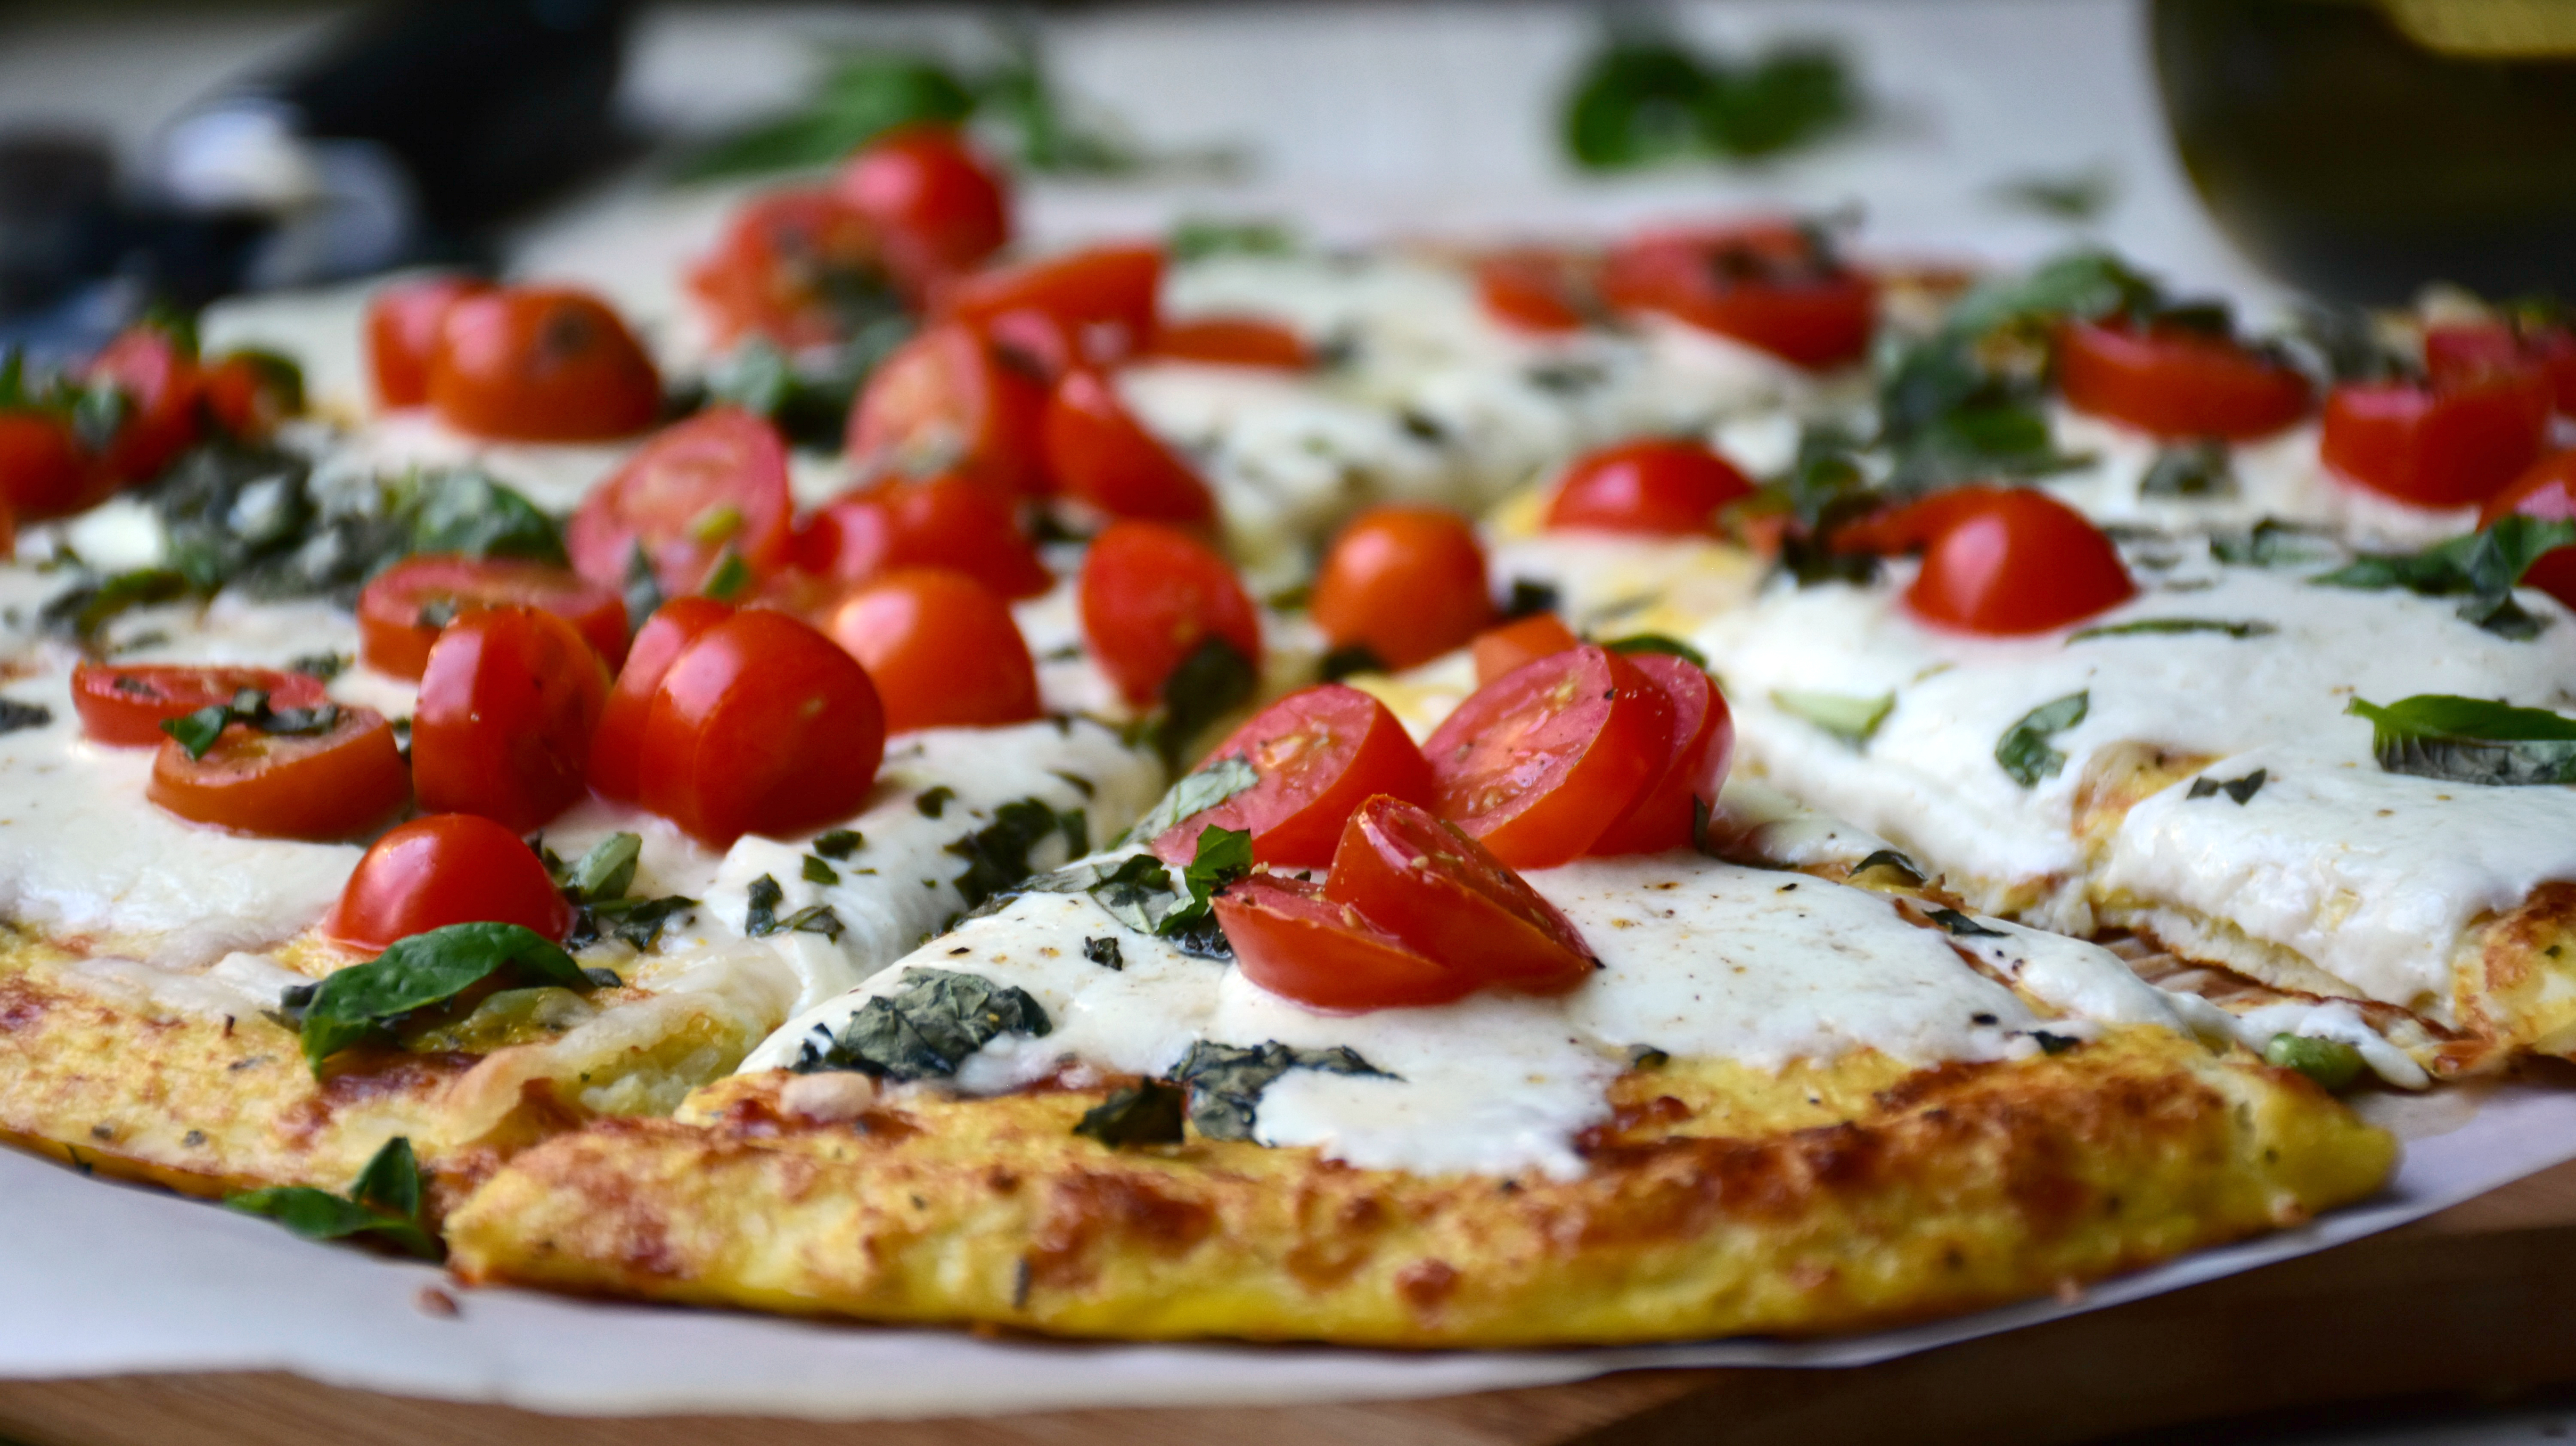
So yeah, there’s no fooling anyone. But truly, it’s really an easy, and low-carb, way to enjoy pizza. The crust definitely has a unique texture (a little more porus than a regular bread crust) but it holds it’s own against the slabs of fresh mozzarella, the deluge of cherry tomatoes and the basil. Now, you could definitely top it with whatever delicious assortments you can think of – and tell me how it turns out!

And also share any success stories you may have with tricking picky husbands, children, friends into eating it. I need some more pointers.
Cauliflower Margherita Pizza
CLICK HERE FOR THE PRINTABLE VERSION OF THIS RECIPE!
Serves about 8. Crust slightly adapted from Jo Cooks.
Prep time: 10 minutes
Cook time: About 15 – 20 minutes
Total time: 25 – 30 minutes
Ingredients:
For the crust:
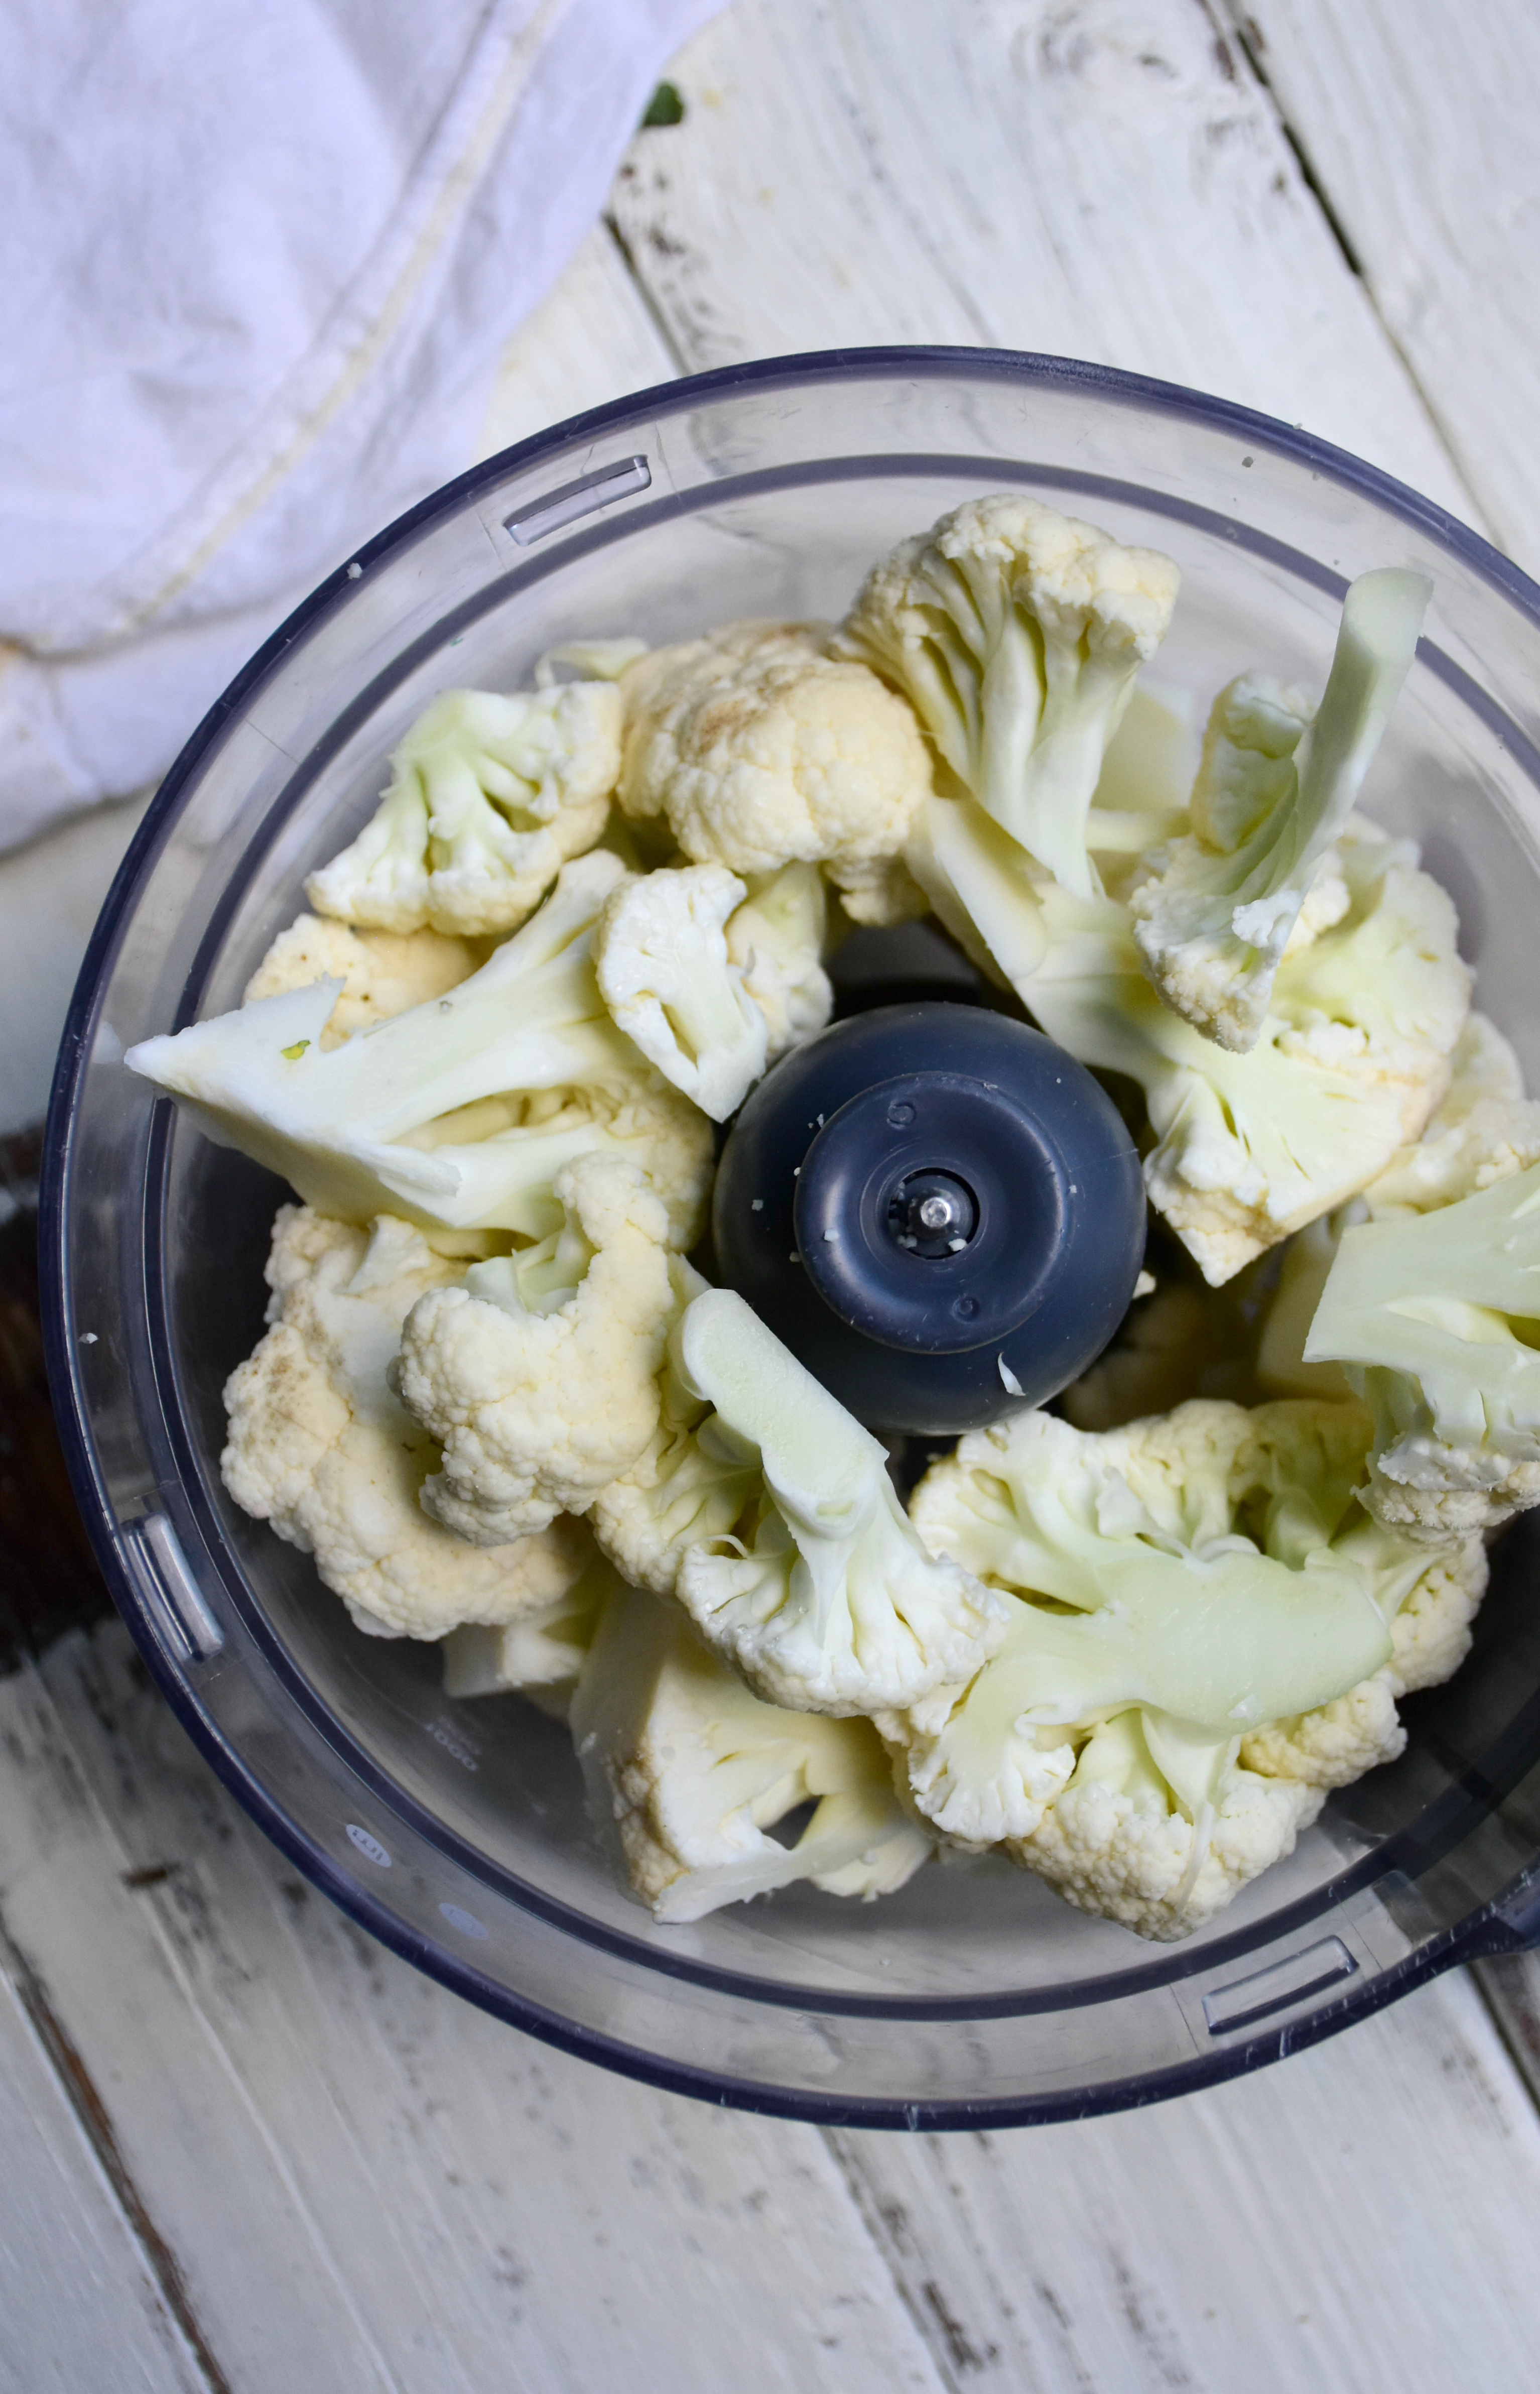
- 1 large head cauliflower, cut into florets
- 2 cups shredded, part-skim mozzarella
- 4 eggs
- 2 tablespoons chopped fresh basil
- 1 tablespoon chopped fresh thyme
- 1 teaspoon garlic powder (or 2 – 3 gloves fresh garlic)
- Salt and pepper to taste
For the toppings:
- 6 ounces fresh mozzarella, thinly sliced
- 1/4 cup shredded mozzarella
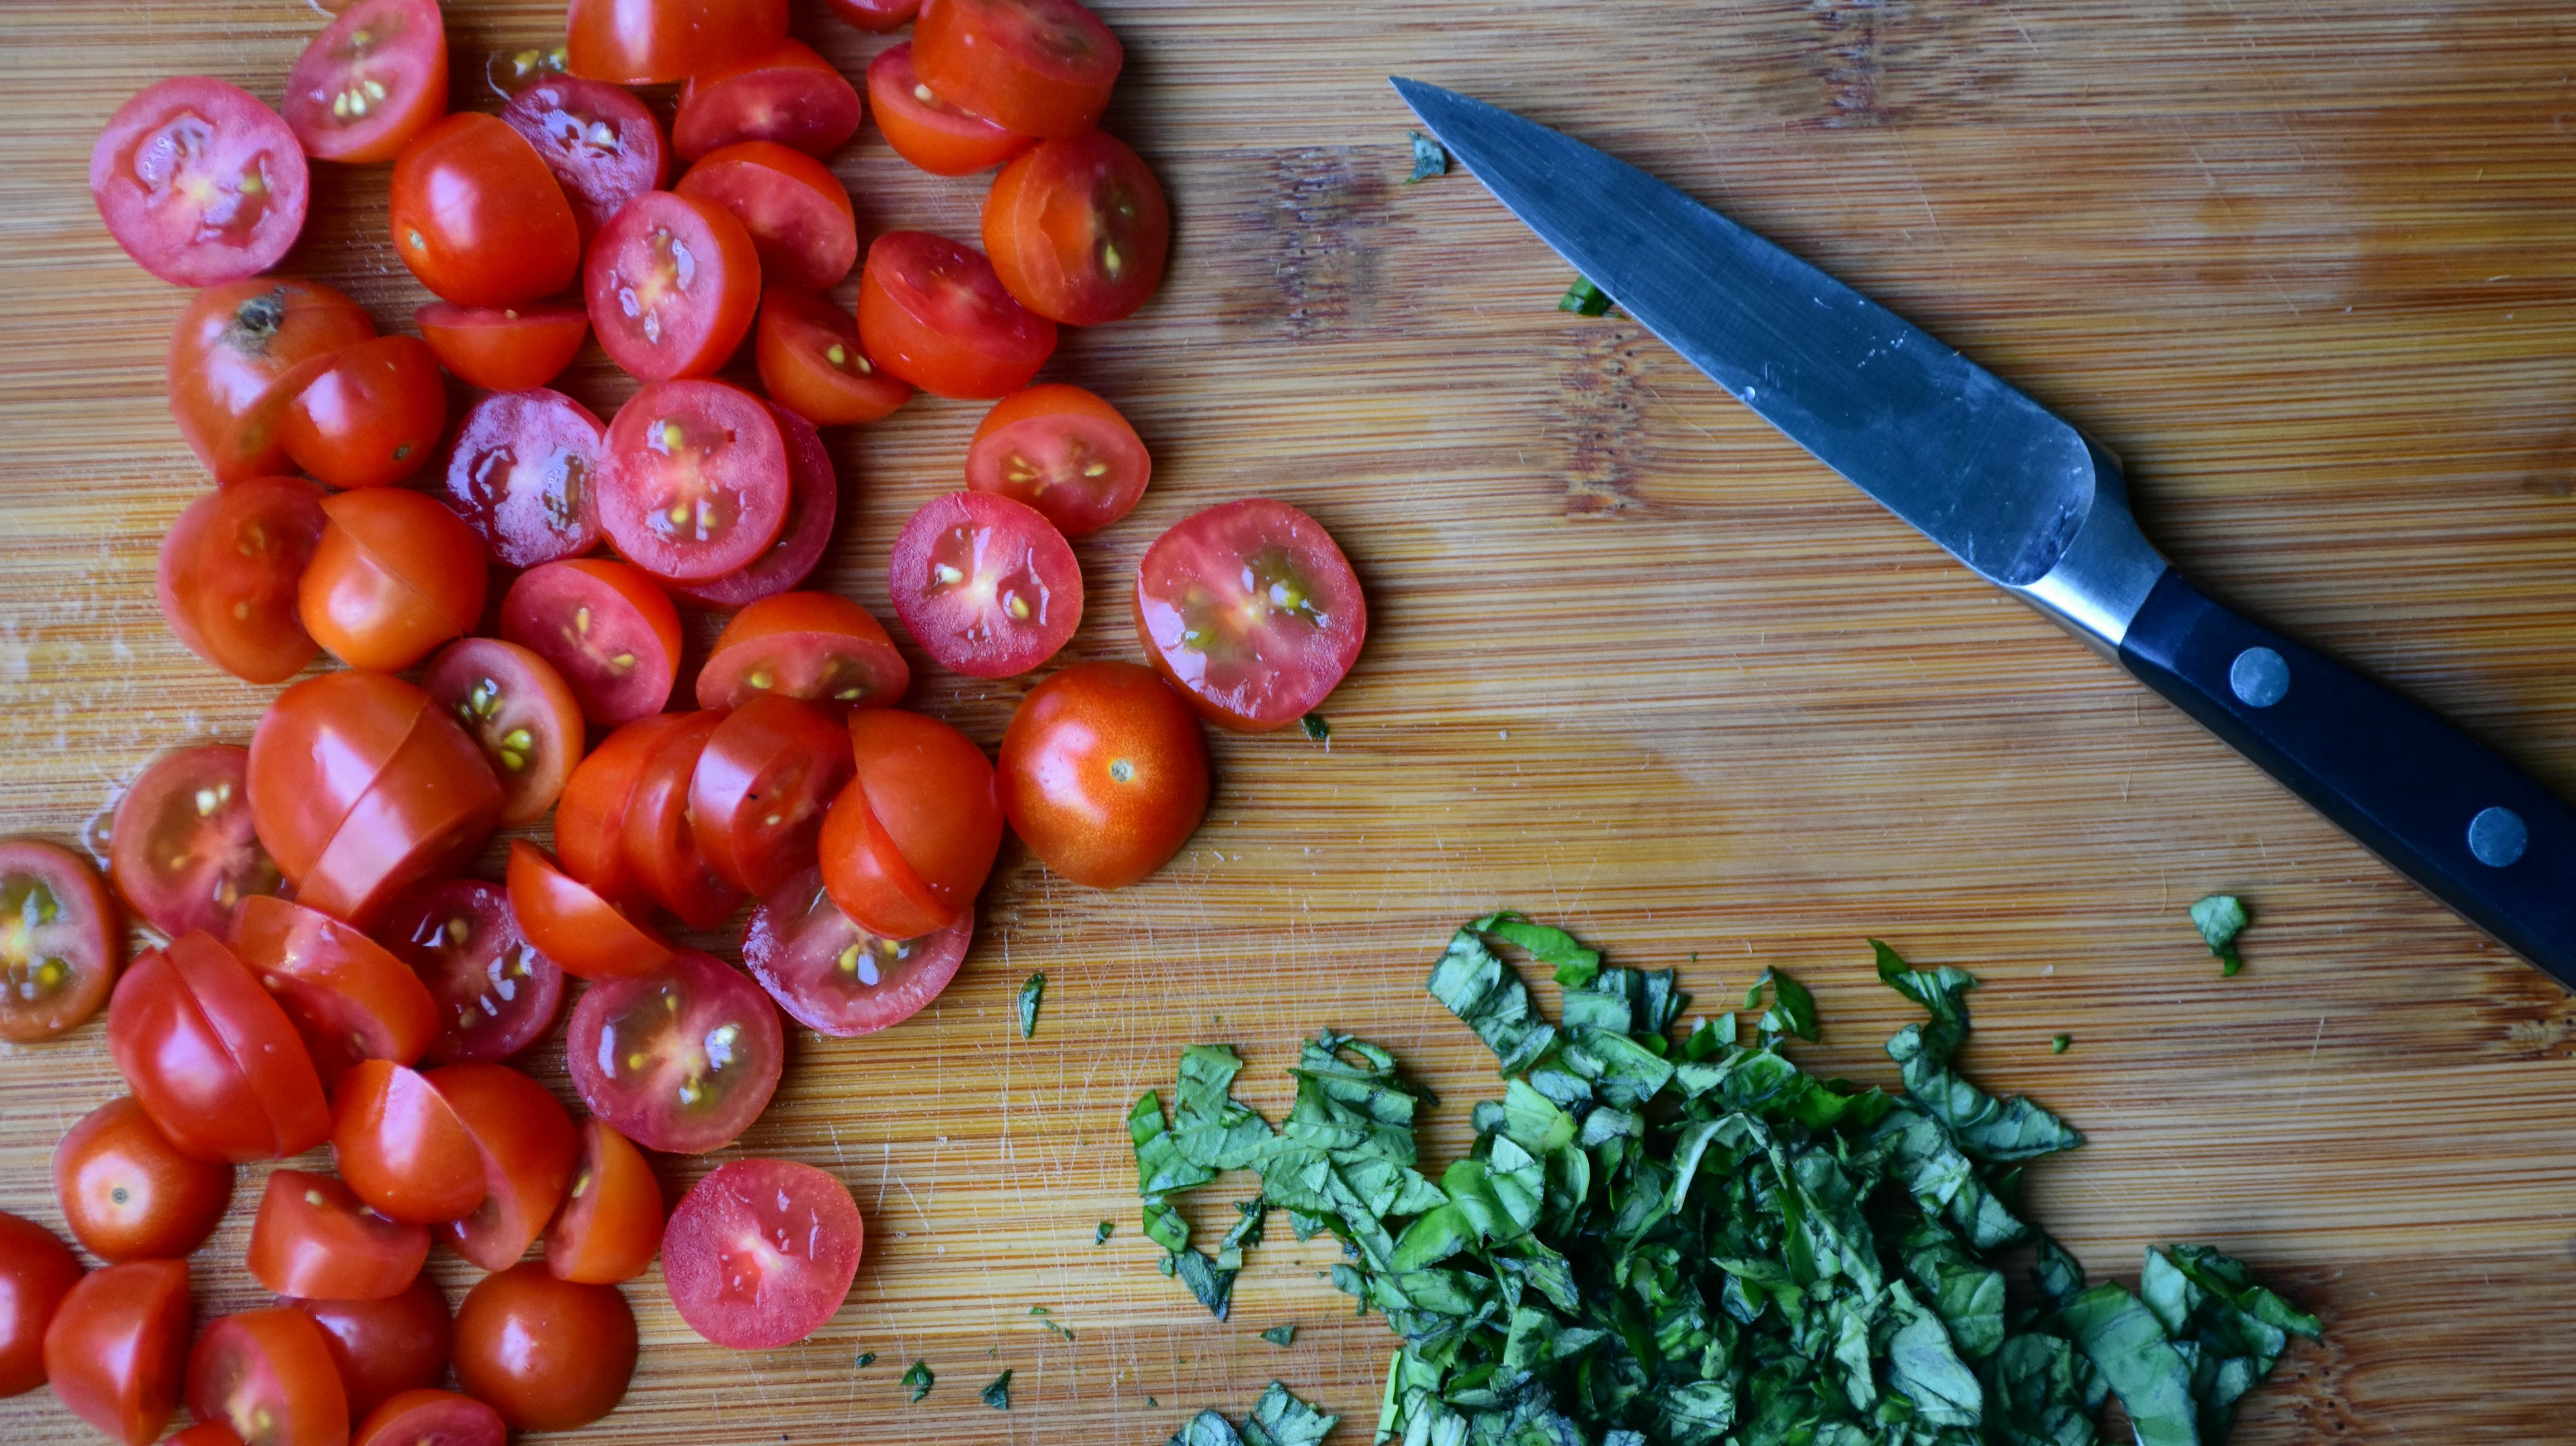
- About 1 cup sliced cherry tomatoes
- Bunch of fresh basil, chopped
- Salt and pepper to taste
Directions:
- Preheat oven to 425 degrees F. Place the cauliflower florets and a dash of salt and pepper into a food processor and pulse until it resembles rice (about 3 – 5 minutes of heavy pulsing). Remove and place in a mesh strainer. Gently push out any excess moisture. Place the pressed mixture into a microwave safe dish, with a lid, and cook for about 4 minutes.
- Once cooked, place in a large mixing bowl. Add the eggs, one by one, stirring after each addition. Mix in the cheese, fresh basil, fresh thyme, garlic powder and additional salt and pepper to taste. (The mixture will look a little moist and soupy, but don’t worry!)
- Line a large pizza pan with parchment paper (and be sure to cover the entire surface) and carefully spread the crust mixture on top. Smooth it out as much as you can, spreading to cover most of the pan (it won’t spread in baking).
- Bake crust for about 23 – 25 minutes, or until golden brown. Remove.
- Sprinkle the shredded mozzarella over the crust. Add the slices of cheese, cherry tomatoes and half of the fresh basil. Add a dash of salt and pepper to taste.
- Bake another 6 – 8 minutes, or until cheese is melted. Garnish with additional fresh basil and enjoy!
Nutritional information per slice:
Calories: 228.5
Fat: 16.5 grams
Carbohydrates: 5.6 grams
Fiber: 1.5 grams
Protein: 11.5 grams
Weight Watchers Points:


