Healthy & Quick Lunch Recipe Roundup with Glad
 PIN IT!
Hurray for longer days! However, I’m not “hooraying” about the fact it’s pitch black at 730 am as I type this. It makes me want to crawl back into my cozy bed for another 2 (read: 6) hours. But I’m going to keep on trucking because I have some amazing recipes to share today for my healthy lunch recipe roundup!
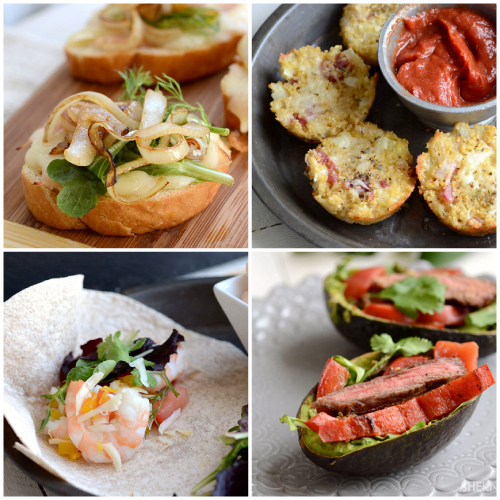
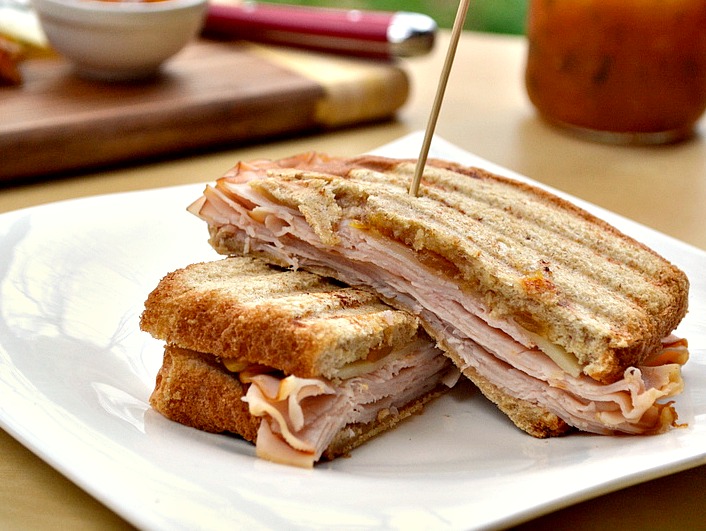
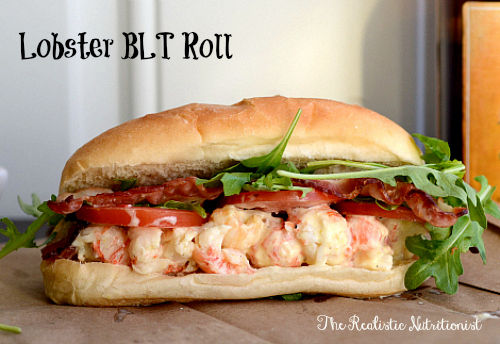
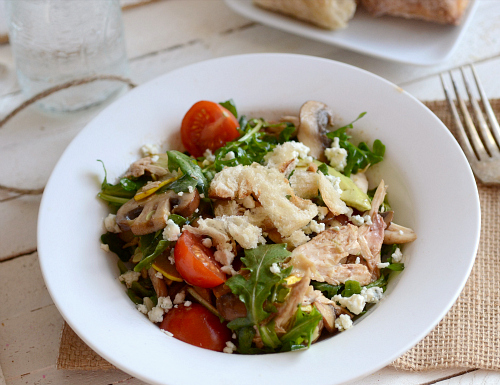
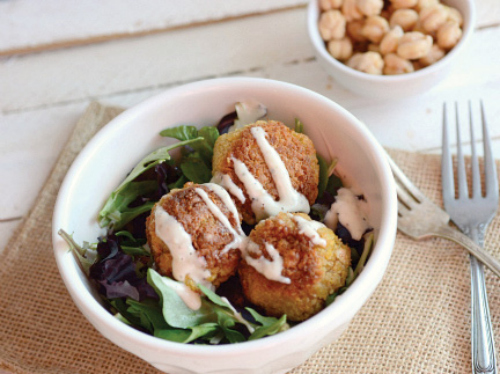
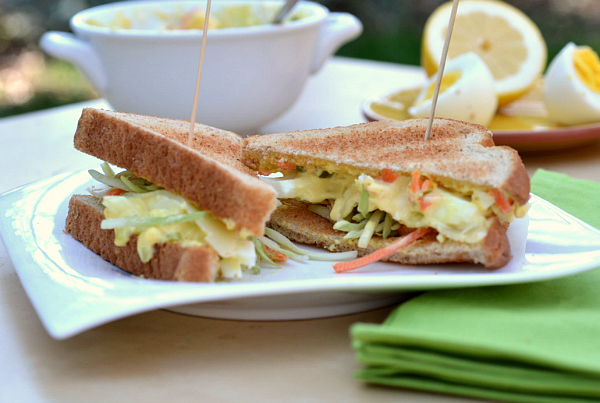
How amazing do these open face turkey sandwiches, quinoa pizza bites, shrimp seviche tacos and fajita stuffed avocados look? With spring just around the corner, I can’t stop eating things that remind me of warmer weather, like tacos and fajitas! The reason behind this roundup is I was selected by BlogHer to do a post on healthy lunches and snacks and how you can easily save time using Glad plastic wrap and storange containers.
The main point of the post was about preparing healthy lunches and snacks for kids, but since the only child I have is a 12 pound shih tzu, I thought I’d talk about something i just dread talking about…ME! 🙂 My profession requires me to cook, a lot, so most of my lunches include leftovers. This is where my love and obsession for Gladware comes in. Not only does food stay fresh longer when placed in Gladware, it makes it SUPER easy to take on the go. Since I work part time at a winery, I do have to take my lunch to work 3 – 4 days out of the week, so it really helps to have things I can easily stash in a lunchbox. (Plus, Gladware = instant bowl!)

Eating healthfully is hard, but that’s not even the hardest part if you work fulltime at an office. The hardest part is finding a healthy, filling meal that can also be transported without any weird side effects. You know how pathetic it is when you’ve packed this amazing salad and you open the container to find the lettuce leaves wilted. Which is why I LOVE LOVE the Glad To Go Lunch containers. You can pack your favorite greens (or cooked pasta noodles, rice) and then pack a little condiment to go over it in the small dressing lid that snaps right instead. It’s absolutely amazing. I packed my husband his favorite cesear salad in there along with a little cup of dressing and he was RAVING about it. The leaves were perfectly crisp because the dressing didn’t soak or wilt them. If you’re looking for an easy healthy way to take your favorites on the go, Glad to go is going to be your new best friend.

They have great new products that make it easy to take salads (like this to-go lunch with dressing lid) and leftover pastas (like this entree easy snap container). Since many of my lunches are either on the go or sitting at my desk, it’s nice to have storage conatiners that work to keep my favorite foods fresh!
Now, speaking of favorite foods, here’s a roundup of eight of my absolute favorite healthy & quick lunch recipes that are perfect for busy people like me who ALWAYS seem to be on the go. Most of these can be made the night before and stored, so all you need to do is grab and go!

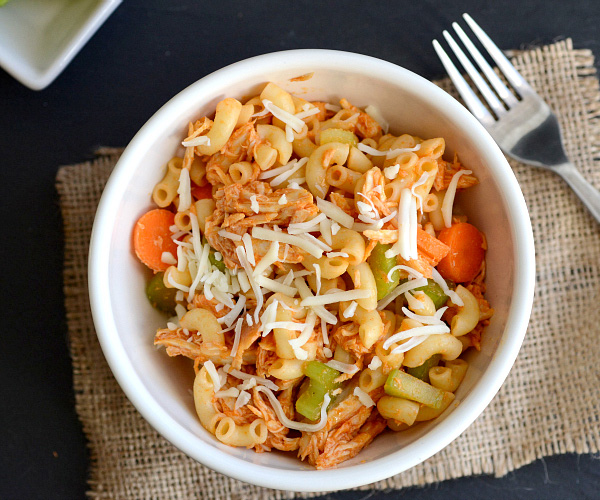
Buffalo chicken macaroni salad
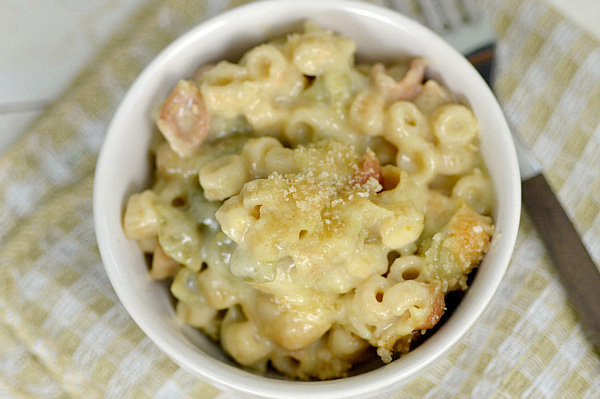
Gluten-free and vegan mac n cheese
Happy lunching! You can also create your own Pinterest board for a chance to win weekly prizes. Timing of the Pinterest Board Contest: 3/18 – 4/28
Steps in entering the contest:
- Step 1: Click the Glad photo in the gallery ( www.glad.com/food-storage/mom-
made/pinterest ) that most inspires you to get started pinning. - Step 2: Choose “create new board” in the dropdown menu of the Pinterest pop up screen. Title your new board “Inspired Lunches”
- Step 3: Find at least 4 photos anywhere on the web that fits the theme of “Inspired Lunches” and pin them to your new board. Include #gladinspiredlunches in your photo description.
- Step 4: Once you’ve pinned 5 photos (including one from the Glad Pinterest Gallery) come back to ( www.glad.com/food-storage/mom-
made/pinterest ) submit your board.
If you make a pinboard in the Glad contest, share your pinboard URL in the comments—I’d love to see what you’ve done! In addition, I’m always looking for inspiration so tell me how you make your inspired lunches.
Visit Glad’s page on BlogHer for more ideas!
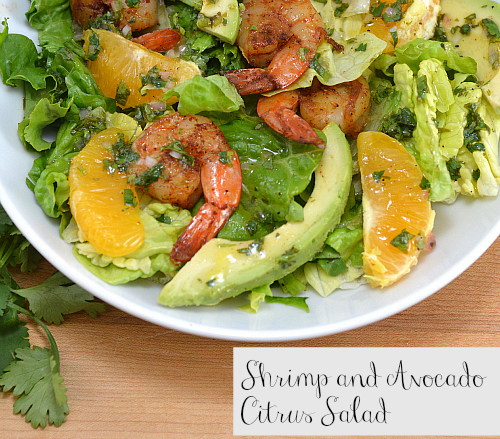
Shrimp and Avocado Citrus Salad
Can I tell you how much I love Kristina with a capital L? She’s always whipping up such amazing recipes on her aptly titled blog, Whipped. I’ve made her avocado quesadillas and chocolate chunk bread, which are HUGE faves now in my house. I’m currently doing some work (and hopefully sunning myself) in Moorea (French Polynesian Islands) so the gorgeous Kristina is here to share another one of her fabulous recipes, this one for a healthy shrimp and avocado citrus salad!
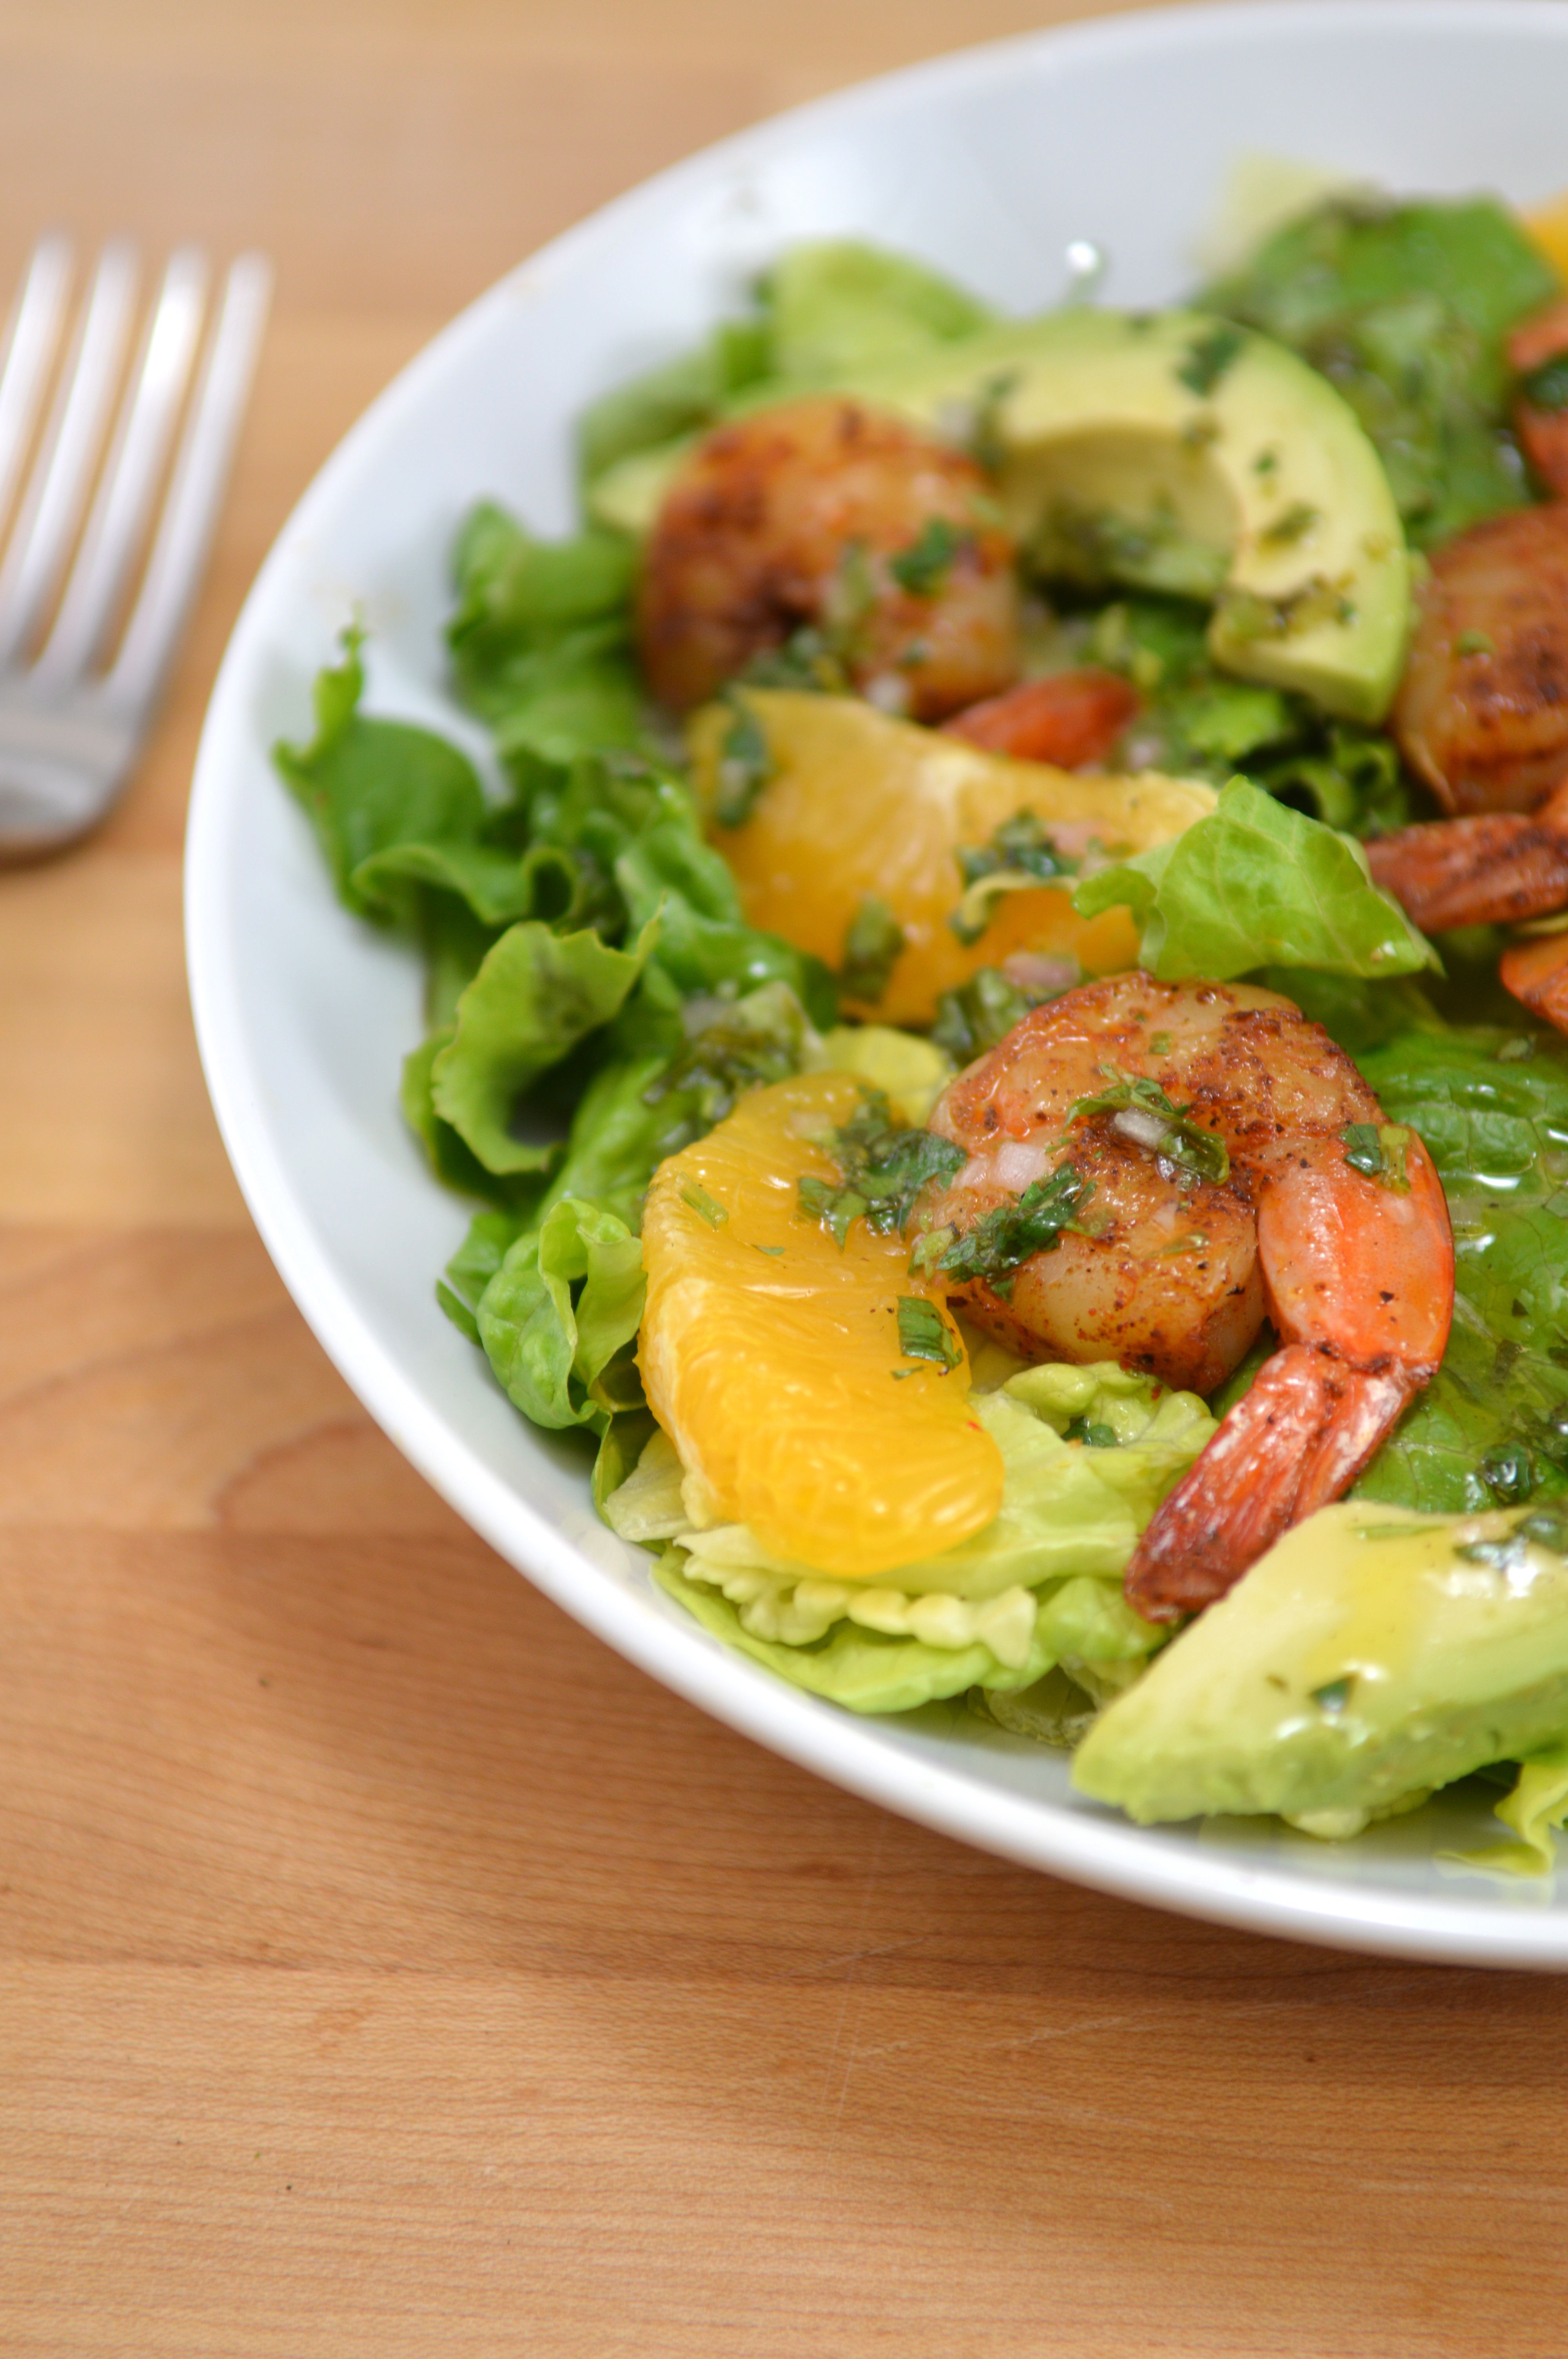
Hi Everyone! My name is Kristina, and I’m the blogger behind Whipped, a healthy cooking, baking, and nutrition blog. I am so excited to be guest posting for Claire today! I’ve been stalking her delicious site since I can remember and have her to blame for most of my foodie obsessions like chocolate peanut butter smoothies and pumpkin puree! If there isn’t a jar of Skippy in my pantry there’s a serious problem. Serious guys. So when she gave me free reign to come up with a recipe to share with you all, I knew it had to live up to some pretty high expectations. Enter – a little taste of summer. Because who can say no to a sneak peak of summer flavors at the end of winter?? We’ve still got a bit of lingering snow in Chicago so I couldn’t think of any better way to fast forward to June then with a bright salad featuring spicy shrimp, creamy avocado, and a little sunny citrus.
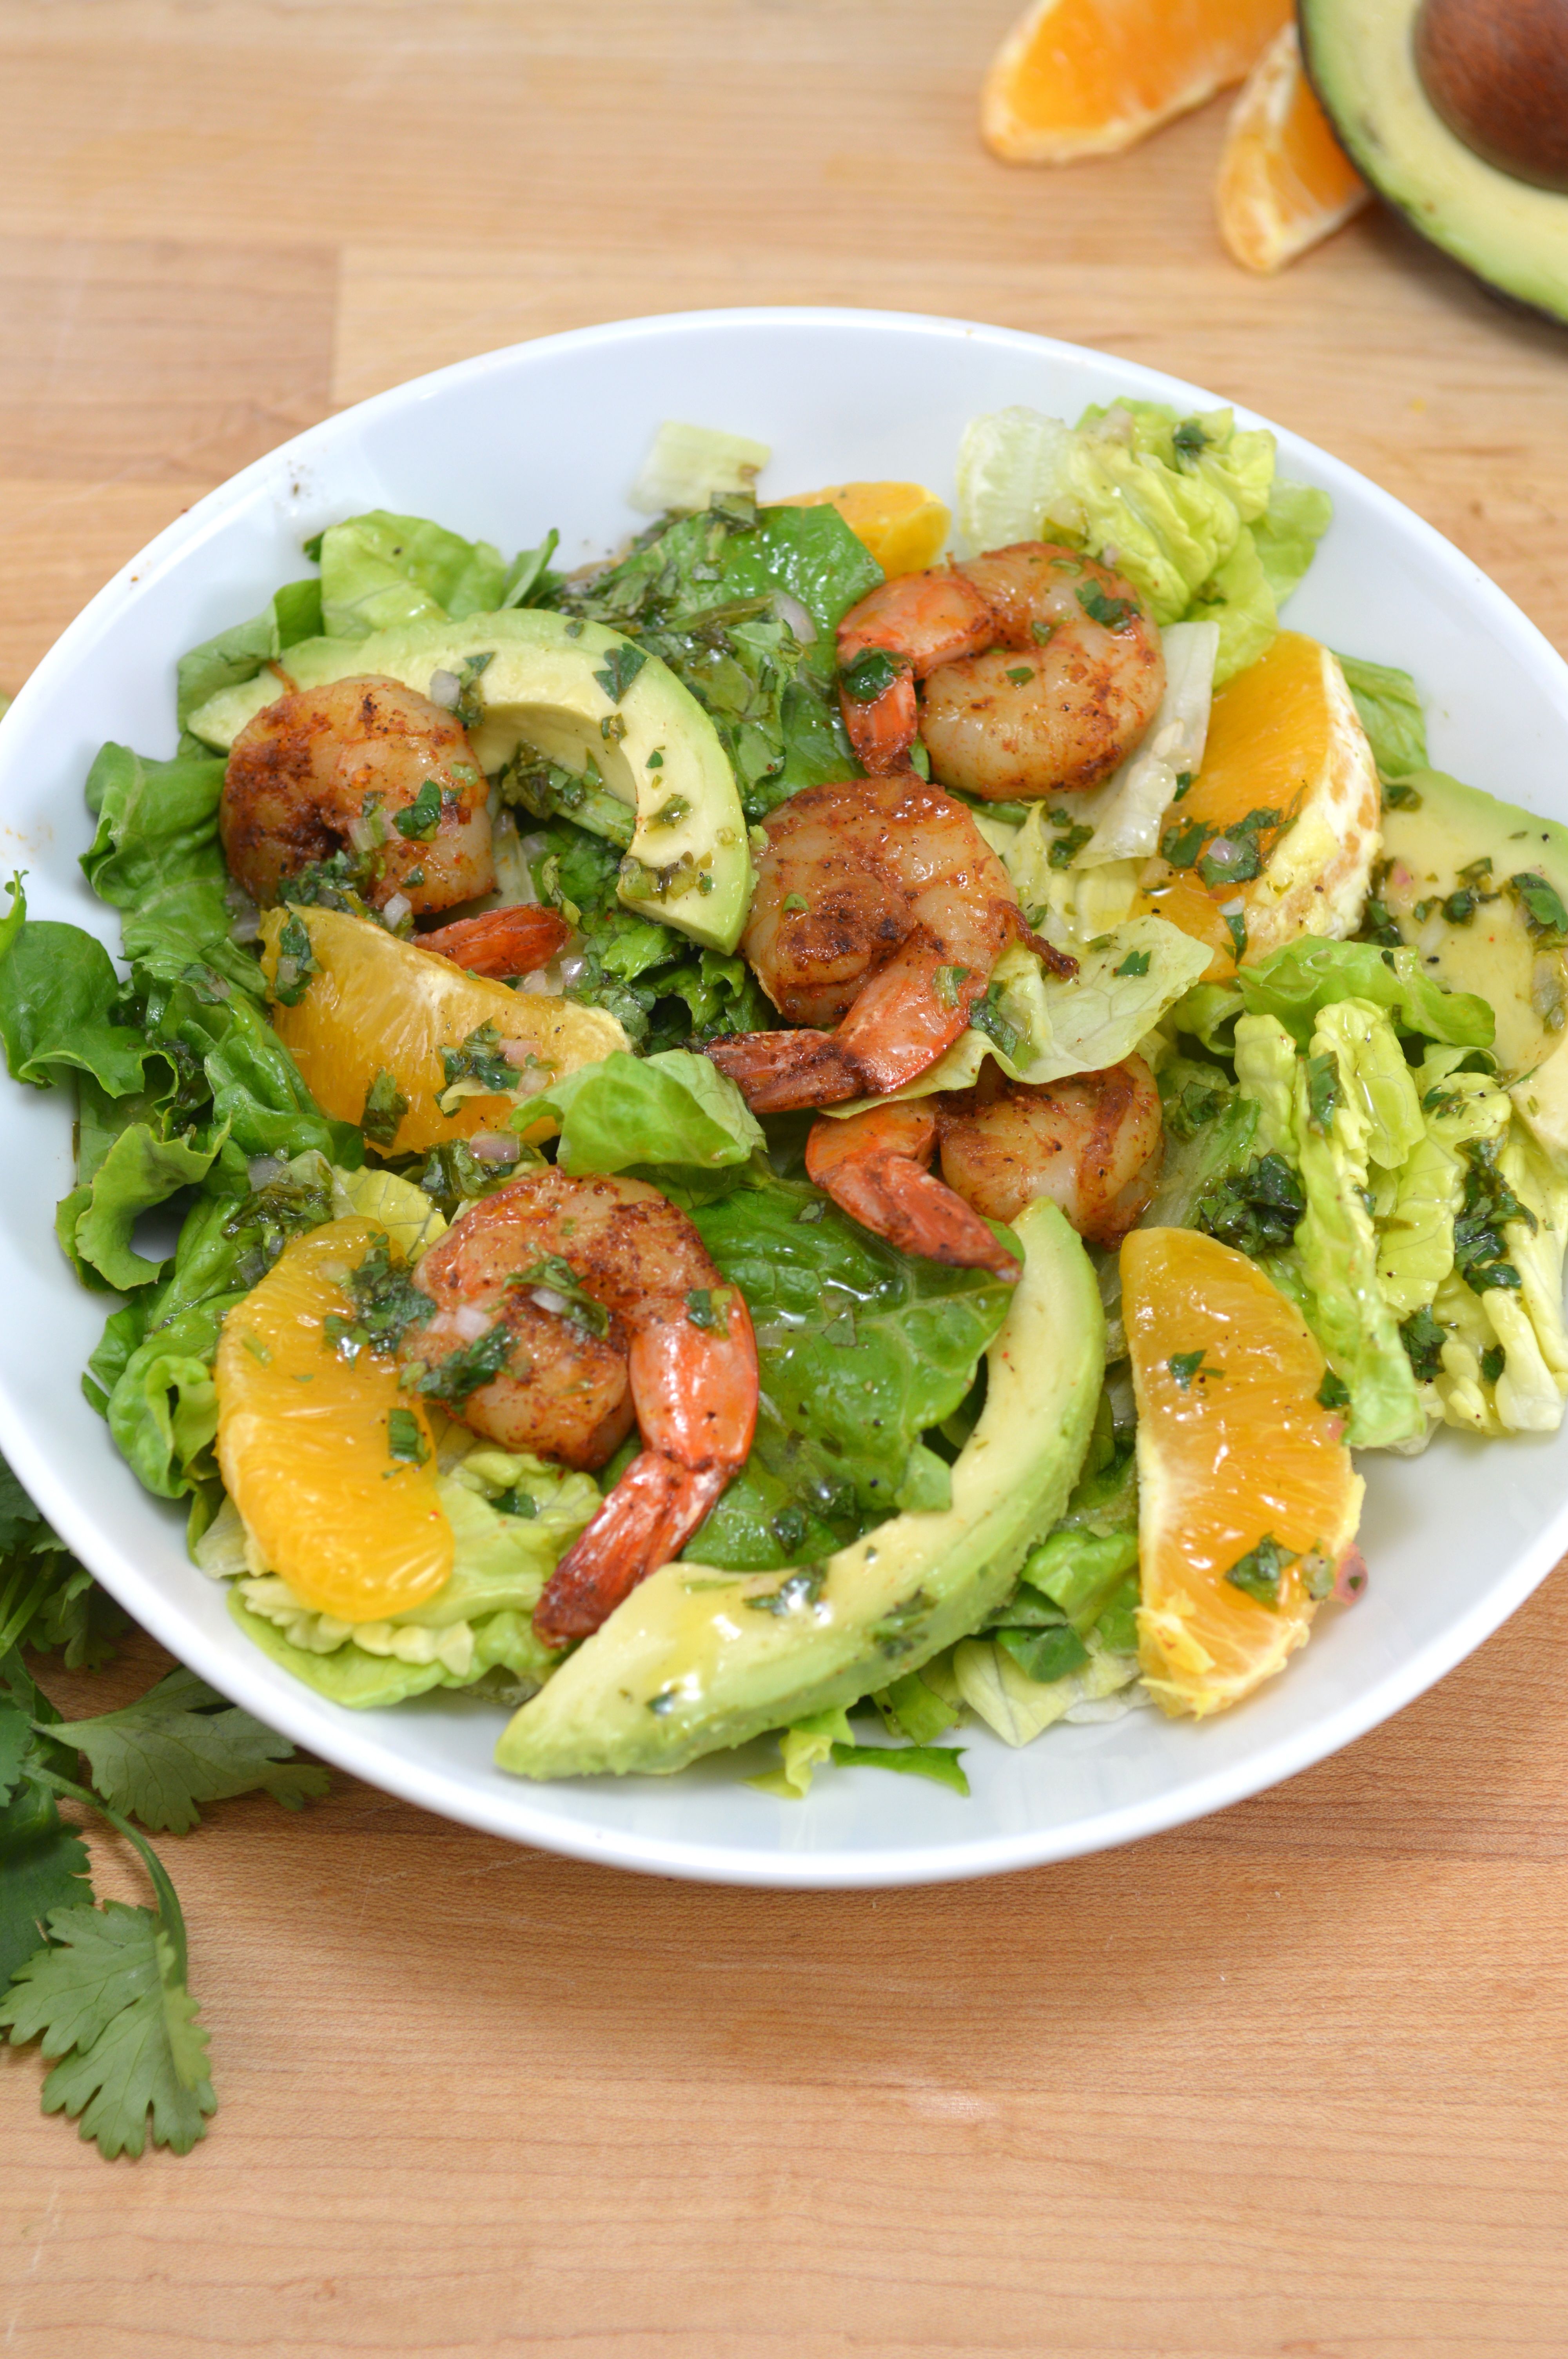
You can get this on the table –start to finish – in 20 minutes. All it takes is a couple minutes to sauté the shrimp and another few to whisk together the dressing! So this is a great quickie weeknight meal but also rich enough to stand in on the weekends. So go ahead, pretend like its June! Because maybe if we all just click our heels a few times Sam Champion will stop warning us of the newest cold front and we can all go back to sipping mojitos by the poolside…please? Thanks again Claire for sharing your delicious blog with me today! Enjoy everyone!
Shrimp and Avocado Citrus Salad
Yields 4 servings.
Ingredients:
For the Shrimp
- 1 ½ teaspoon olive oil
- 12 ounces medium shrimp, peeled and deveined
- 1 ½ teaspoons chili powder
- ¼ teaspoon kosher salt
- 1/8 teaspoon pepper
For the Dressing
- 3 tablespoons fresh lime juice
- 2 tablespoons olive oil
- ¼ teaspoon salt
- 1/8 teaspoon pepper
- 2 tablespoons chopped fresh cilantro
- 1 teaspoon honey
For the Salad
- 1 avocado, pitted and sliced into 12 wedges
- 8 cups romaine lettuce
- 1 orange, peeled and cut into wedges
Directions:
- Make the Dressing: In a medium bowl, whisk together lime juice, olive oil, salt, pepper, cilantro, and honey. Set aside while you prepare the shrimp.
- Make the Shrimp: Toss together shrimp, chili powder, salt, and pepper in a medium bowl.
- Heat olive oil in a large skillet over medium-high heat. Add shrimp and sauté until done, stirring frequently; about 3 minutes or until opaque.
- Assemble the Salad: Arrange 2 cups of lettuce on four plates. Divide shrimp, avocado, and orange wedges evenly among the dishes. Drizzle with dressing. Serve immediately.
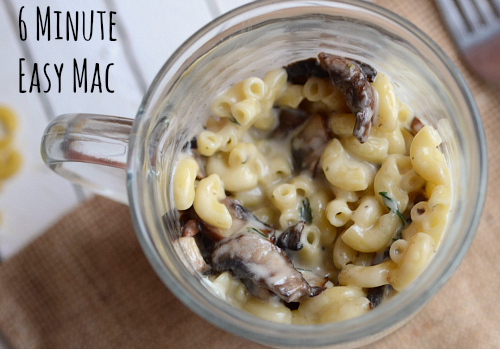
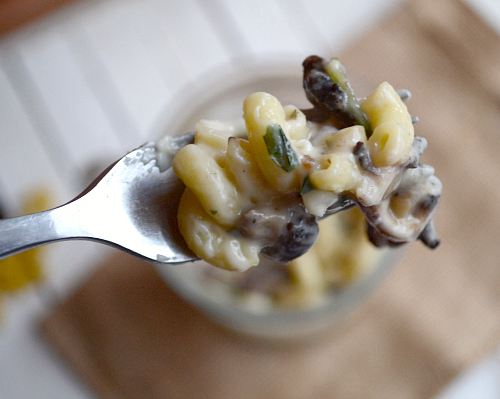
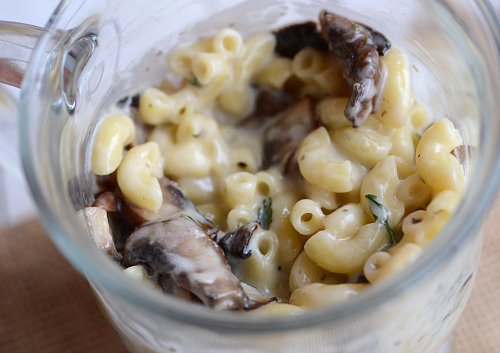
6 Minute Easy Mac Recipe
I’m a foodie, a Le Cordon Bleu Paris hopeful and a die hard French food fanatic, and here I am, on this dreary Tuesday, giving you a recipe for easy mac. BUT, listen. This isn’t the weird fake cheese stuff you’d buy in college when you only had $1 left on your meal card. This 6 minute easy mac recipe is made with some healthier ingredients, like skim milk & part-skim cheese and has had a bit of a gourmet makeover, with the addition of caramelized shrooms and fresh basil. This isn’t the stuff you find in those blue cups.
I got this idea from Pinterest. I kept seeing the pin (this one from Babble) over and over again and finally, during a moment of weakness (read a typical Tuesday night) I said “FINE PINTEREST! I’LL MAKE IT!” So here you go, friends. You get the product of my mac n’ cheese obsession and a too-busy-for-words week.
But you know what? In all seriousness, this is GOOD mac n’ cheese! It tastes just like the creamy stove top kind you spend 30 minutes making. Since I’m leaving on Friday for 9 days, this week has been NUTS. I have to get everything in before I leave at 5:30 am. So basically I want to rip my eyes out and sob hysterically. So a delicious dinner done in 6 minutes is the equivalent of a Cartier bracelet right now. Okay, not really but you get my gist.
Plus, you can totally customize it. Hate Swiss cheese? Add cheddar. Want more veggies? Add them in! You can pretty much make any kind you want, all you need to keep the same are the liquid measurements and noodles. To quote a pinner, NEVER BUY Easy mac again. I mean, obviously for health reasons (I’m 100% certain the powdered neon cheese has some traces of poison in it) and this is 10000x better.
5 Minute Easy Mac Recipe

CLICK HERE FOR THE PRINTABLE VERSION OF THIS RECIPE!
Serves 1. Recipe adapted from Babble.
Prep time: >5 minutes
Cook time: About 5 minutes
Ingredients:
- 1/2 cup water
- 1/3 cup elbow macaroni noodles
- About 1/4 cup skim milk
- 1/3 cup part skim shredded mozzarella
- 2 1/2 tablespoons part skim shredded swiss
- 3 baby bella mushrooms, sliced
- 1 tablespoon chopped fresh basil
Directions:
- Add noodles and water to a large mug. Microwave on high (100% power) for 2 minutes. Stir and then microwave again for another 2 – 3 minutes, or until liquid is fully absorbed and noodles are cooked.
- Meanwhile, heat mushrooms in a small skillet coated with cooking spray over medium heat. Cook until soft, about 4 minutes.
- Remove from microwave and immediately stir in milk and cheeses. You may need to microwave the mixture for like 30 seconds or so to absorb the milk. Stir in mushrooms and basil and eat!
Nutritional information:
Calories: 350
Fat: 12.3 grams
Carbohydrates: 31 grams
Fiber: 2.5 grams
Protein: 21 grams
Weight Watchers Points: 8
 Claire
Tags:dinner recipes, easy recipes, homemade easy mac recipes, lunch recipes, mac n cheese recipes
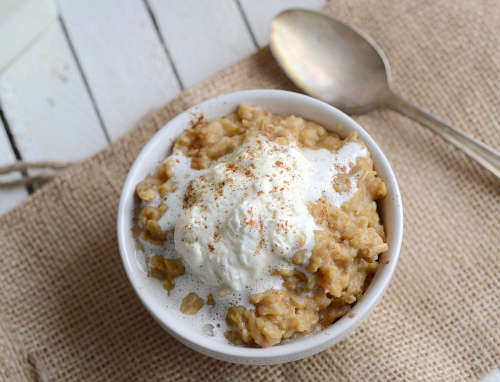
Creamy Pumpkin Pie Oatmeal & A Keurig Giveaway (NOW CLOSED)
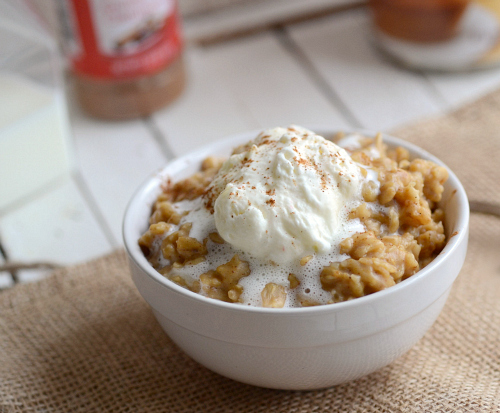
DC, you are a big ol’ fail whale. Remember how you freaked out because you thought we were going to get 14 feet of snow and in reality, we just got slushy rain? Oh, of course you do, it was yesterday! Basically, the government shut down and everyone thought the world was ending because it flaked a smidgen. Sometimes, I just find it so comical to live here. The snow may have missed us but it was still really frigid. Which is why I made a BIG ol’ bowl of this creamy pumpkin pie oatmeal for breakfast. (For only the, um, 15th week in a row).
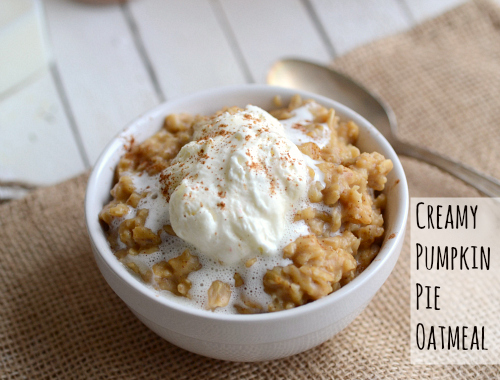
Even though I wish that was ice cream on top, it’s just a dab of whipped cream. Because I may be crazy, but I’m not that nuts. Although wouldn’t ice cream on oatmeal be a dream come true? Maybe in another alternate universe where excessive calories did not, in fact, make you fat.
Wouldn’t that just be awesome? You wake up, eat ice cream for breakfast, and still stay skinny! I’m imagining this world to be very futuristic. We’ll all wear those unforgiving tight silver jumpsuits, fly around on weird scooter things and have those really ugly polarized sunglasses with the goggle like bands to keep them on your head. You have to know what I’m talking about? And all the women have this bizarre purple hair? Wouldn’t that be a dream. We could eat bowls of this A-FREAKING-MAZING creamy pumpkin pie oatmeal with all the ice cream in the world and not even bloat. Oh such a world.
I seriously ran out of pumpkin yesterday. I want to cry in a corner because looking at this is making my face salivate like WOAH. Oh well, at least I have my coffee. Oh, and speaking of coffee, I have an awesome giveaway for y’all! Just scroll a wee bit down for the details! In the meantime, GO GET THIS RECIPE. Print it. Frame it. Laminate it. Do whatever you can to never lose it. It’s life changing.
CLICK HERE FOR THE AMAZING PUMPKIN PIE OATMEAL RECIPE ON CHEF MOM!
Nutritional information per serving (1 cup serving size):
Calories: 271.5
Fat: 8 grams**
Carbohydrates: 44.25 grams
Fiber: 6 grams
Protein: 12 grams
Weight Watchers Points: 7
**Sub in skim milk to dramatically lower this. I just love the extra creaminess you get from lower fat milk.
NOW, the giveaway! One of you lucky ducks will win a Keurig brewing machine AND 5 sampler packs of the new (and super amazing) Cafe Escapes k-cups, all courtesy of the fabulous folks at Green Mountain Coffee.
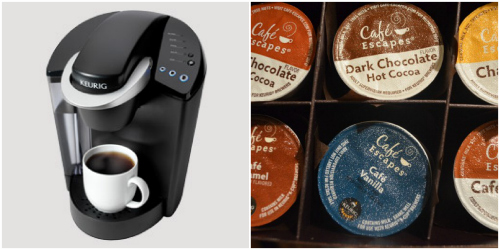
The Café Escapes collection has a bunch of amazing coffees and flavors, including mochas, spicy chai and two brand new flavors: Café Caramel and Café Vanilla. Oh, and all of them are under 100 calories! WIN! I’m utterly obsessed with my new brewer (see evidence here) so I know who wins it will just fall in love.
To enter, simply fill out the prompts below! Giveaway ends Tuesday, March 12th at midnight.
Claire
Tags:breakfast recipes, creamy recipes, keurig, low fat oatmeal recipes, oatmeal recipes, pie recipes, pumpkin recipes
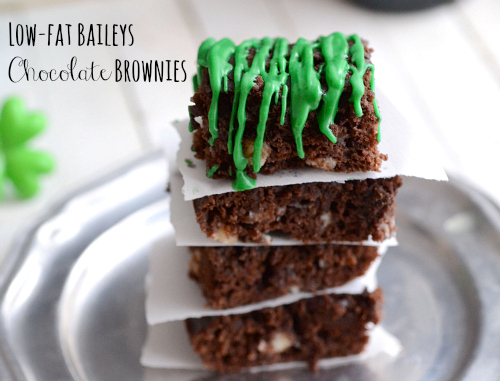
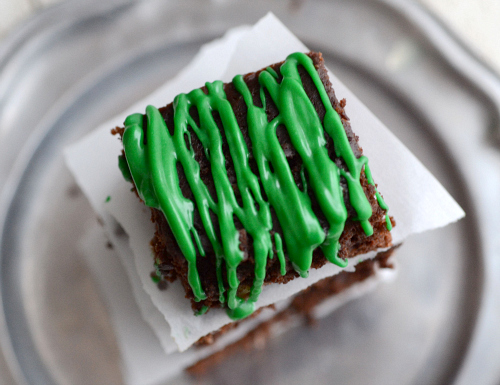
Low-fat Baileys Chocolate Chunk Brownies
I just love St. Patrick’s Day. Not only are you encouraged to drink before 10 am, but you can dye all of your food green and talk with a Irish accent. Plus, you can totally pinch people for the fun of it. Although, I must say, my favorite part of the holiday is the fact that you can add Baileys Irish Cream to everything. Even though I’ve been known to stick a straw right in the bottle, it’s much more socially acceptable to bake with it and eat it in a dessert, like these low-fat Baileys chocolate chunk brownies.
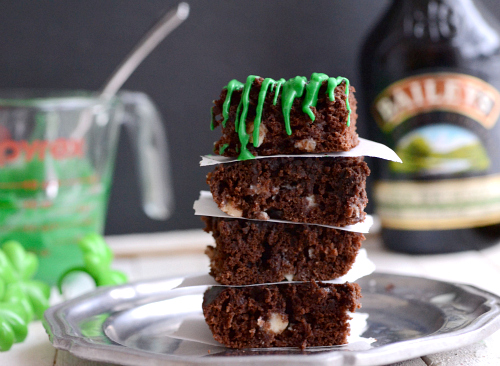
I always feel like I’m playing Jenga when I’m stacking brownies or bars on top of each other. It’s constantly a game to see how big of a mess I can make when I’m doing a photoshoot.
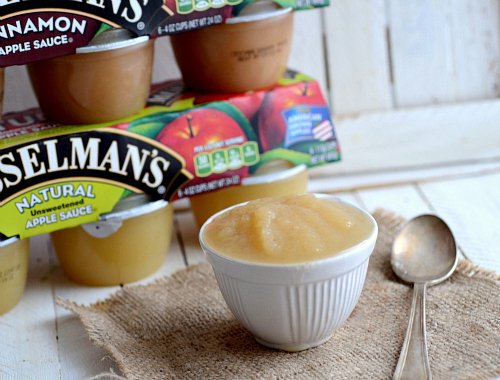
I was contacted by Musselman’s Applesauce a month ago because they are doing a huge #AppleSauceInstead campaign. They are pushing people to use applesauce instead of higher fat ingredients in baking, like in place of butter or oil, and to snack on it in place of sugar laden candy bars, snacks or protein bars.
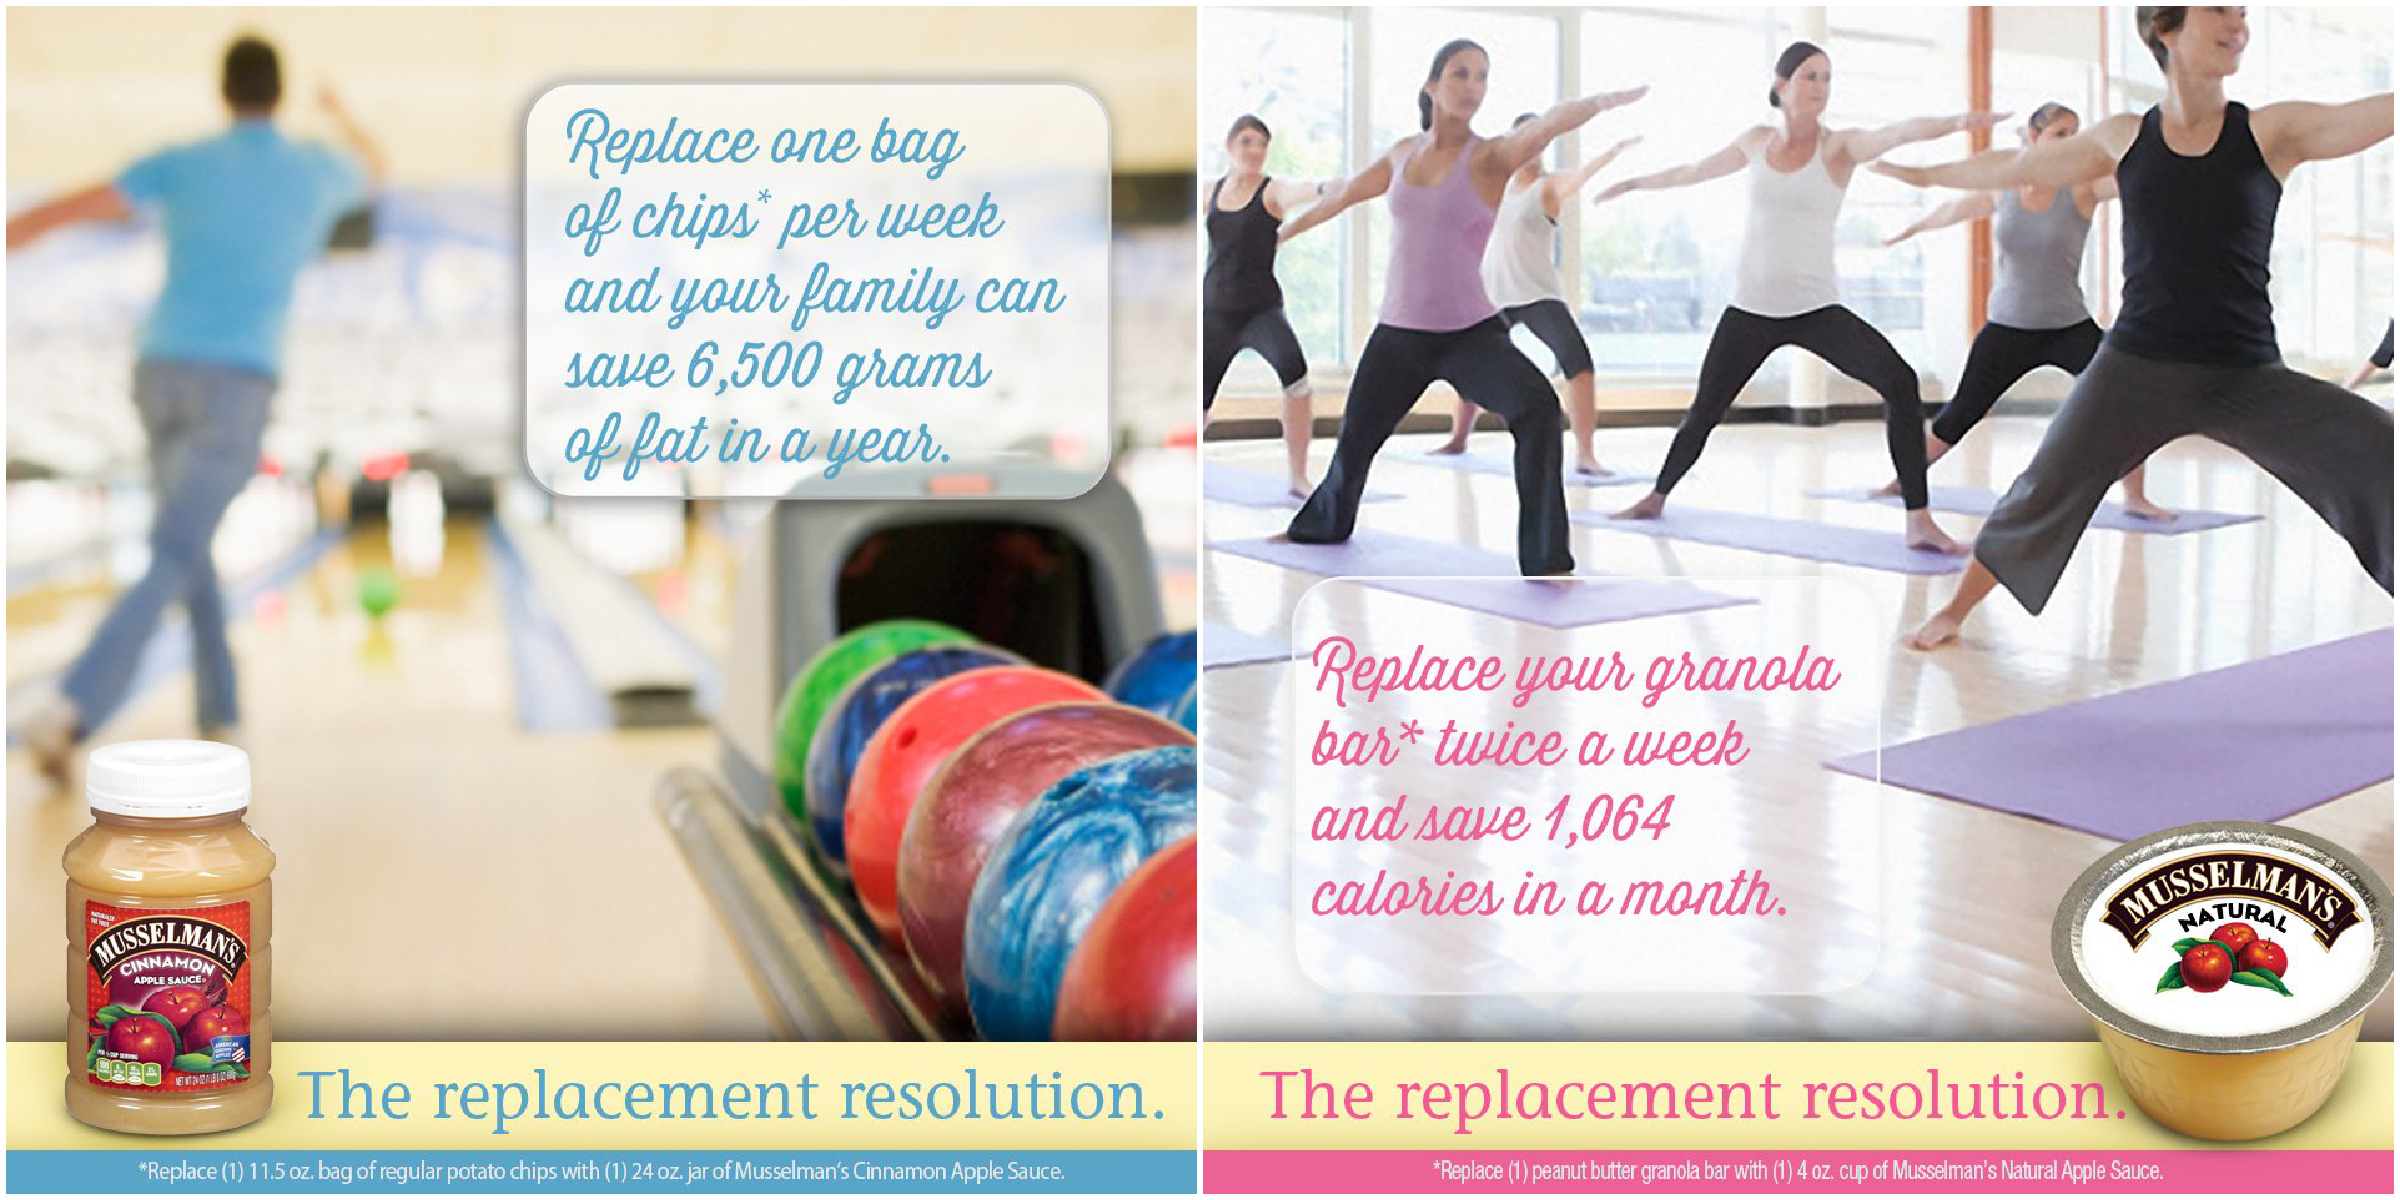
So, they asked us to do our own replacement resolution and I immediately thought baking. If you’ve followed this blog for any time, you know I’m a HUGE advocate for applesauce. I usually replace 3/4 of the butter or oil in a recipe for regular, unsweetened applesauce Not only do you save a ton of fat grams and calories, but you get a moister, fluffier, more dense product in the end. Like, take these brownies for instance. They are so moist they practically melt in your mouth.
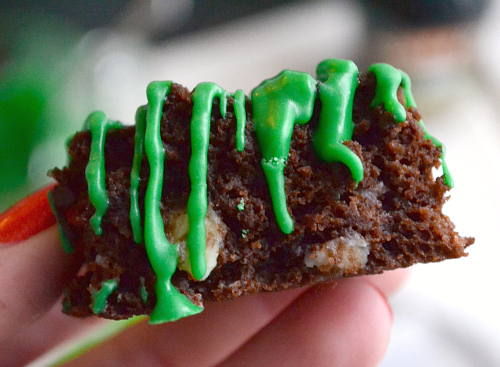
Granted, applesauce isn’t a great addition if you are looking for a super fudgy brownie. But for a moist cakey one? It’s absolutely perfect. As you read yesterday, this girl has to get into a two-piece in two weeks and the last thing I need is any extra fudginess. I can’t rave about these chocolate filled bites of heaven enough. I mean boozy brownie made with chunks of white chocolate and cocoa, what’s not to love here?
Low-fat Bailey’s Chocolate Chunk Brownies
CLICK HERE FOR THE PRINTABLE VERSION OF THIS RECIPE!
Yields about 16 small brownies. Recipe adapted from Cooking Light.
Prep time: 10 minutes
Cook time: About 18 minutes
Ingredients:
- 1 cup all-purpose flour
- 1/2 cup unsweetened cocoa powder
- 1/4 teaspoon baking soda
- Dash of salt
- 2 tablespoons Musselman’s unsweetened applesauce
- 2 tablespoons butter, softened
- 3/4 cup sugar
- 2 eggs
- 1/4 cup + 1 tablespoon Baileys Irish Cream
- 1 teaspoon vanilla
- About 2/3 cup chopped white chocolate (you want chunks), divided
- 1/2 teaspoon canola oil
- Green food dye
Directions:
- Preheat oven to 350 degrees F. Grease an 8 x 8 glass baking dish with nonstick cooking spray.
- In a large bowl, whisk the flour, cocoa powder, baking soda and salt. In another bowl, beat the butter, sugar, eggs, Baileys, vanilla and applesauce together. Add the wet ingredients to the dry ingredients and mix to combine. Stir in 1/3 cup white chocolate chunk pieces.
- Pour the batter into the greased pan and smooth the top with a spatula.
- Bake for about 18 minutes, or until a toothpick inserted comes out with just a few moist crumbs. Let cool completely.
- Heat remaining white chocolate in a microwave safe dish for about 1 minute, stirring after 30 seconds. Add oil to the chocolate and stir (this will make it thinner so it’s easier to glaze). Add food dye.
- Glaze the brownies with the green white chocolate and enjoy!
Nutritional information per brownie:
Calories: 135.5
Fat: 5 grams
Carbohydrates: 22 grams
Fiber: >1 grams
Protein: 2.1 grams
Weight Watchers Points: 4
Claire
Tags:baileys recipes, brownie recipes, chocolate recipes, healthy recipes, low fat recipes, low-fat chunky recipes


