Photography
Welcome! The world of photography is a new one to me. In fact, I didn’t really enjoy taking photos until I got my DSLR in March of 2011. Now, you’d be hard pressed to find a moment when I’m not hiding behind the lens of my camera. Photography is something I’ve fallen head over heels in love with and I’m so happy you’d like to share in that love! Click here for great tripod recommendations!
Food photography, as many bloggers can attest to, is not easy. There are all these elements that need to work in order for your food to look as delicious as it tastes. I’m no expert, by any means, but I’d love to share a few tips and tricks I’ve learned over the years. First, let’s look at a few of my personal favorite food pictures I’ve taken over the past year. [All photos are taken with a Nikon d3100 DSLR and a 60mm micro lens].
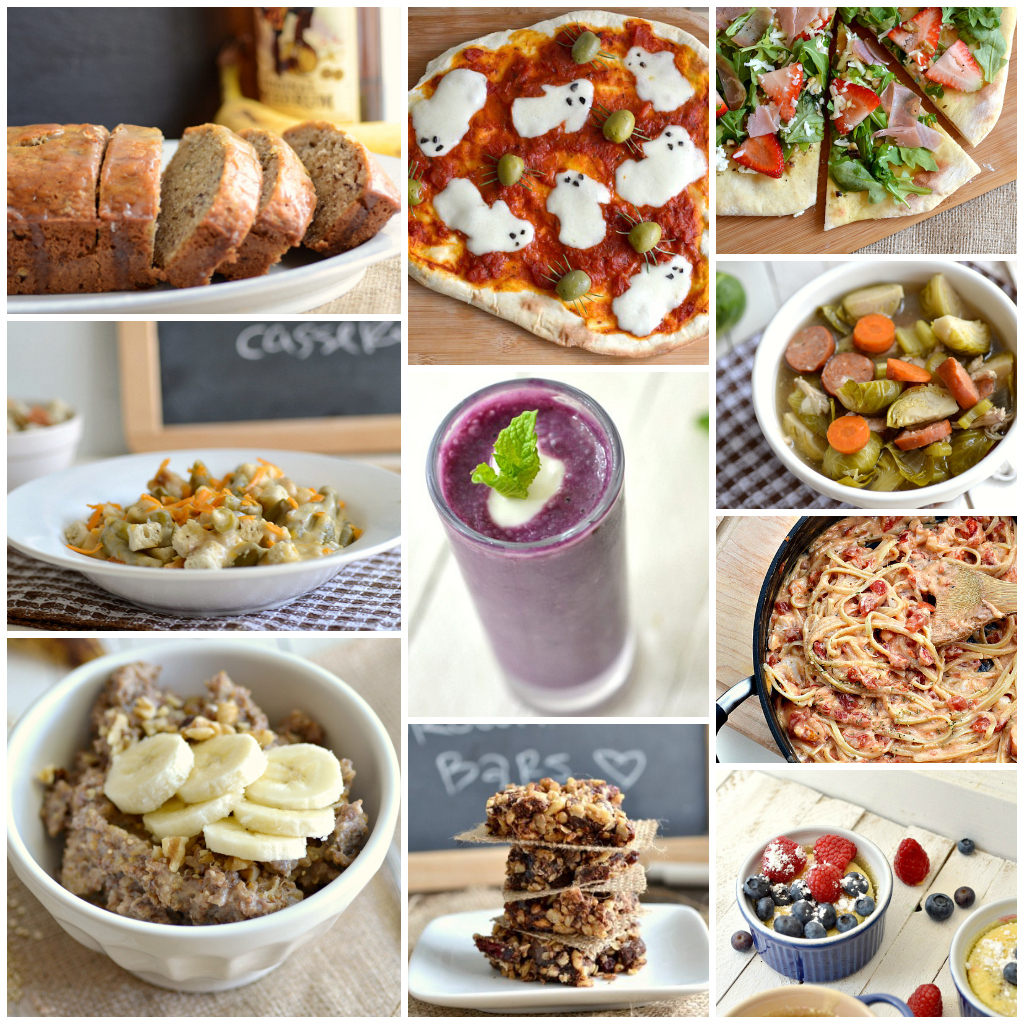
So how do you get your food to look so light, crisp and decadent? Here are some important tips I’ve learned by cooking and shooting for HOURS at a time.
Tips and tricks
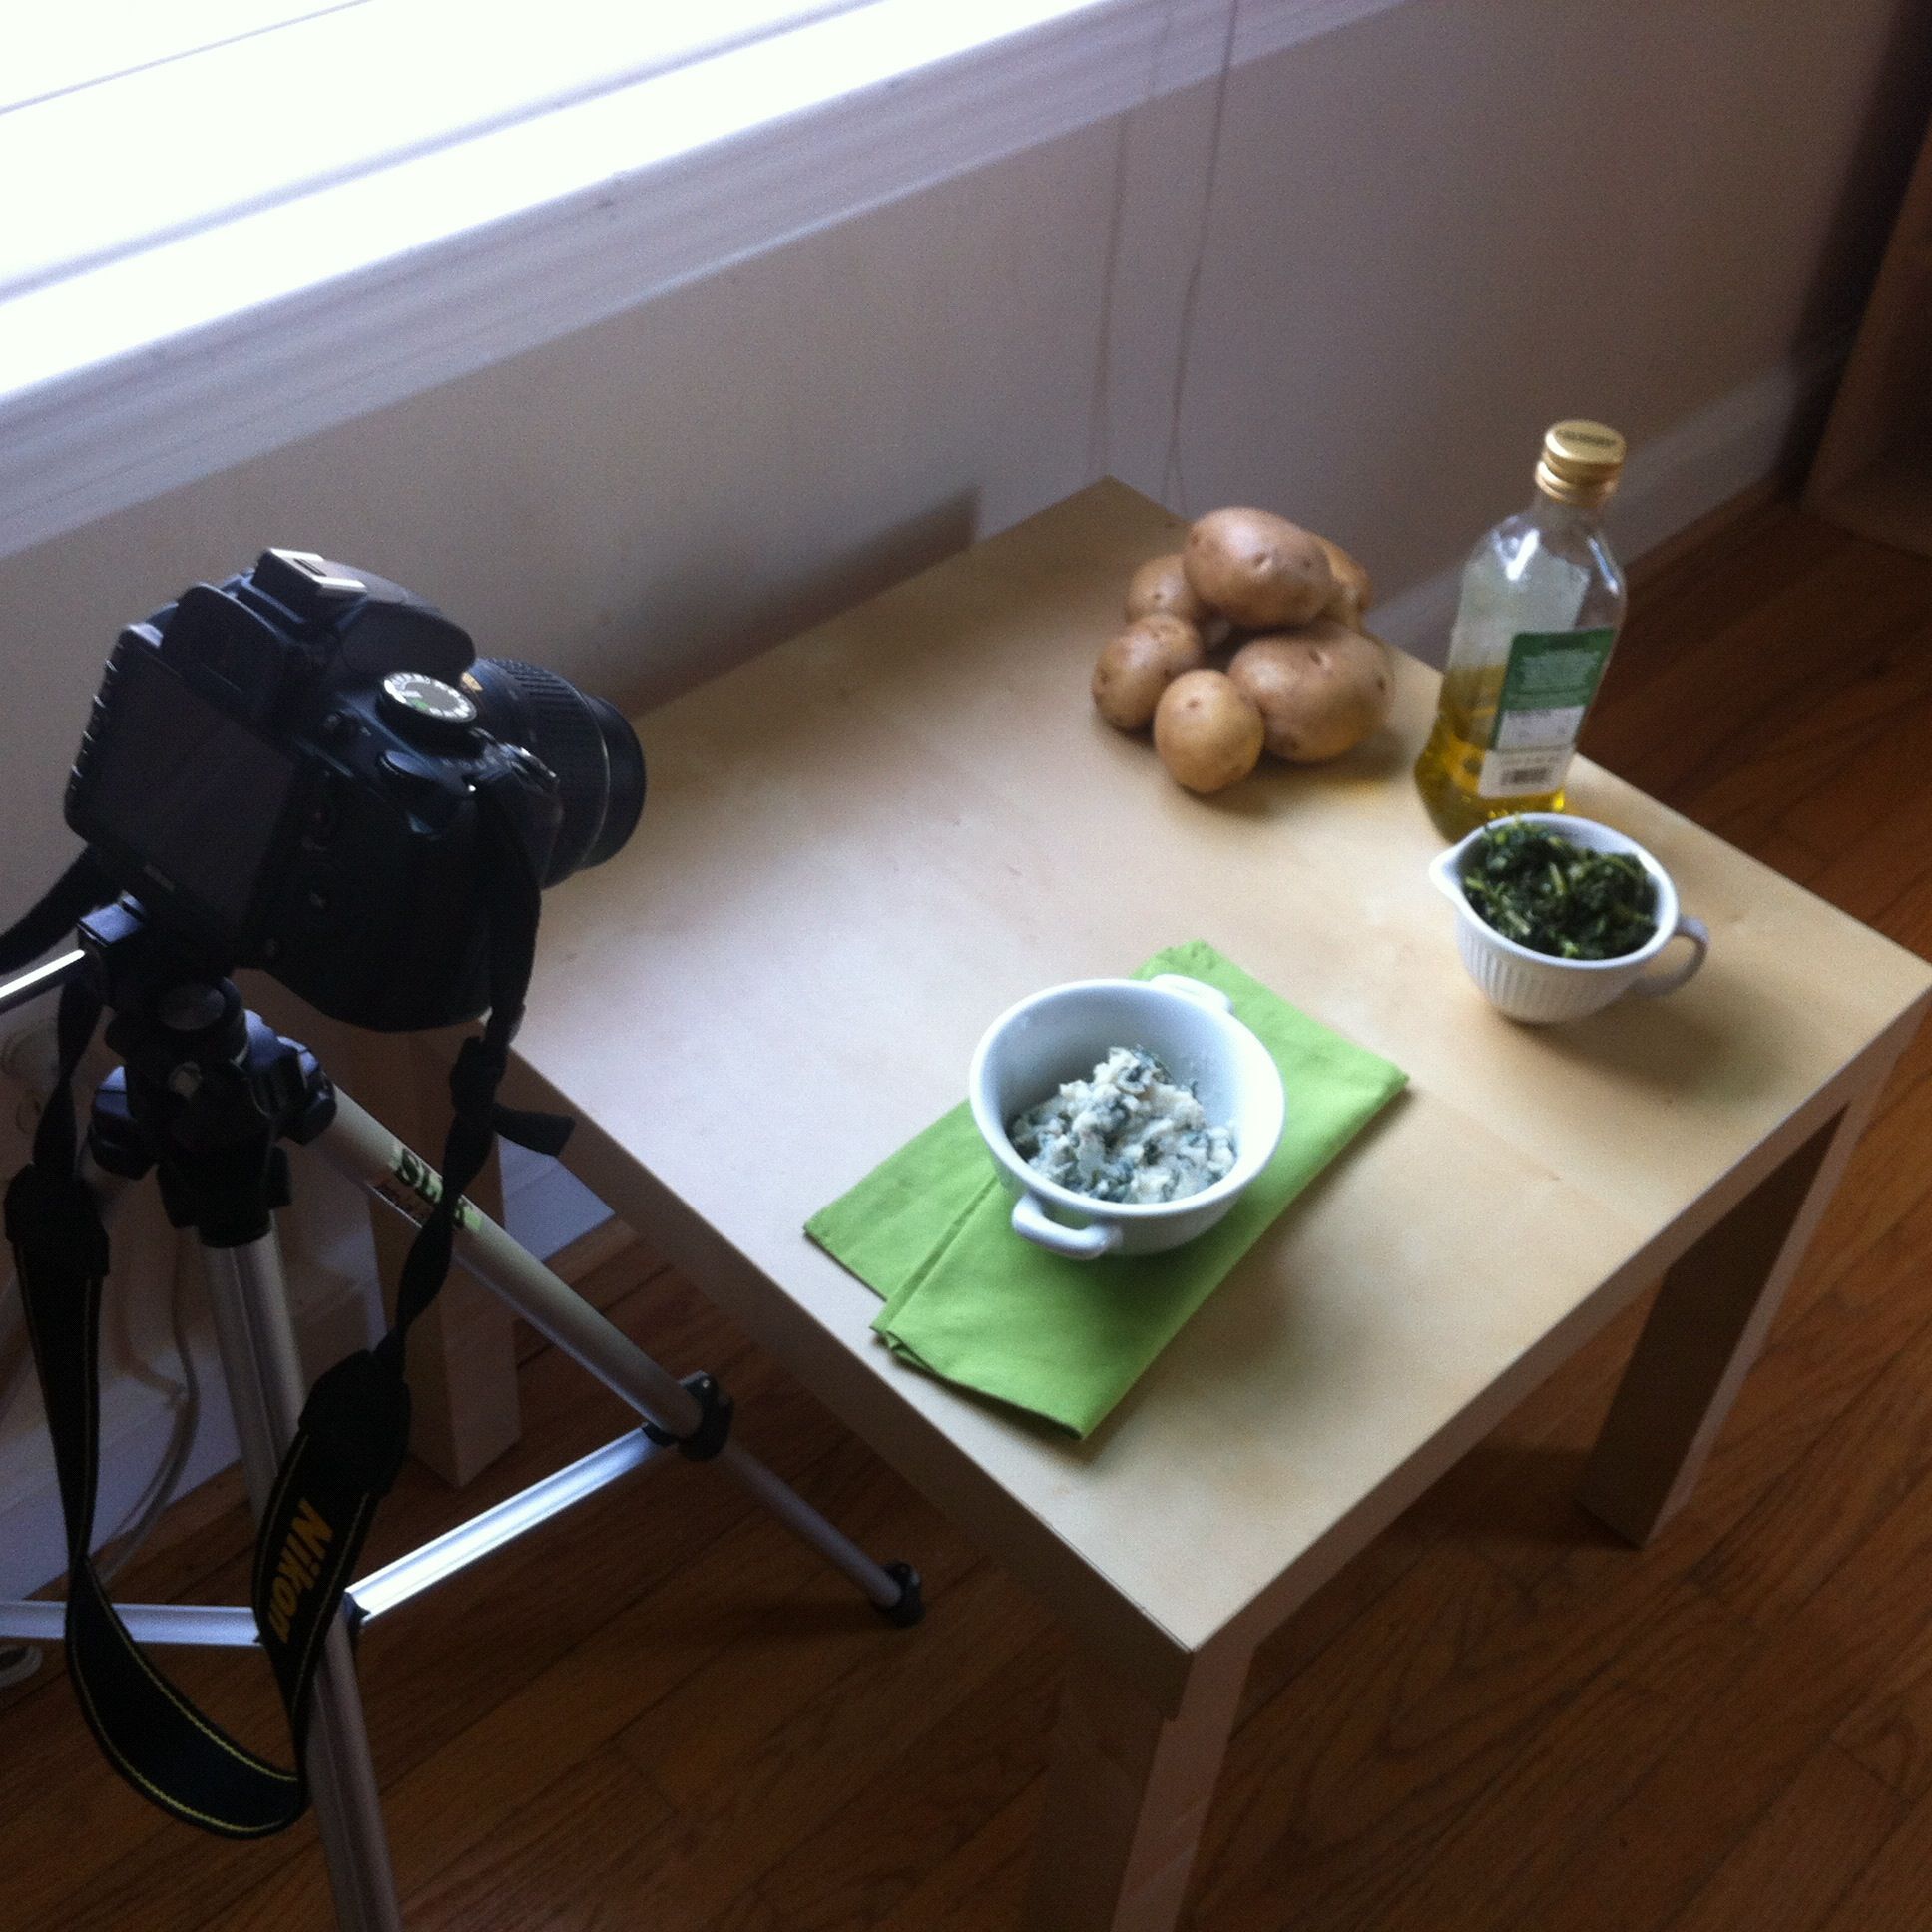
- Use natural light whenever you can. This is HUGE for me. I used to shoot in my tiny apartment kitchen with the track lighting on high. All of my photos had these harsh shadows, were extremely over exposed and all of the colors were dull or way too saturated. Now, I only shoot next to a giant window or with my front door propped open. The natural light softens the images and the backlight creates such a warming, slightly dramatic image.
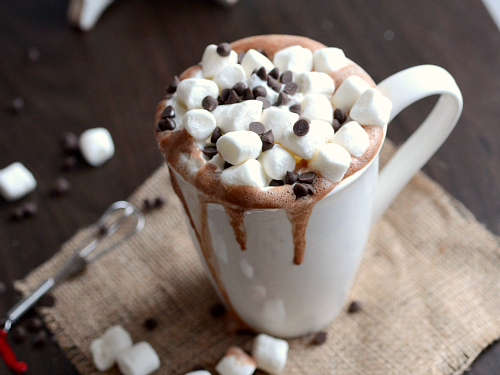
- Don’t be afraid of styling. Food styling is one of my FAVORITE parts of my job, besides the cooking and baking of course. What is food styling? It’s how you present your dish, including what plates, forks, spoons or ramekins you use as well as what props (produce, props, etc) you use in the background. Styling is where you can really get creative. You can use fun colors (like bright blue ramekins) and play with your food (like spill marshmallows all around your cup like pictured). Styling doesn’t have to be perfect, so spill your hot chocolate or place a cheesy, messy spoon next to your soup.
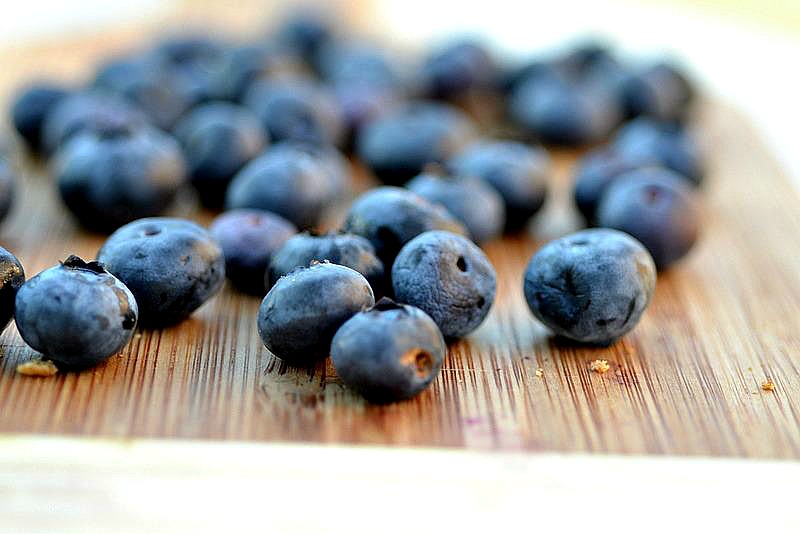
- Invest in a good camera and lens. Now, let me preface this by saying that I’ve seen great photos taken with iPhone cameras and point and shoots. But if you are going to take what you do seriously, invest in a DSLR. You’ll be able to fully adjust important things, like ISO and White Balance, and will have the ability to filter the background and really make your image pop. Plus, you’ll have the chance to manually shoot every image, which will give you a stronger, sharper picture. Going with this, invest in one really amazing micro-lens. I have a 60mm/1:2.8 that I’m absolutely in love with. It is perfect for up close detail shots (like the blueberries pictured above) as well as any of my food shots. Any food pictures you see on my site are shot with my 60mm. If you can’t get that, a lot of my food blogging friends recommend the 50mm or the 35mm as well for great images.
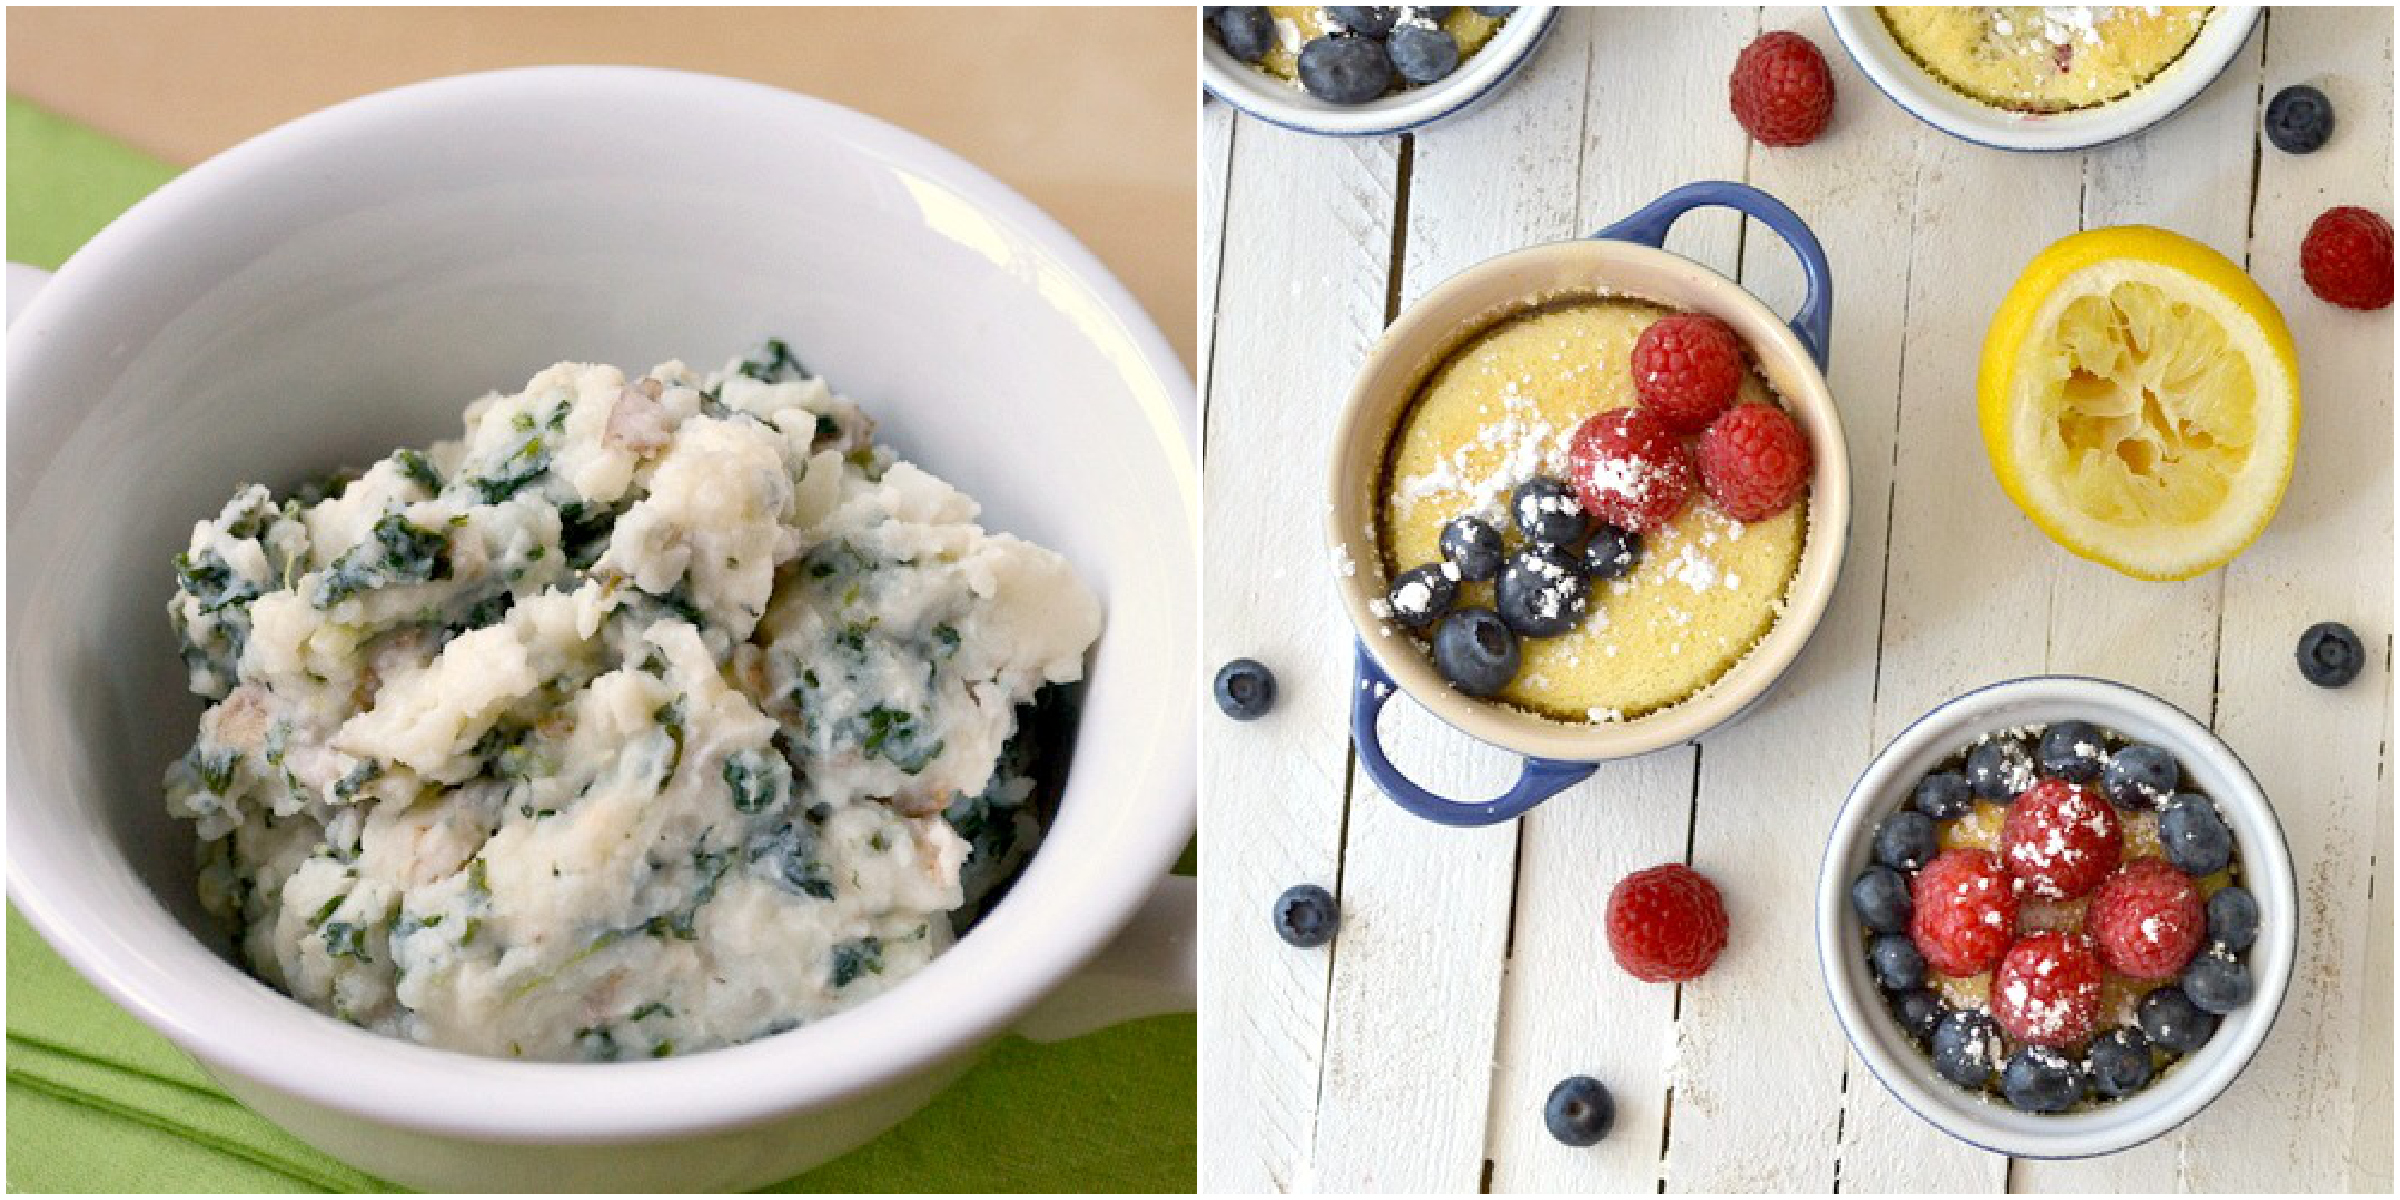

- Play with your surface and background colors. The great thing about food photography is you can make/DIY small pieces that can dramatically change your photos. For example, I made a few of these DIY rustic white table trays to shoot on and my photos vastly improved. The image on the left was shot without a board and the one on the right was shot with a rustic tray. The white surface and background helped to reflect the light onto the food, making the image crispier and the colors of the dish pop, don’t you think? However, you don’t have to use white. My friend Gina uses an amazing blue photo board and Jackie shoots on a stunning dark brown. Currently I’m really into shooting with a black slate board because it really gives my photos a deeper, darker tone and feel. You can make boards for less than $25 and I LOVE this tutorial by my friend Gina.

- Have fun with it! The reason we all blog is because we love food and sharing it with you! So, don’t be afraid to let loose when you’re shooting. Spill syrup all over the plate. Add fun props and chalkboards. Laugh at yourself when you make a mistake. And don’t take yourself too seriously. Never compare your photos to anyone elses. The only photos you should compare are the ones you take now versus the ones you used to take. Blogging and photography are fun, so don’t forget that when you’re shooting!
Please email me [realistic.nutritionist@gmail.com] with any questions. I’m more than happy to talk this over with anyone!
This page contains affiliate links.
Here are some of my favorite links when it comes to food photography inspiration.
- Photography Tutorial: A Quick Guide to Understanding Your DSLR Camera by Kevin and Amanda
- 10 Important Things I’ve Learned About Food Photography by The Pioneer Woman
- Helpful Food Photography Tips from Fellow Bloggers on BlogHer
- 41 Awesome Food Photography Tips on LearnFoodPhotography.com
- Food Photography Tips for Food Bloggers by Cookie & Kate
- Principles of Photography – Exposure by White on Rice Couple
- Principles of Photography – ISO by White on Rice Couple


