Peppermint Marshmallows
 PIN IT!
If I could, I’d add peppermint extract to absolutely everything on the planet. I’d even add it to things that don’t even work with peppermint, like beef stew or scrambled eggs. But I can’t help it, it adds that extra pep in my step this time of year and automatically puts me in the hap happiest of moods.
This addiction isn’t helped with the venti peppermint mocha I have every morning, but I just can’t quit it. Not only does peppermint remind me of Santa Claus, Christmas cookies and jolly making, it makes my breath smell like a candy cane. Well, not exactly but you get my drift.
That’s why when I was tasked with the assignment to make my own marshmallows at home, I immediately thought to make them peppermint. My poor husband is probably going to have peppermint scented nightmares until the holidays are over.
Now, before we continue, I have to make one confession. I was always so scared that making my own marshmallows would be the hardest thing in the history of the world. Luckily to my amusement and dismay, they ended up being one of the easiest!
The thought is daunting and the ingredient list isn’t exactly healthy foods, but I’ve wanted to make them for MONTHS, and I couldn’t have found a better time to attempt them.

Because who can have hot cocoa without a marshmallow? My favorite thing about these little puffs of pure peppermint heaven is that when they melt into your hot cocoa they MAKE IT TASTE LIKE A PEPPERMINT PATTY. That’s my goal in life, you know, to have everything taste just like my favorite candy.
Peppermint Marshmallows

CLICK HERE FOR THE PRINTABLE VERSION OF THIS RECIPE!
Serves about 60. Slightly adapted from Betty Crocker.
Prep time: 20 minutes
Cook time: 30+ minutes
Chill time: 8 hours
Ingredients:
- 1 1/2 envelopes unflavored gelatin
- 1/2 cup cold water
- 1/2 cup white sugar
- 1/4 cup light brown sugar
- 1/2 cup homemade cane sugar syrup (see recipe below)
- 1/2 cup water
- 2 1/2 tablespoons powered sugar
- Red food dye
- About 1/2 teaspoon peppermint extract
- 2 – 3 tablespoons crushed candy canes for garnish
Directions:
- Line a standard size baking dish with parchment paper and dust with a bit of powdered sugar. Set aside.
- In the bowl of a stand mixer, mix the gelatin and cold water together. Let the mixture sit until it softens, about 10 minutes.
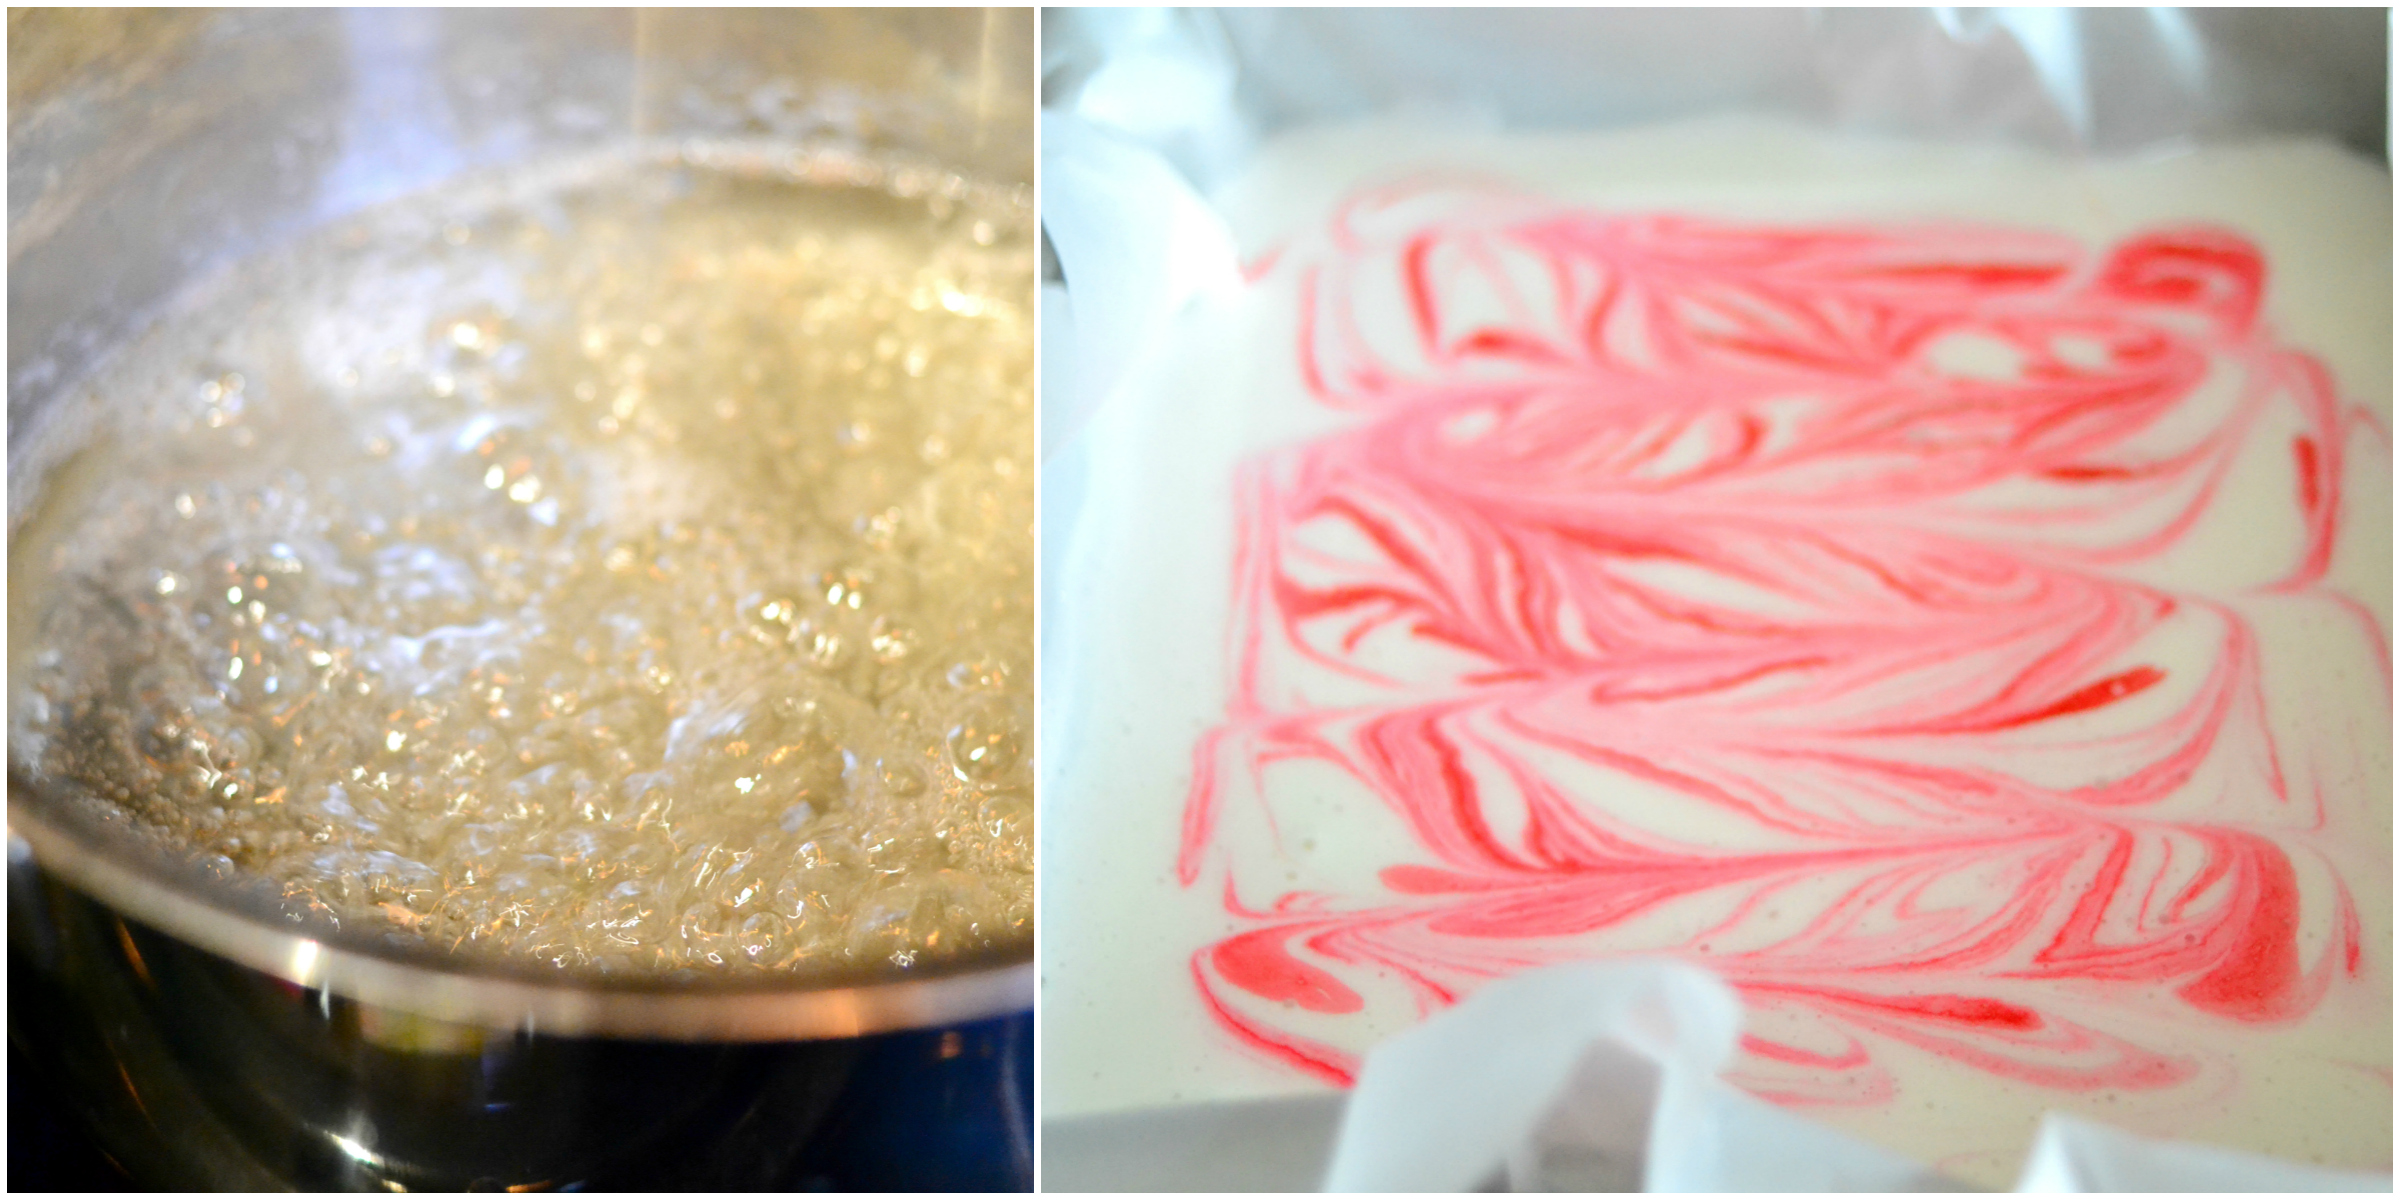
- In a medium size saucepan, heat the sugar, cane sugar syrup and remaining water. Bring the mixture to a rapid boil and then reduce to a simmer. Simmer for about 30 minutes or until the candy registers at precisely 240 degrees F on a candy thermometer. This is KEY, otherwise the marshmallows will not set.
- Gradually pour the syrup into the gelatin mixture and beat on slow/medium speed until all incorporated. Keep beating until the mixture is thick and fluffy, much like a marshmallow fluff or cream. Don’t worry if this takes about 10 minutes, it’s supposed to. Add the peppermint extract and keep beating another minute or so.
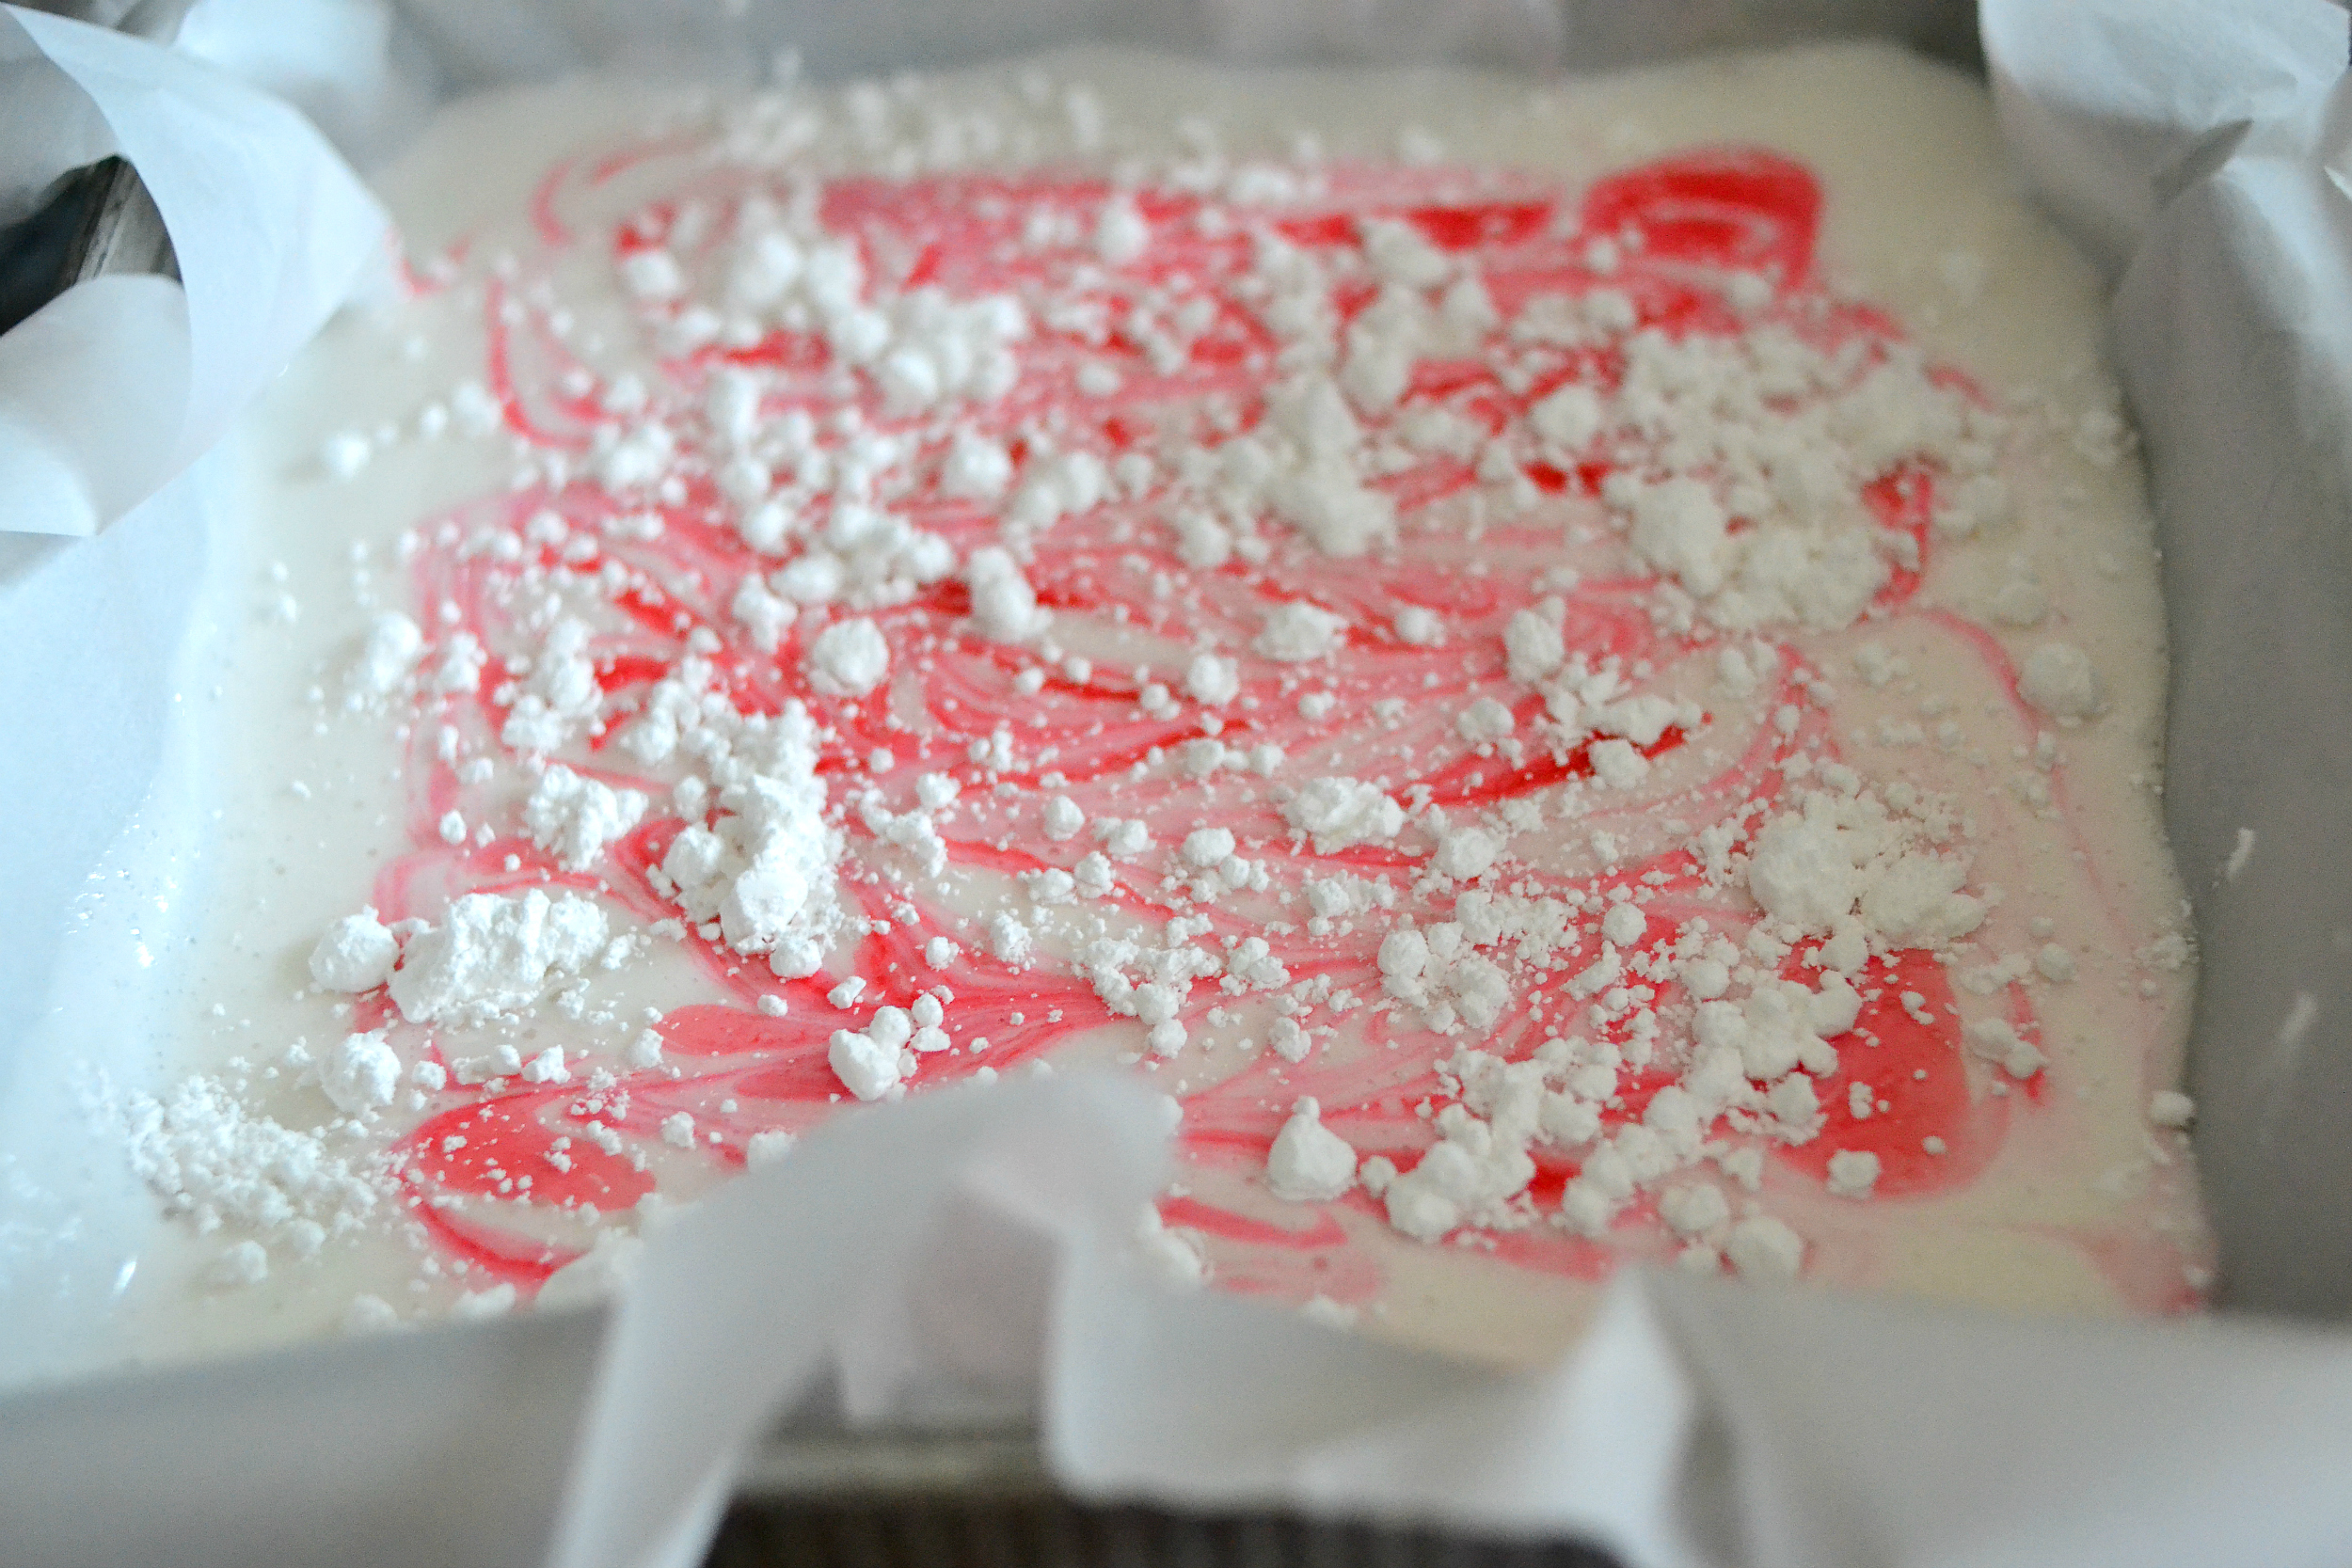
- One fluffy and thick, pour into the prepared baking dish. Add a few drops of red food coloring and swirl with a sharp knife.
- Add remaining powdered sugar to the top and chill overnight (at least 8 – 10 hours). Garnish with crushed candy canes.
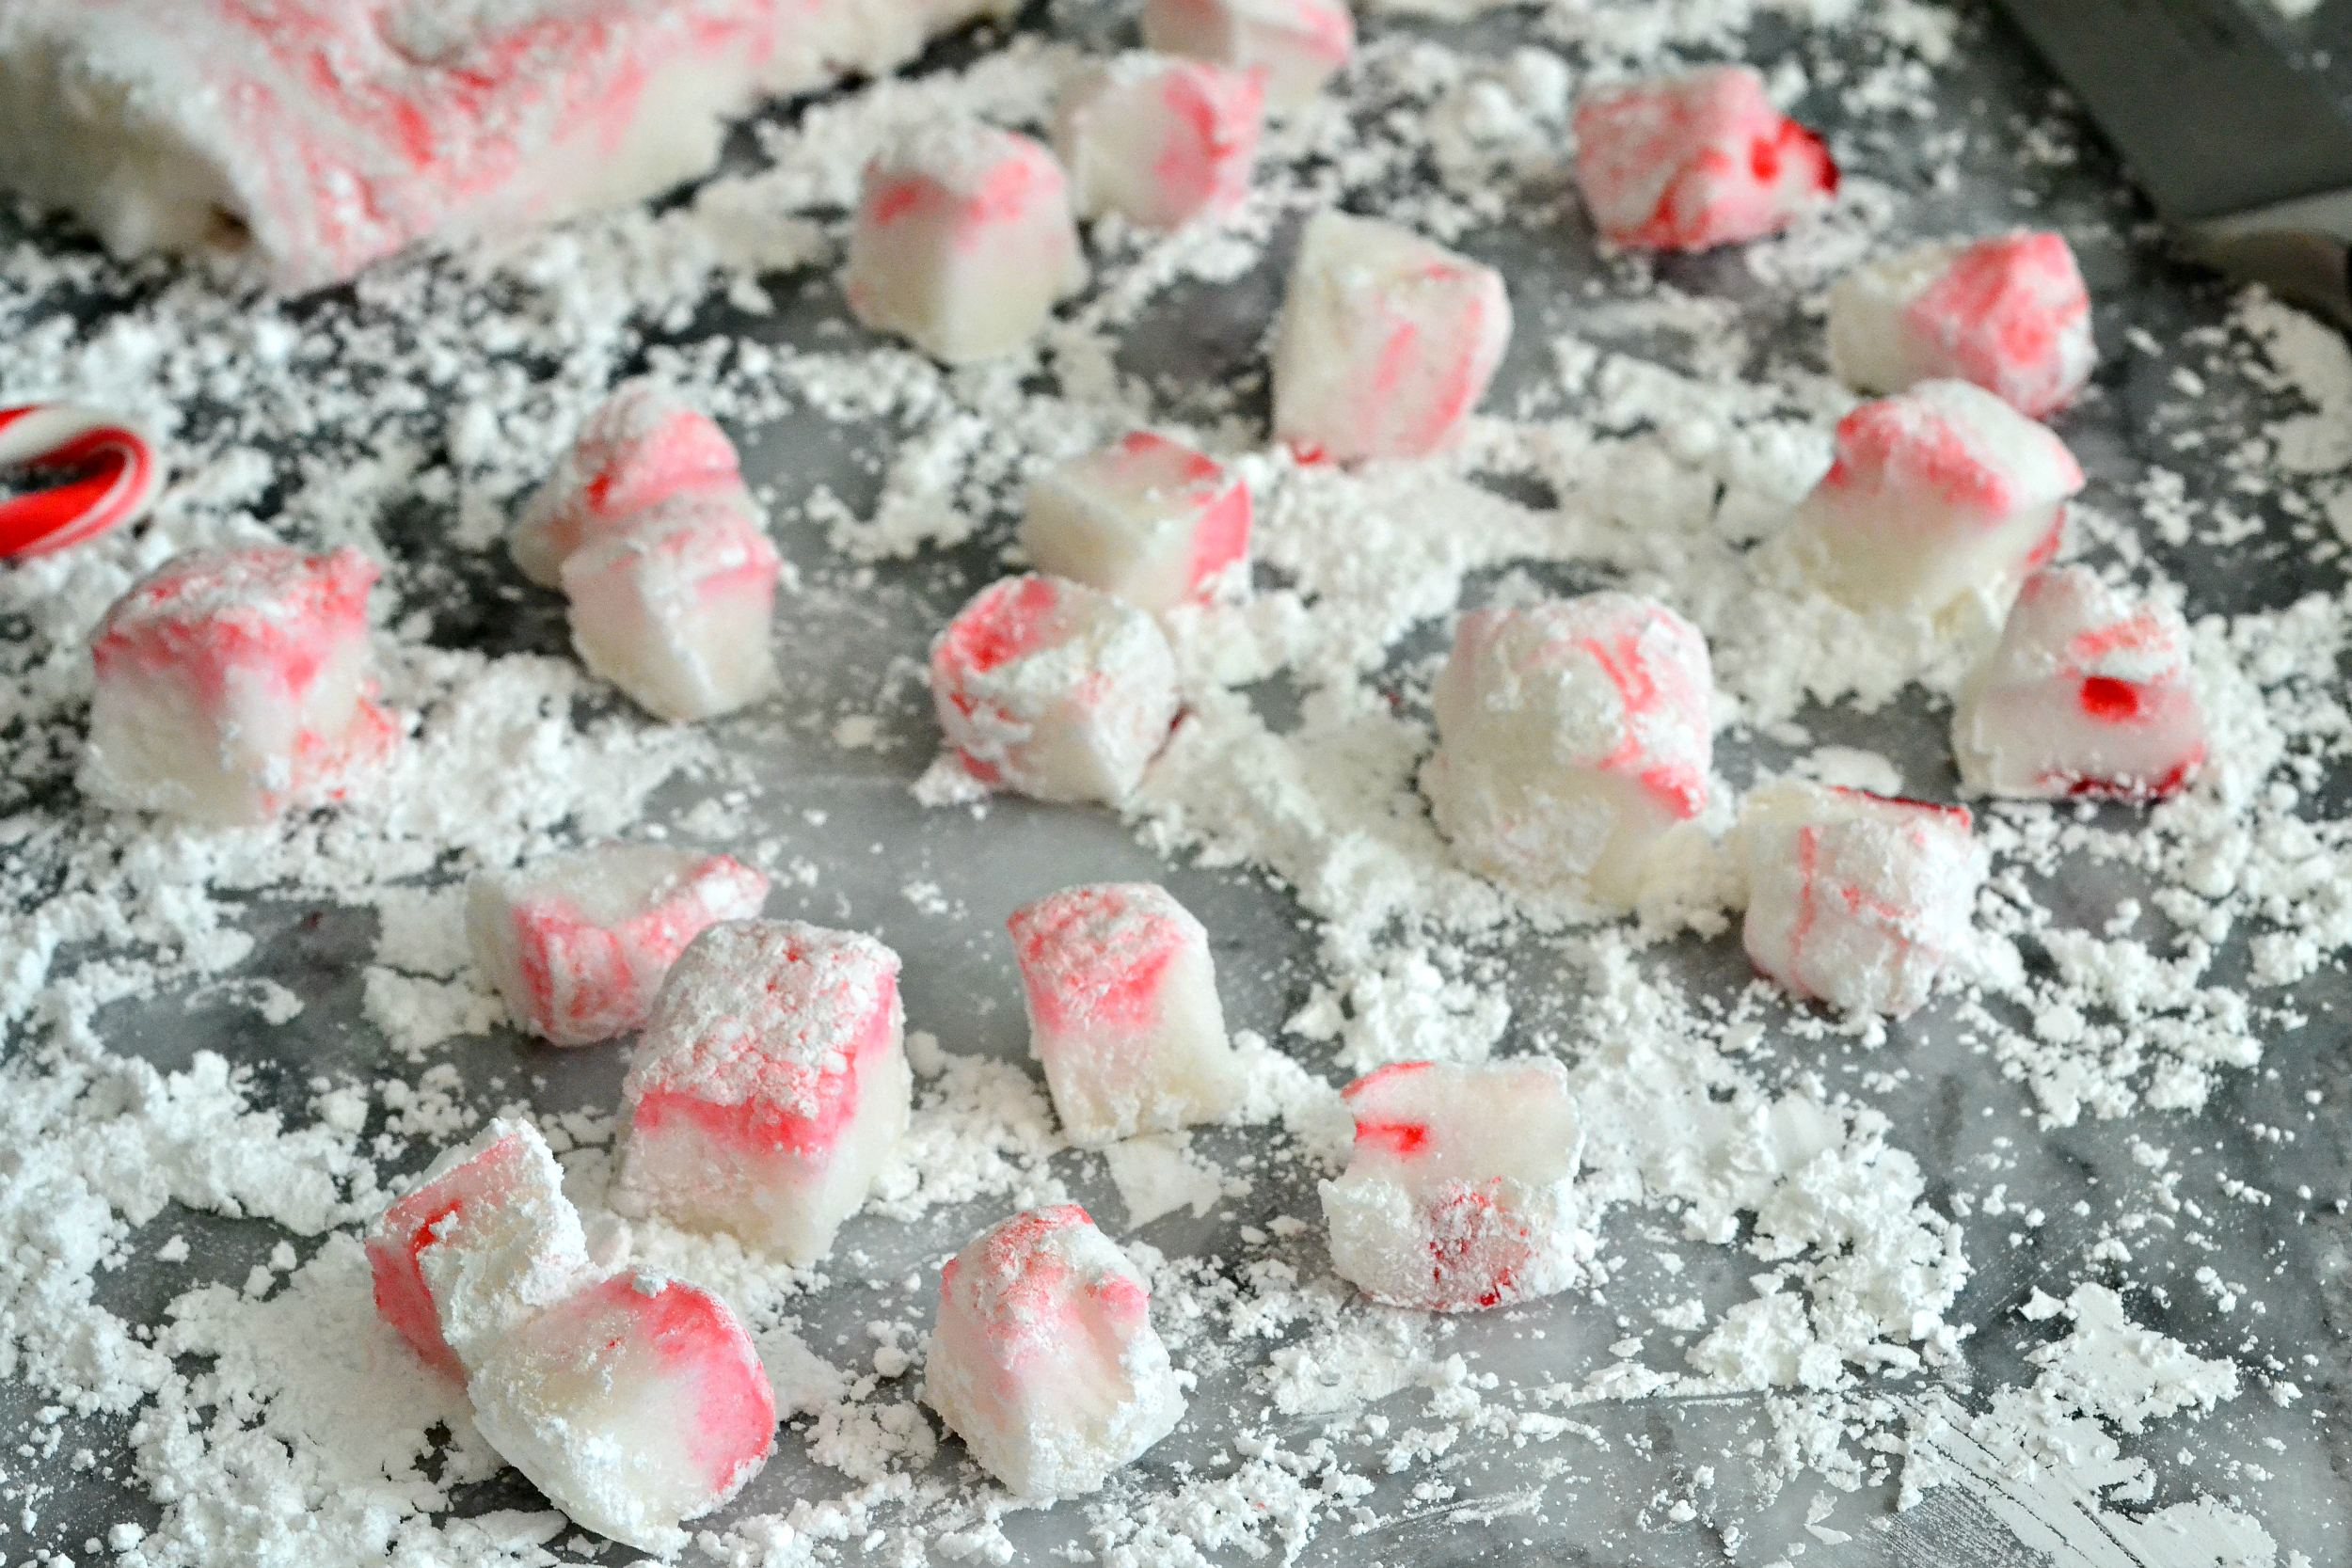
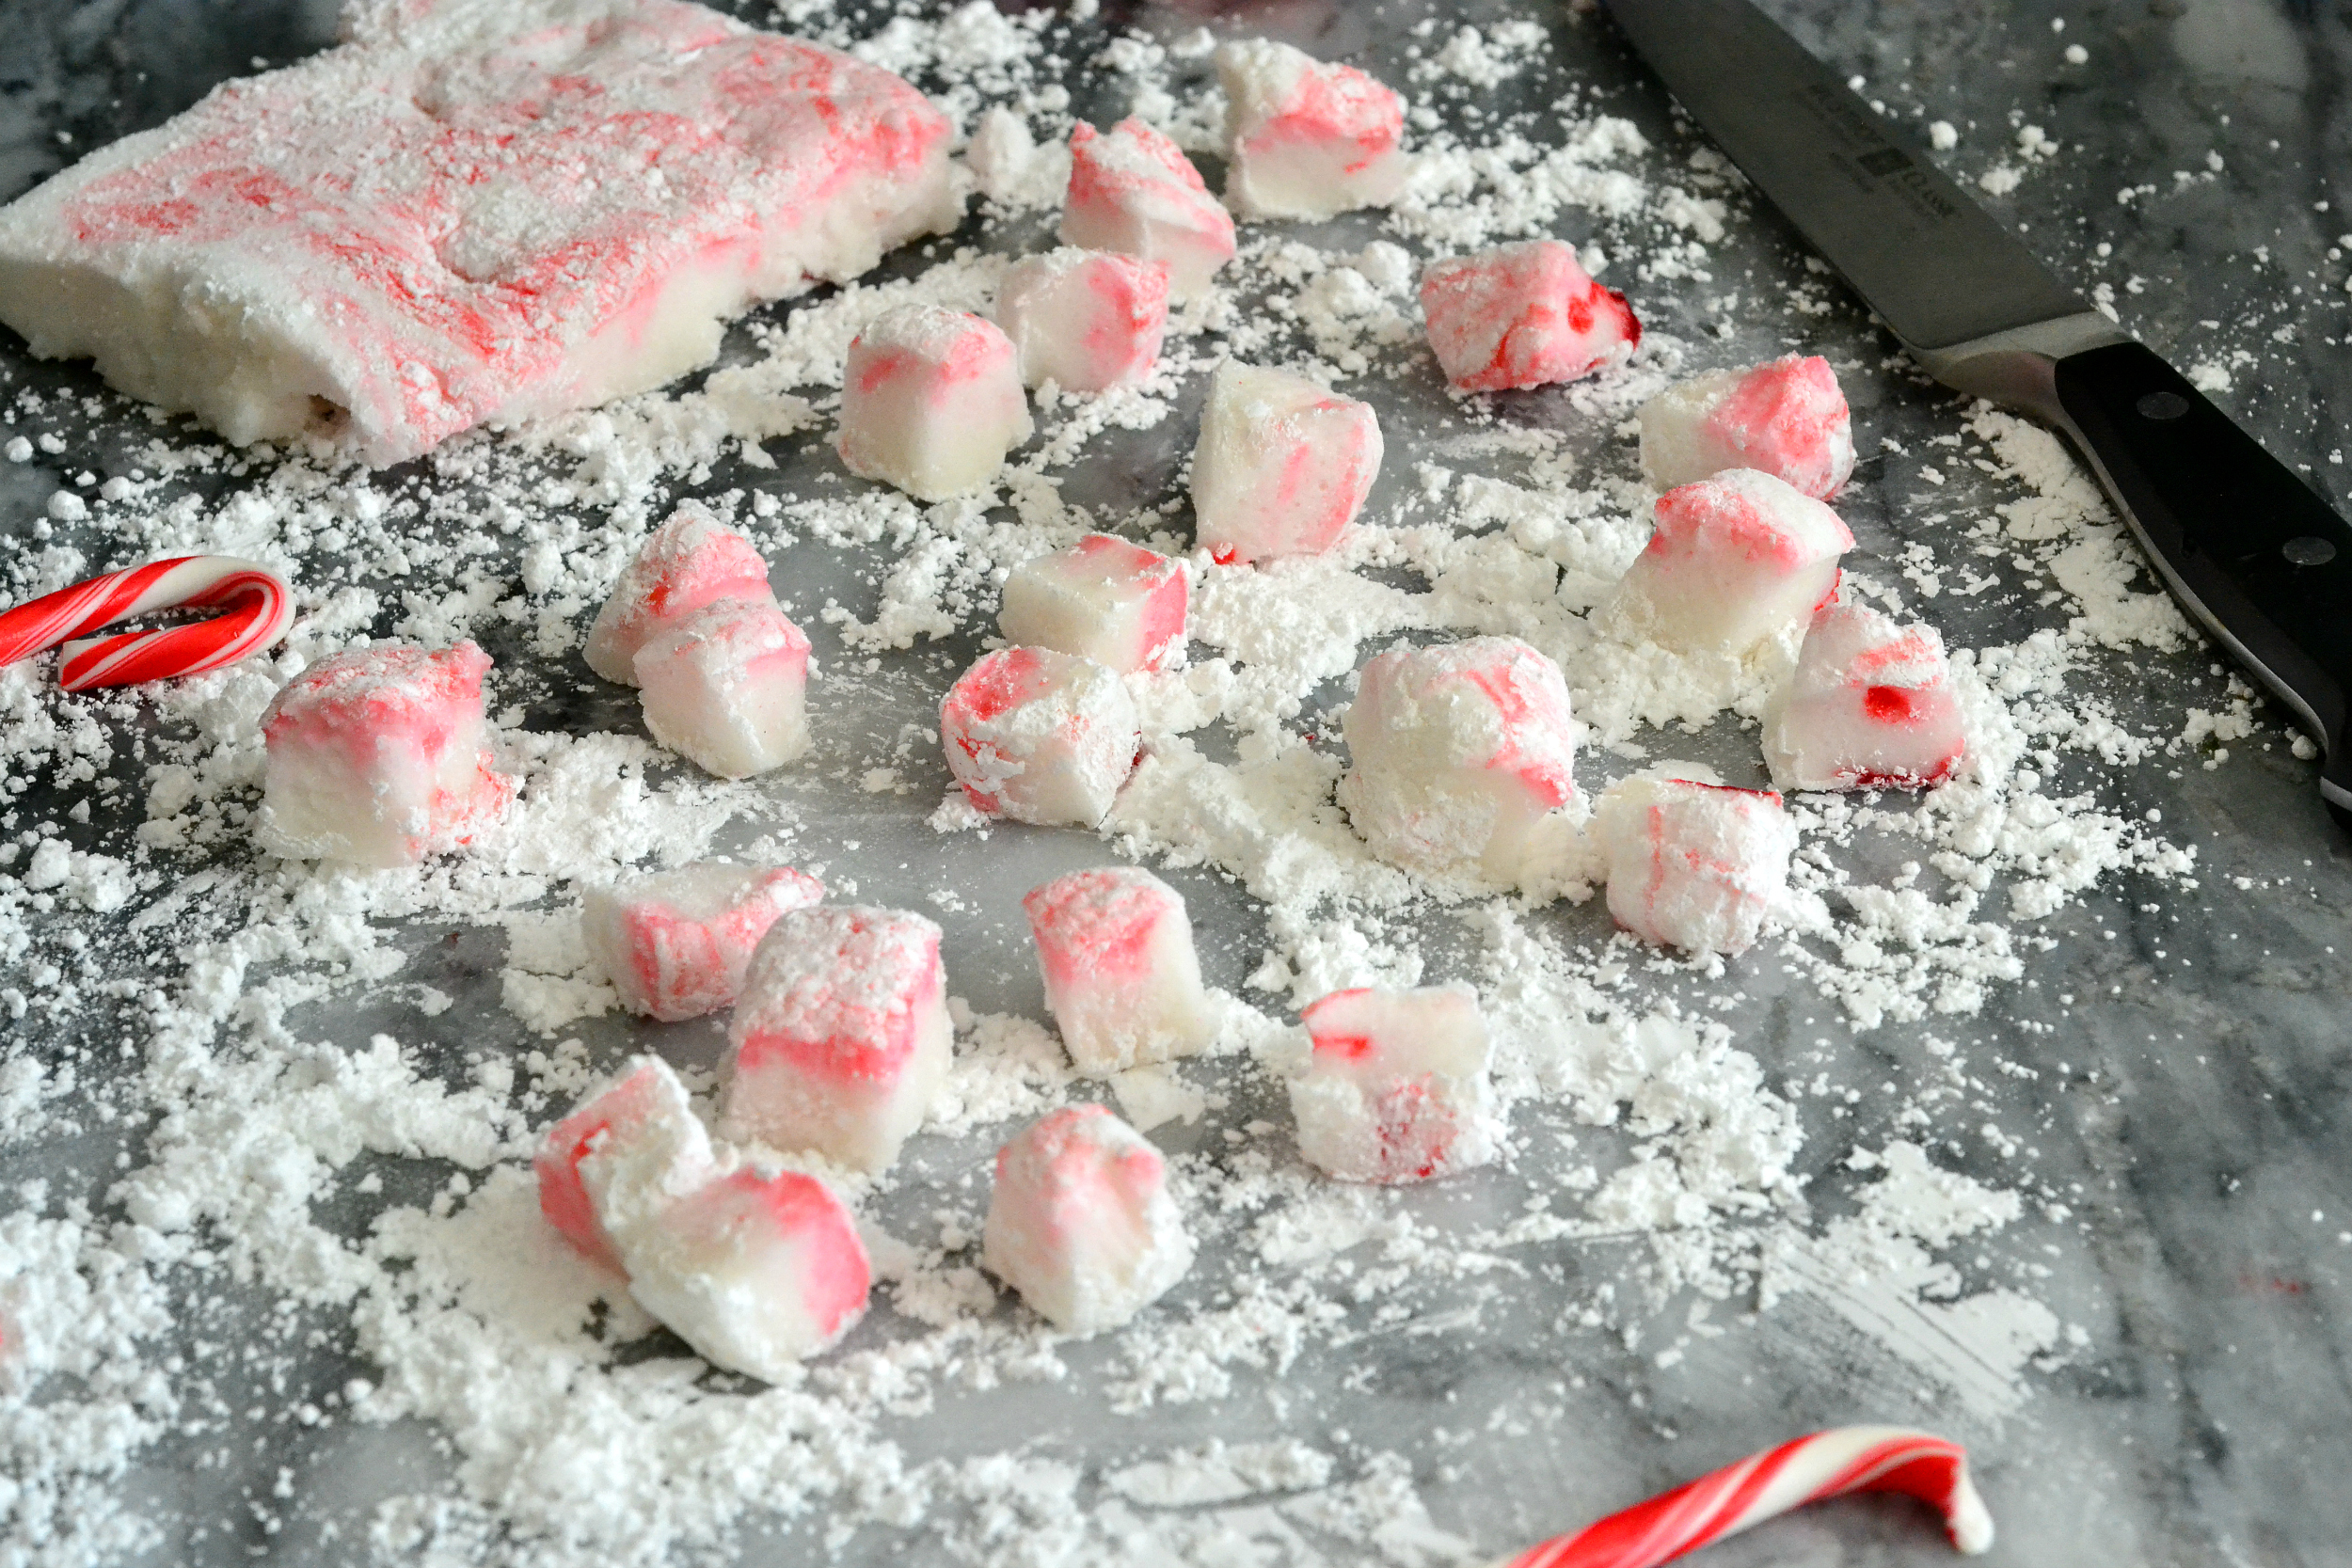
- Once chilled, remove, carefully, from the pan and slice into small cubes (or any shape you’d like). Add to your hot cocoa and enjoy!
Cane sugar syrup.
Yields about 1 cup. Adapted from The Kitchn.
Prep time: 10 minutes
Cook time: About 20 minutes
Ingredients:
- 1/2 cup water
- 2 1/2 cups + 2 1/2 tablespoons white cane sugar
- 1/4 teaspoon cream of tartar
- Very small dash of salt
Directions:
- In a 4 quart saucepan, mix the water, sugar, cream of tartar and salt together. Bring the mixture to a roiling boil and stir slightly. After boiling, do not stir and add your candy thermometer to the pan.
- Let mixture boil and then brush the sugar down the sides of the pan with a pastry brush. This will allow all of the crystals in the sugar to recrystallize. (Sounds weird, but it’ll make the whole syrup come together).
- Continue to boil the syrup until it reaches 240 degrees F. Once it does, immediately remove from heat and cool down. (This will cause it to thicken substantially).
- Once cooled, pour into a jar (that’s been sterilized) and keep in a warm place.
Nutritional information per serving (about 1/4 cup of marshmallows (or 5 marshmallows):
Calories: 100.8
Fat: 0 grams
Carbohydrates: 20.5 grams
Fiber: >1 gram
Protein: 1.2 grams
Weight Watchers Points: 2
 Claire
Tags:Christmas recipes, dessert recipes, homemade candy recipes, marshmallow recipes, peppermint recipes
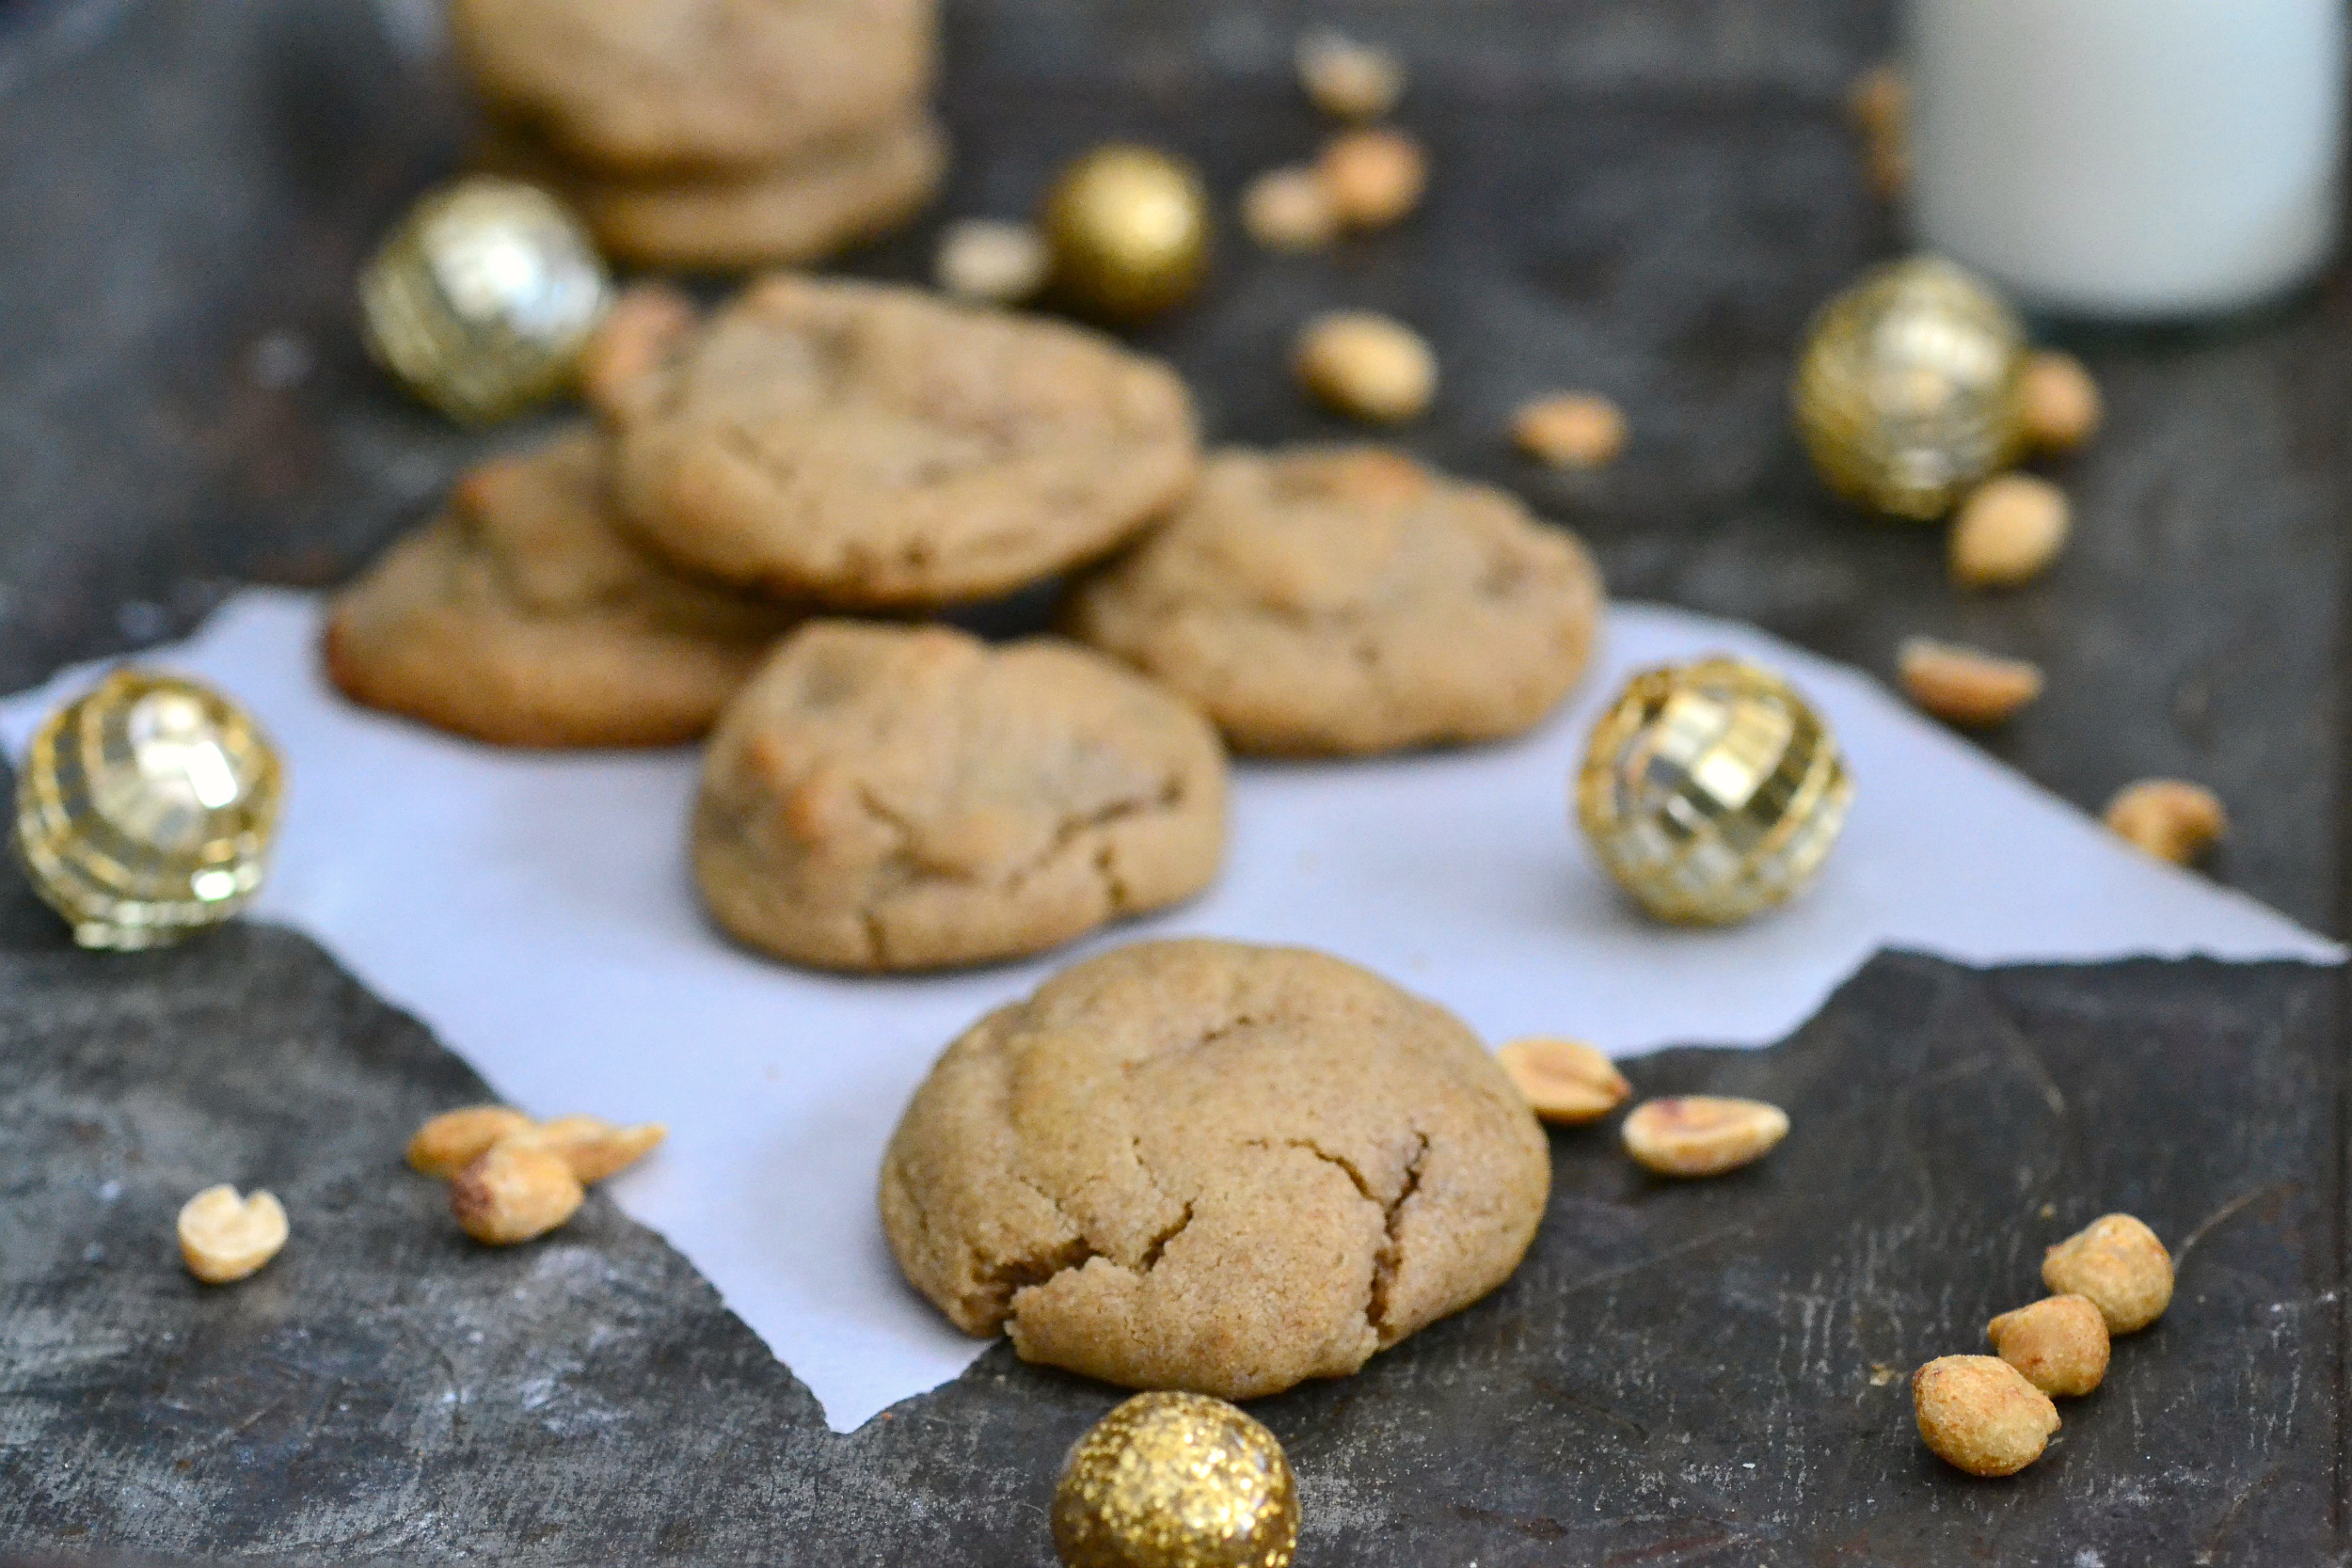
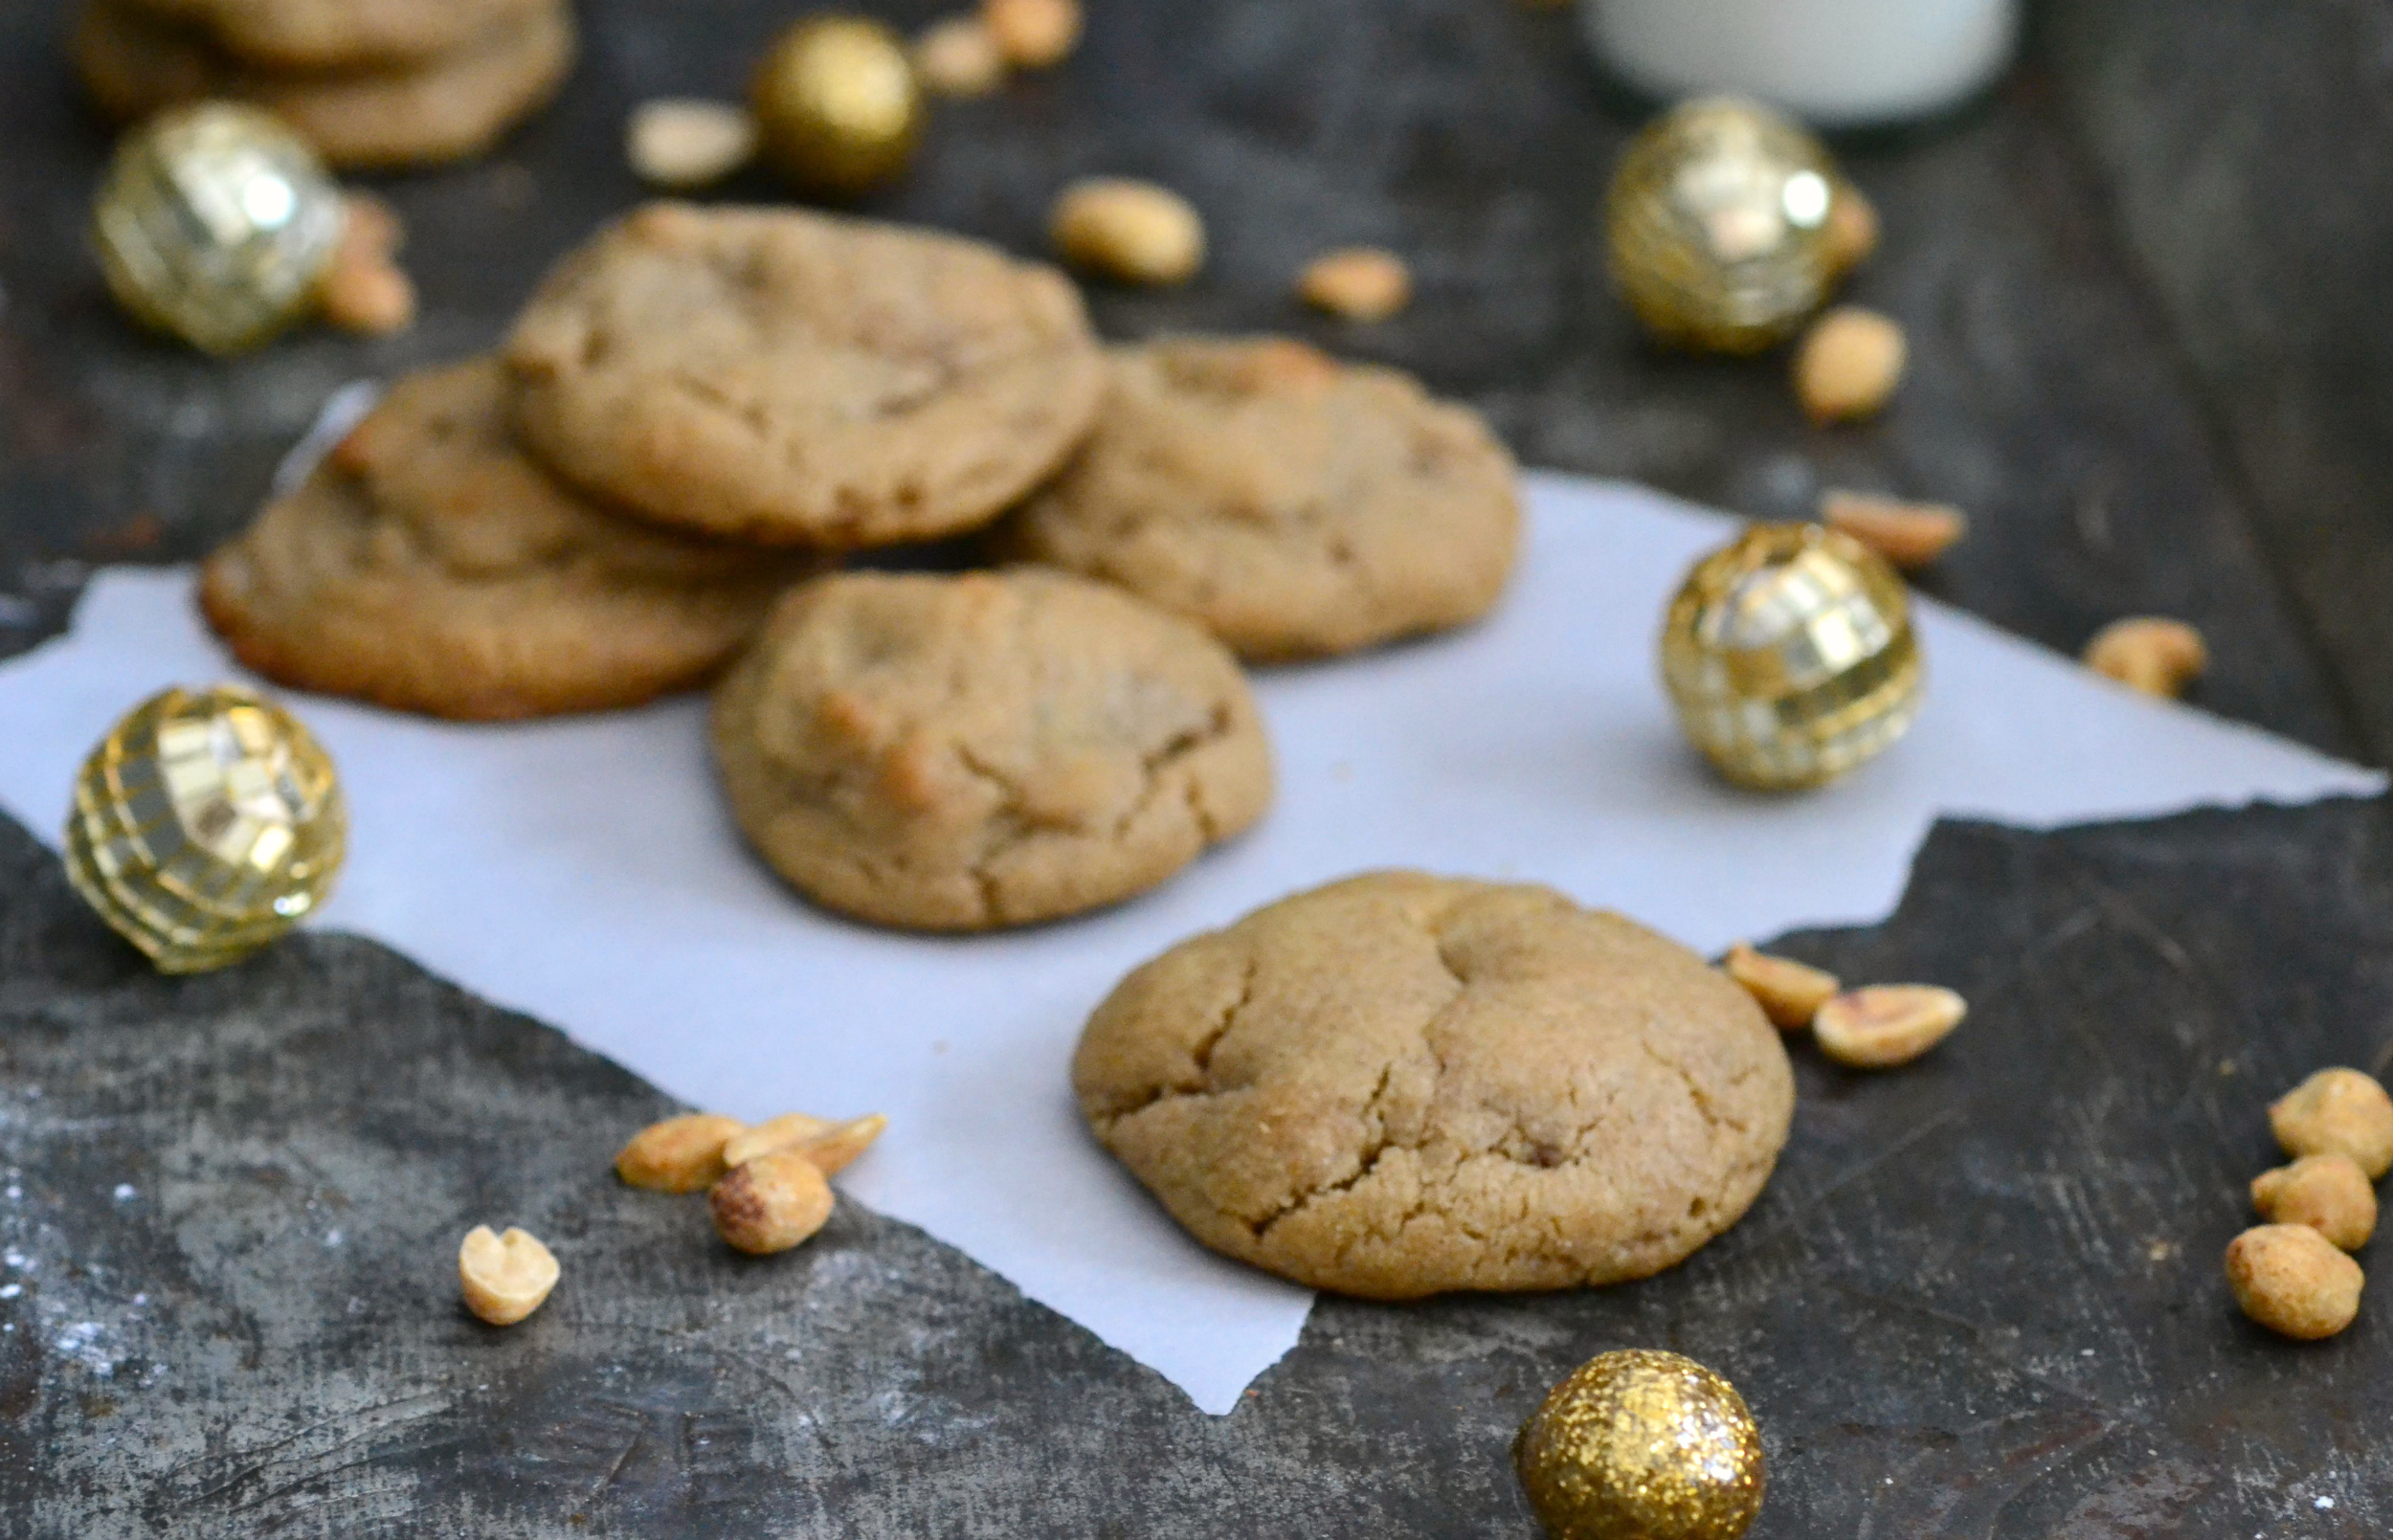
Super Soft & Chewy Whole Wheat Peanut Butter Cookies
If you ever need a dose of inspiration for holiday baking, go to my mom’s house. She makes over 2,000 cookies a year with at least 10 – 12 different variations. She has a list of 5 – 6 classics that she makes every year, but the rest are these amazing new ideas she thought of or found online. From pistachio crusted macarons to ugly sweater cookies to fruit cake bars, I can always count on her to surprise me with a new and addicitve holiday cookie.
As much as I love the unique sweets and the quirkly twists, I’ll always be a huge fan of the classics. As much as I love trying the new cookies, I always go back to the classics for seconds. I just can’t imagine Christmas without a few buckeyes, thumbprints or powdered snowballs.
That’s why when tasked with cookie baking for my office this weekend, I went straight to a classic. Sure I could have made another batch of holiday macarons or a lemon-rosemary sandwich cookie, but I wanted something that made people feel fuzzy inside. A cookie that, after the first bite, they smiled and said “These taste just like my grandmother used to make,” or “My mom makes these every year for the holidays!” A cookie that reminded them of the holidays. A cookie that gave them just a bit of nostalgia on a cold Monday morning.
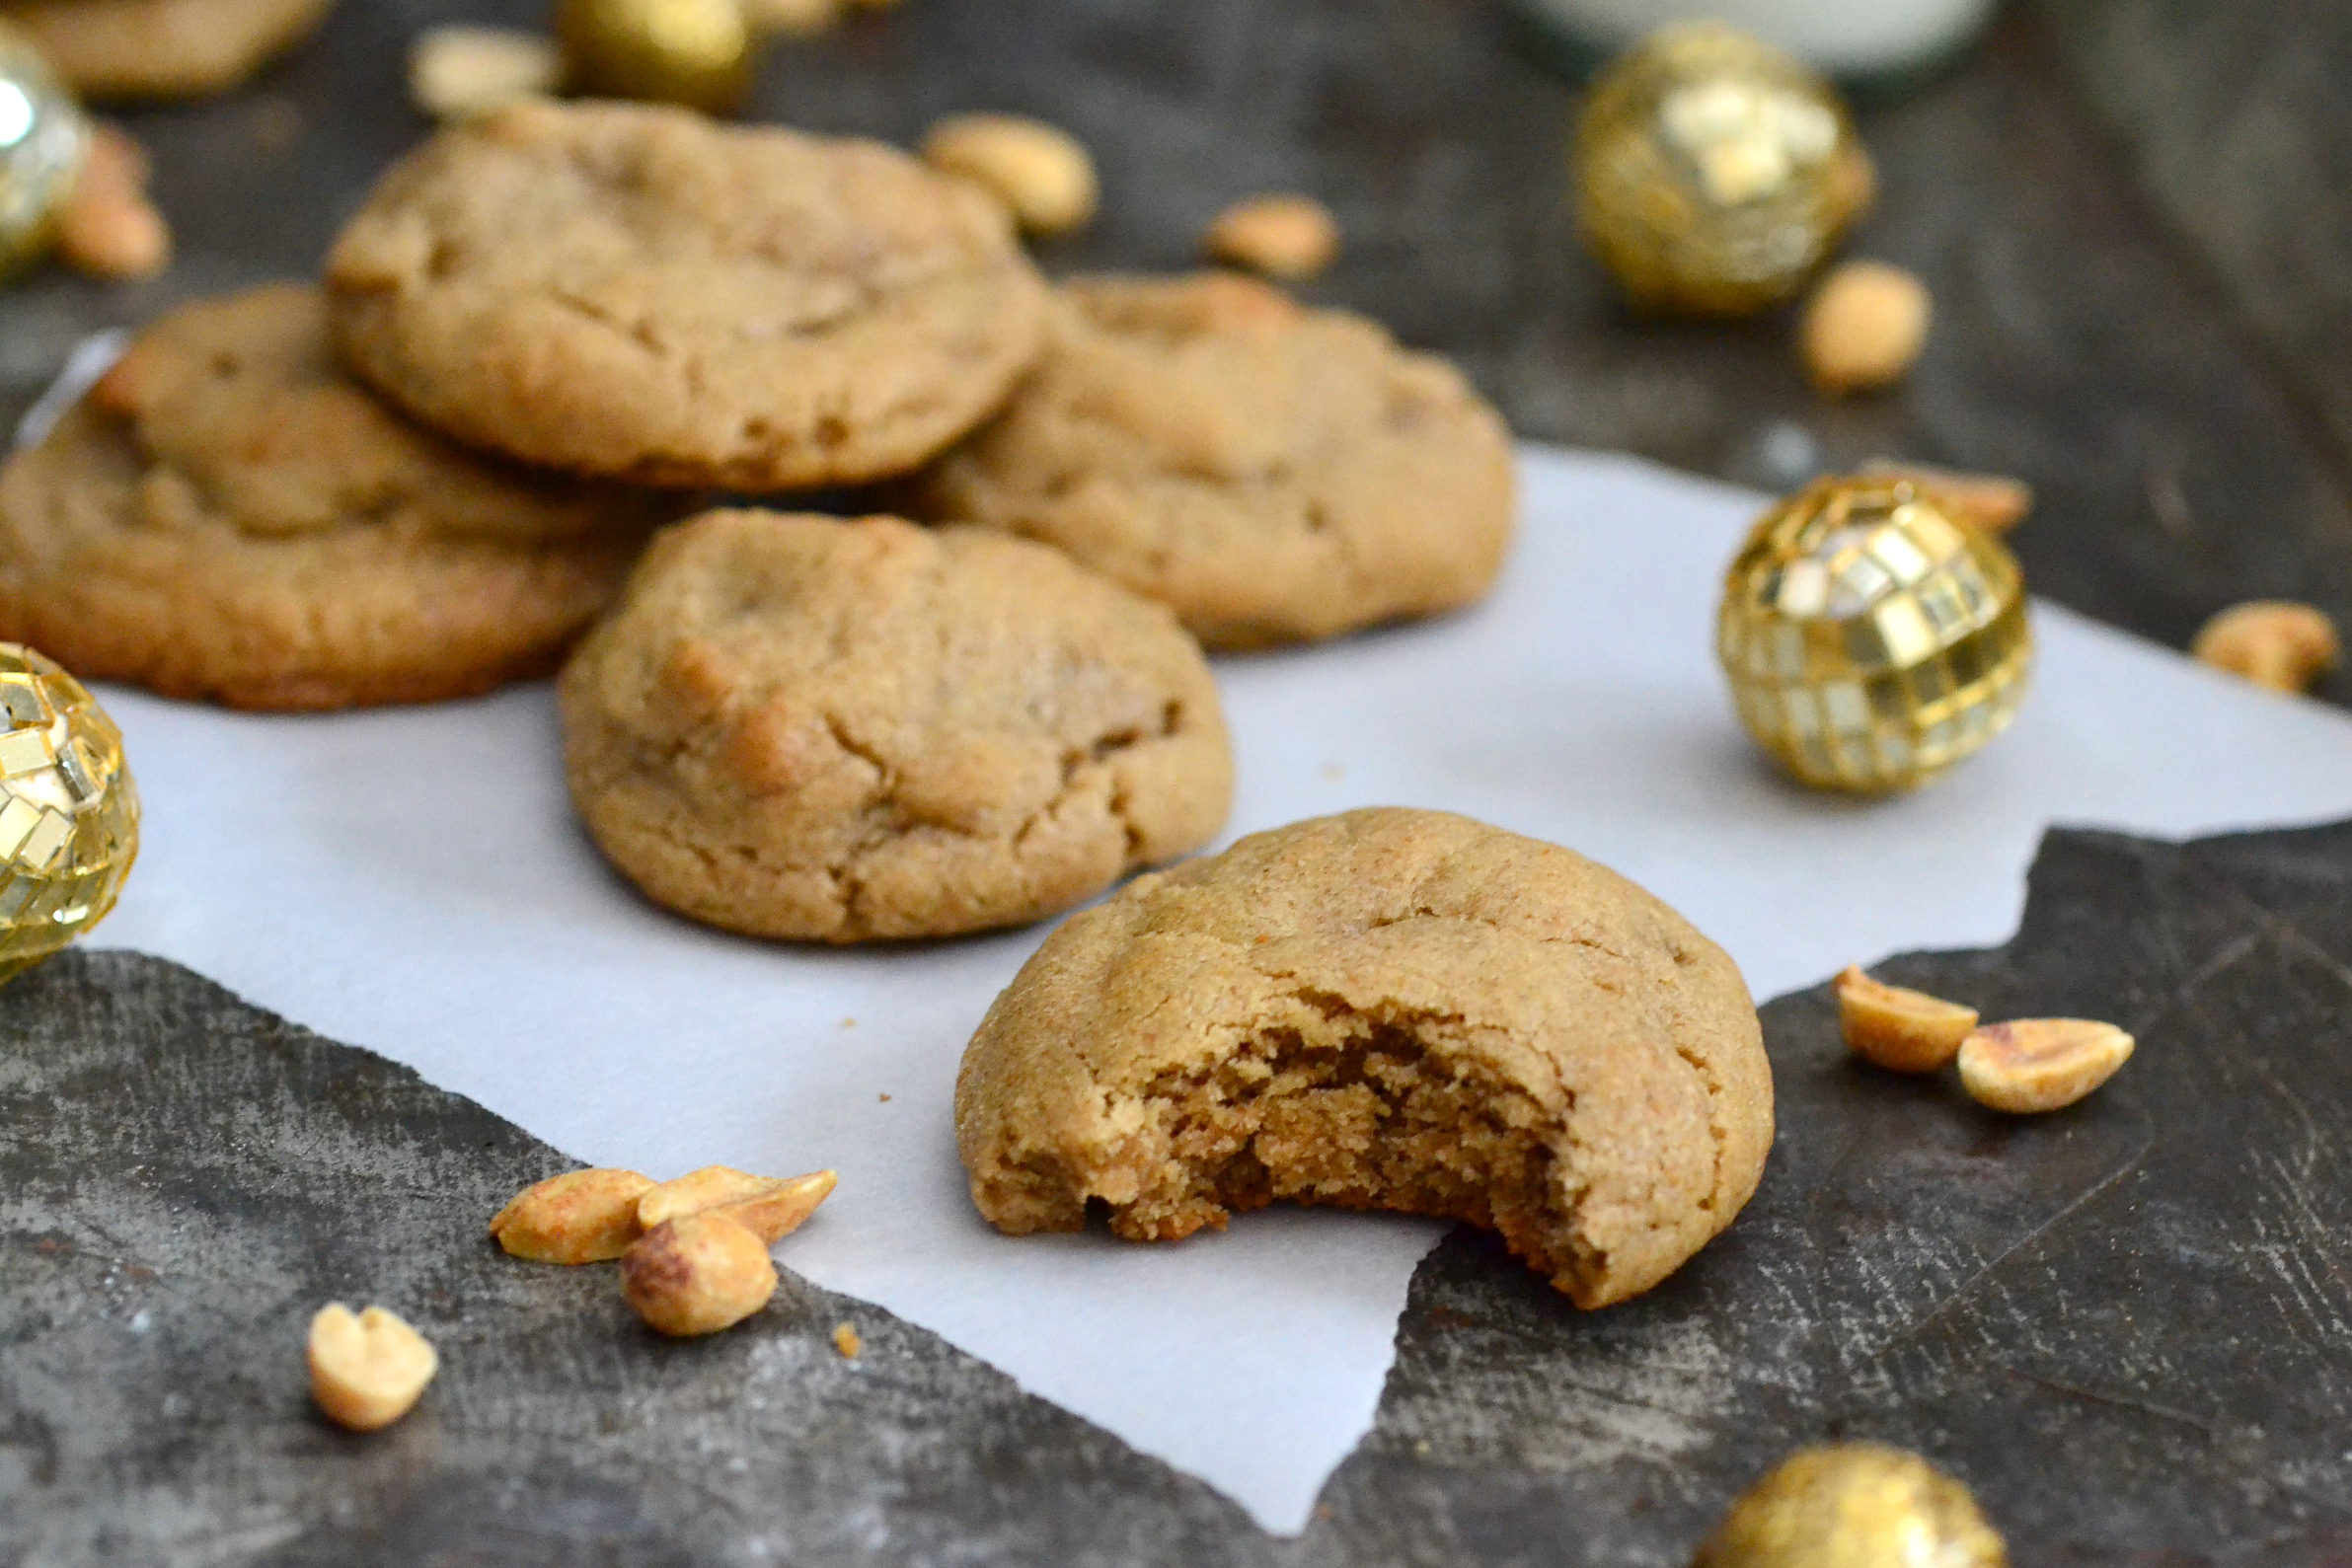
Which is why I went with one of my favorite classics, peanut butter. You really can’t go wrong with a chewy, moist and soft peanut butter cookie. Even though these stray a little from the classic recipe (subbed in whole wheat for a slightly healthier cookie), my goal to get people to smile and laugh for a minute worked. A few of my colleagues gathered around my bosses desk and chatted while enjoying a few of these yesterday morning.
I know I’m not perfect and not every recipe I make is a good one, but when something you make brings people together, that’s cause for celebration in my book and a well deserved toot to the horn.
Super Soft & Chewy Whole Wheat Peanut Butter Cookies
CLICK HERE FOR THE PRINTABLE VERSION OF THIS RECIPE!
Yields about 16 cookies.
Prep time: 10 – 12 minutes
Chill time: 14 hours
Cook time: 12 – 14 minutes
Ingredients:
- 1/2 cup crunchy peanut butter
- 1/4 cup + 2 tablespoons unsalted butter, softened
- 2 tablespoons unsweetened applesauce
- 1 egg
- 3/4 cup brown sugar
- 1/4 cup white sugar
- 1 teaspoon vanilla extract
- 3/4 cup whole wheat flour
- 1/2 cup all-purpose flour
- 1 teaspoon baking soda
- Dash of salt
Directions:
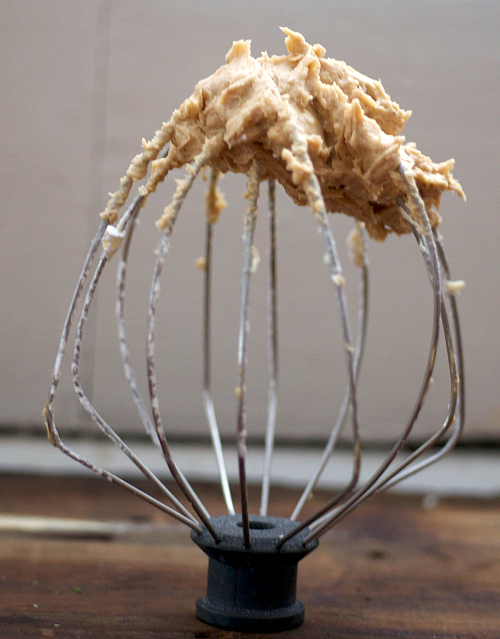
- In a mixing bowl fitted with a whisk attachment, beat the peanut butter, butter, applesauce, egg, brown sugar, white sugar and vanilla together. Beat until thick and creamy.
- In another bowl, whisk the flours, baking soda and salt together. Add the flour mixture to the peanut butter mixture and mix until soft and fluffy. Cover bowl with saran wrap and chill for at least 10 – 14 hours (or overnight).
- Once chilled, preheat oven to 350 degrees F. Line a cookie sheet with parchment paper.
- Using an ice cream scoop, scoop the cookie dough onto the parchment paper about 1-inch apart on the baking sheet. Don’t overcrowd since they will spread a little.
- Bake for about 10 – 12 minutes, or until golden brown.
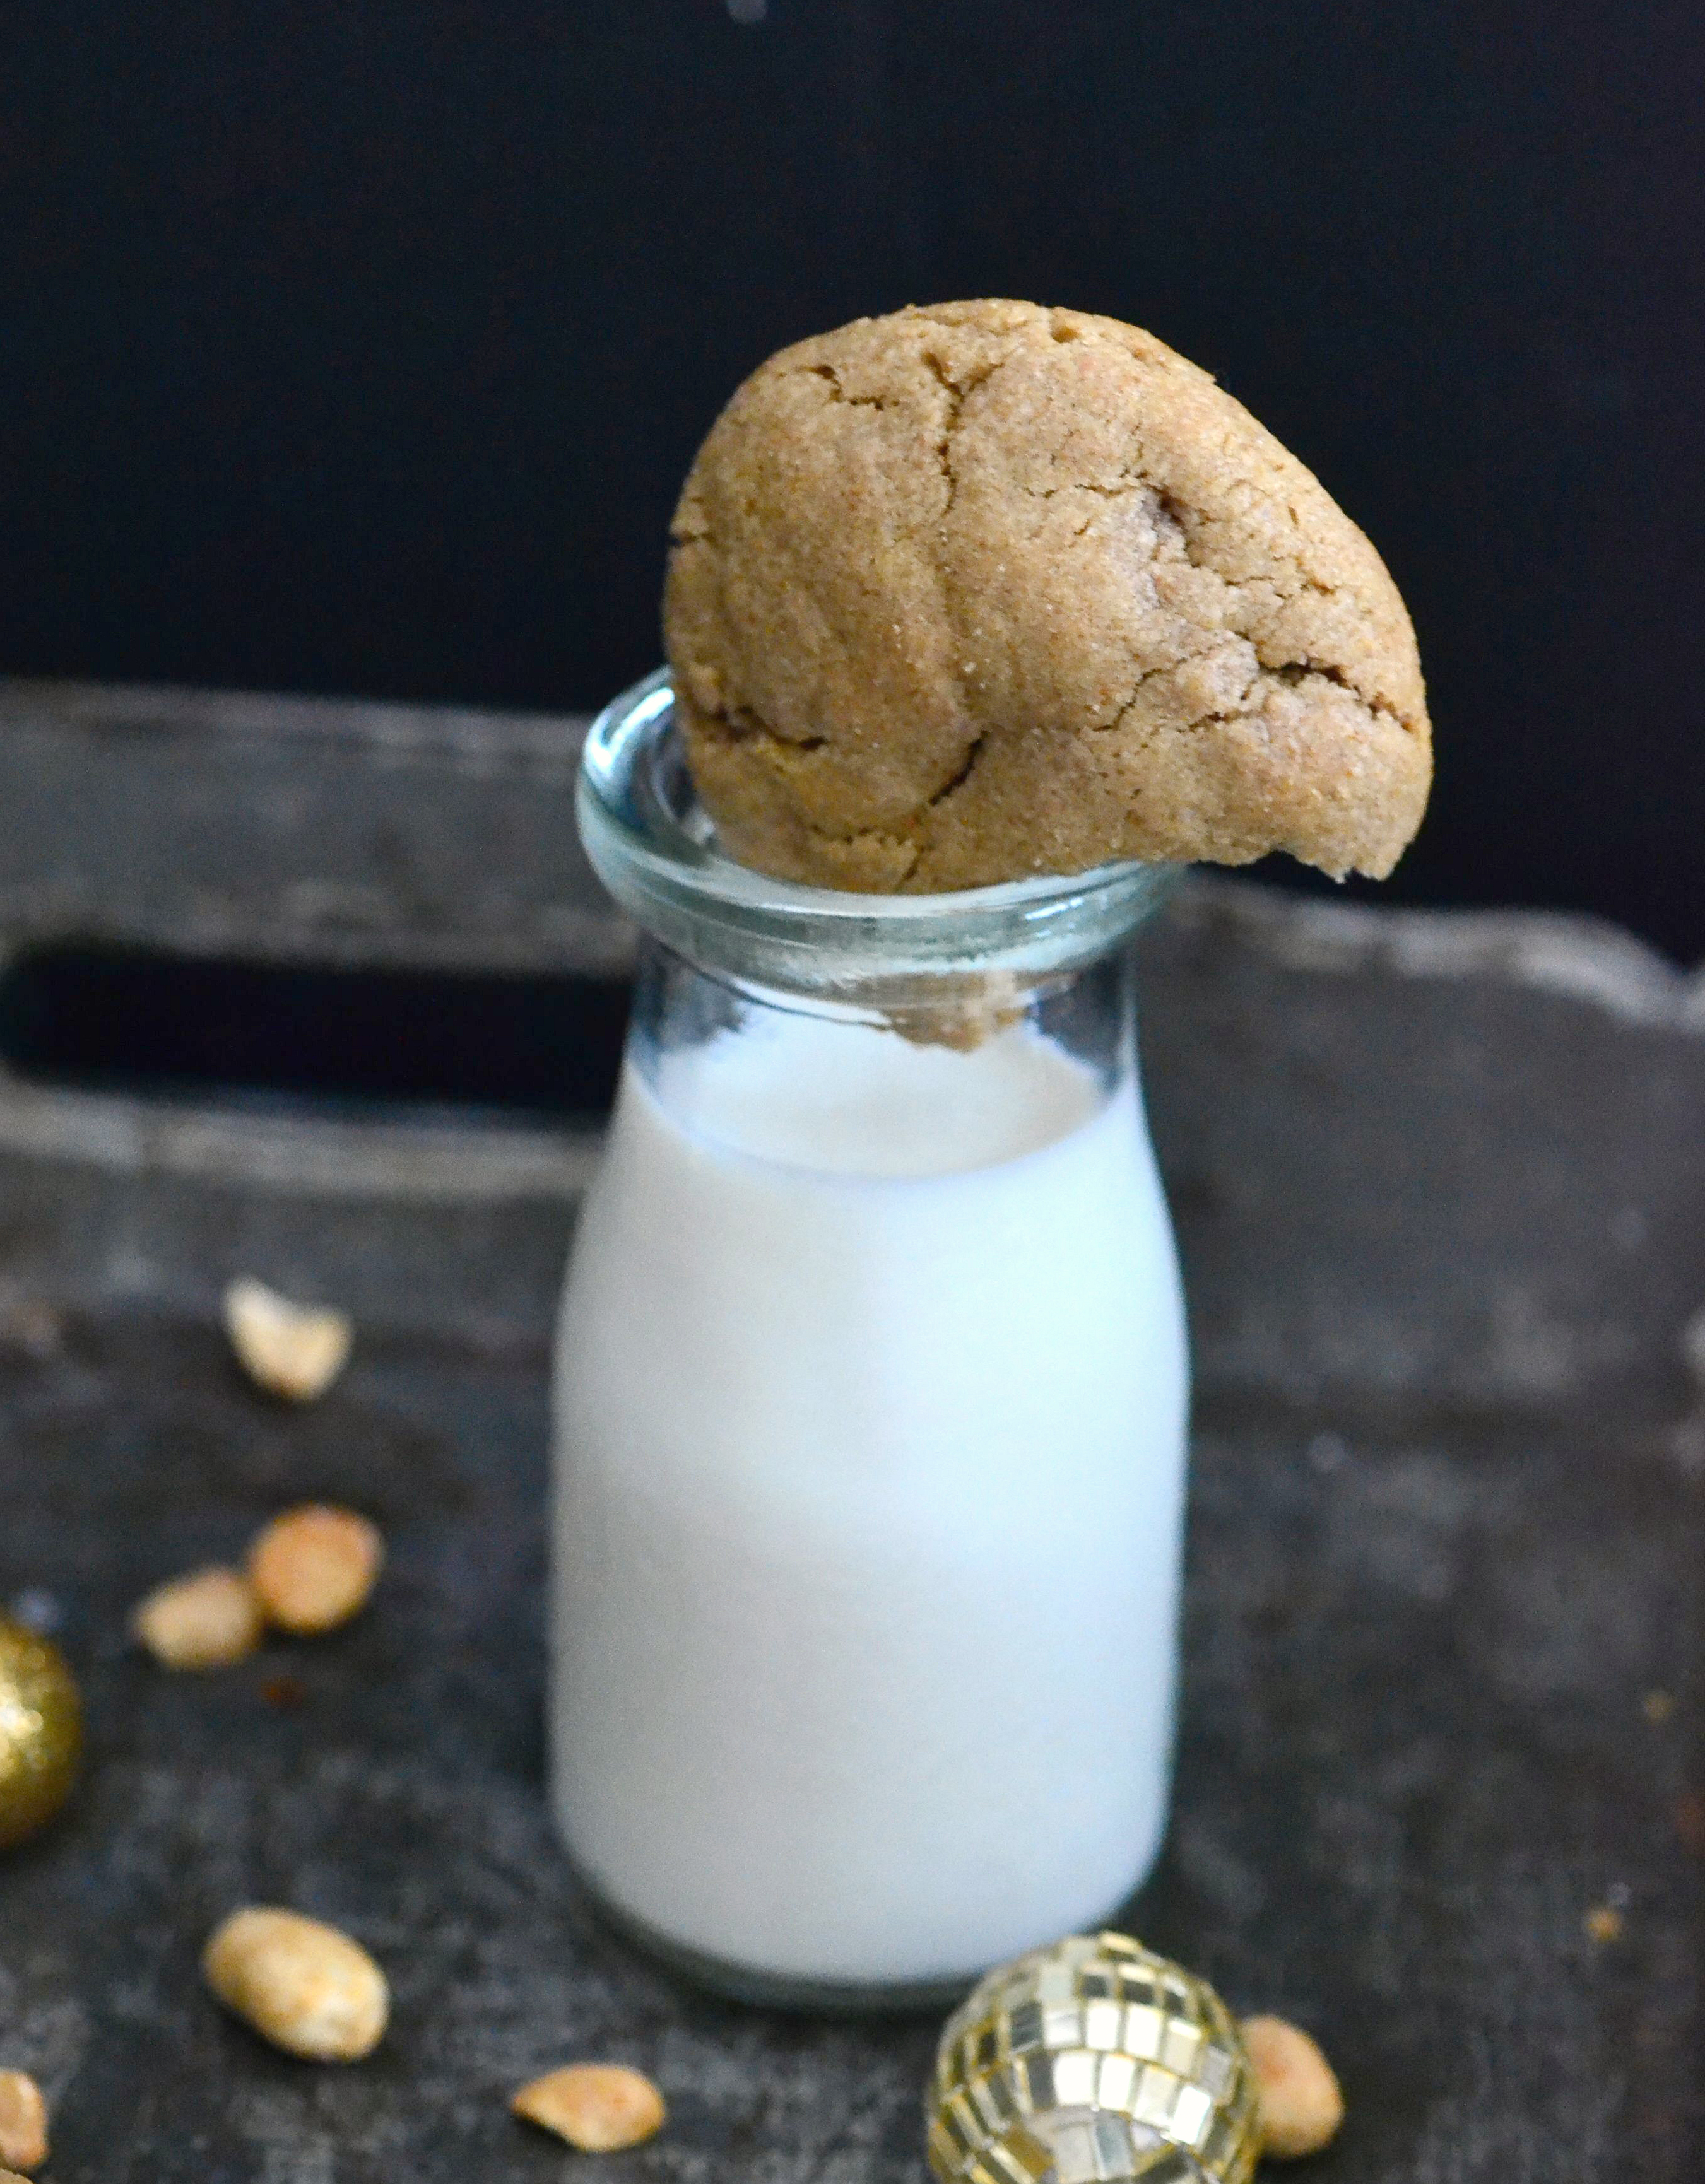
- Serve warm with milk and enjoy!
Nutritional information per serving (1 cookie):
Calories: 173.8
Fat: 8.8 grams
Carbohydrates: 22.25
Fiber: >1 gram
Protein: 3.25 grams
Weight Watchers Points: 5
d9fc70b20a7798b1719c7b0ca57f7d503a5d61417fae68ac26
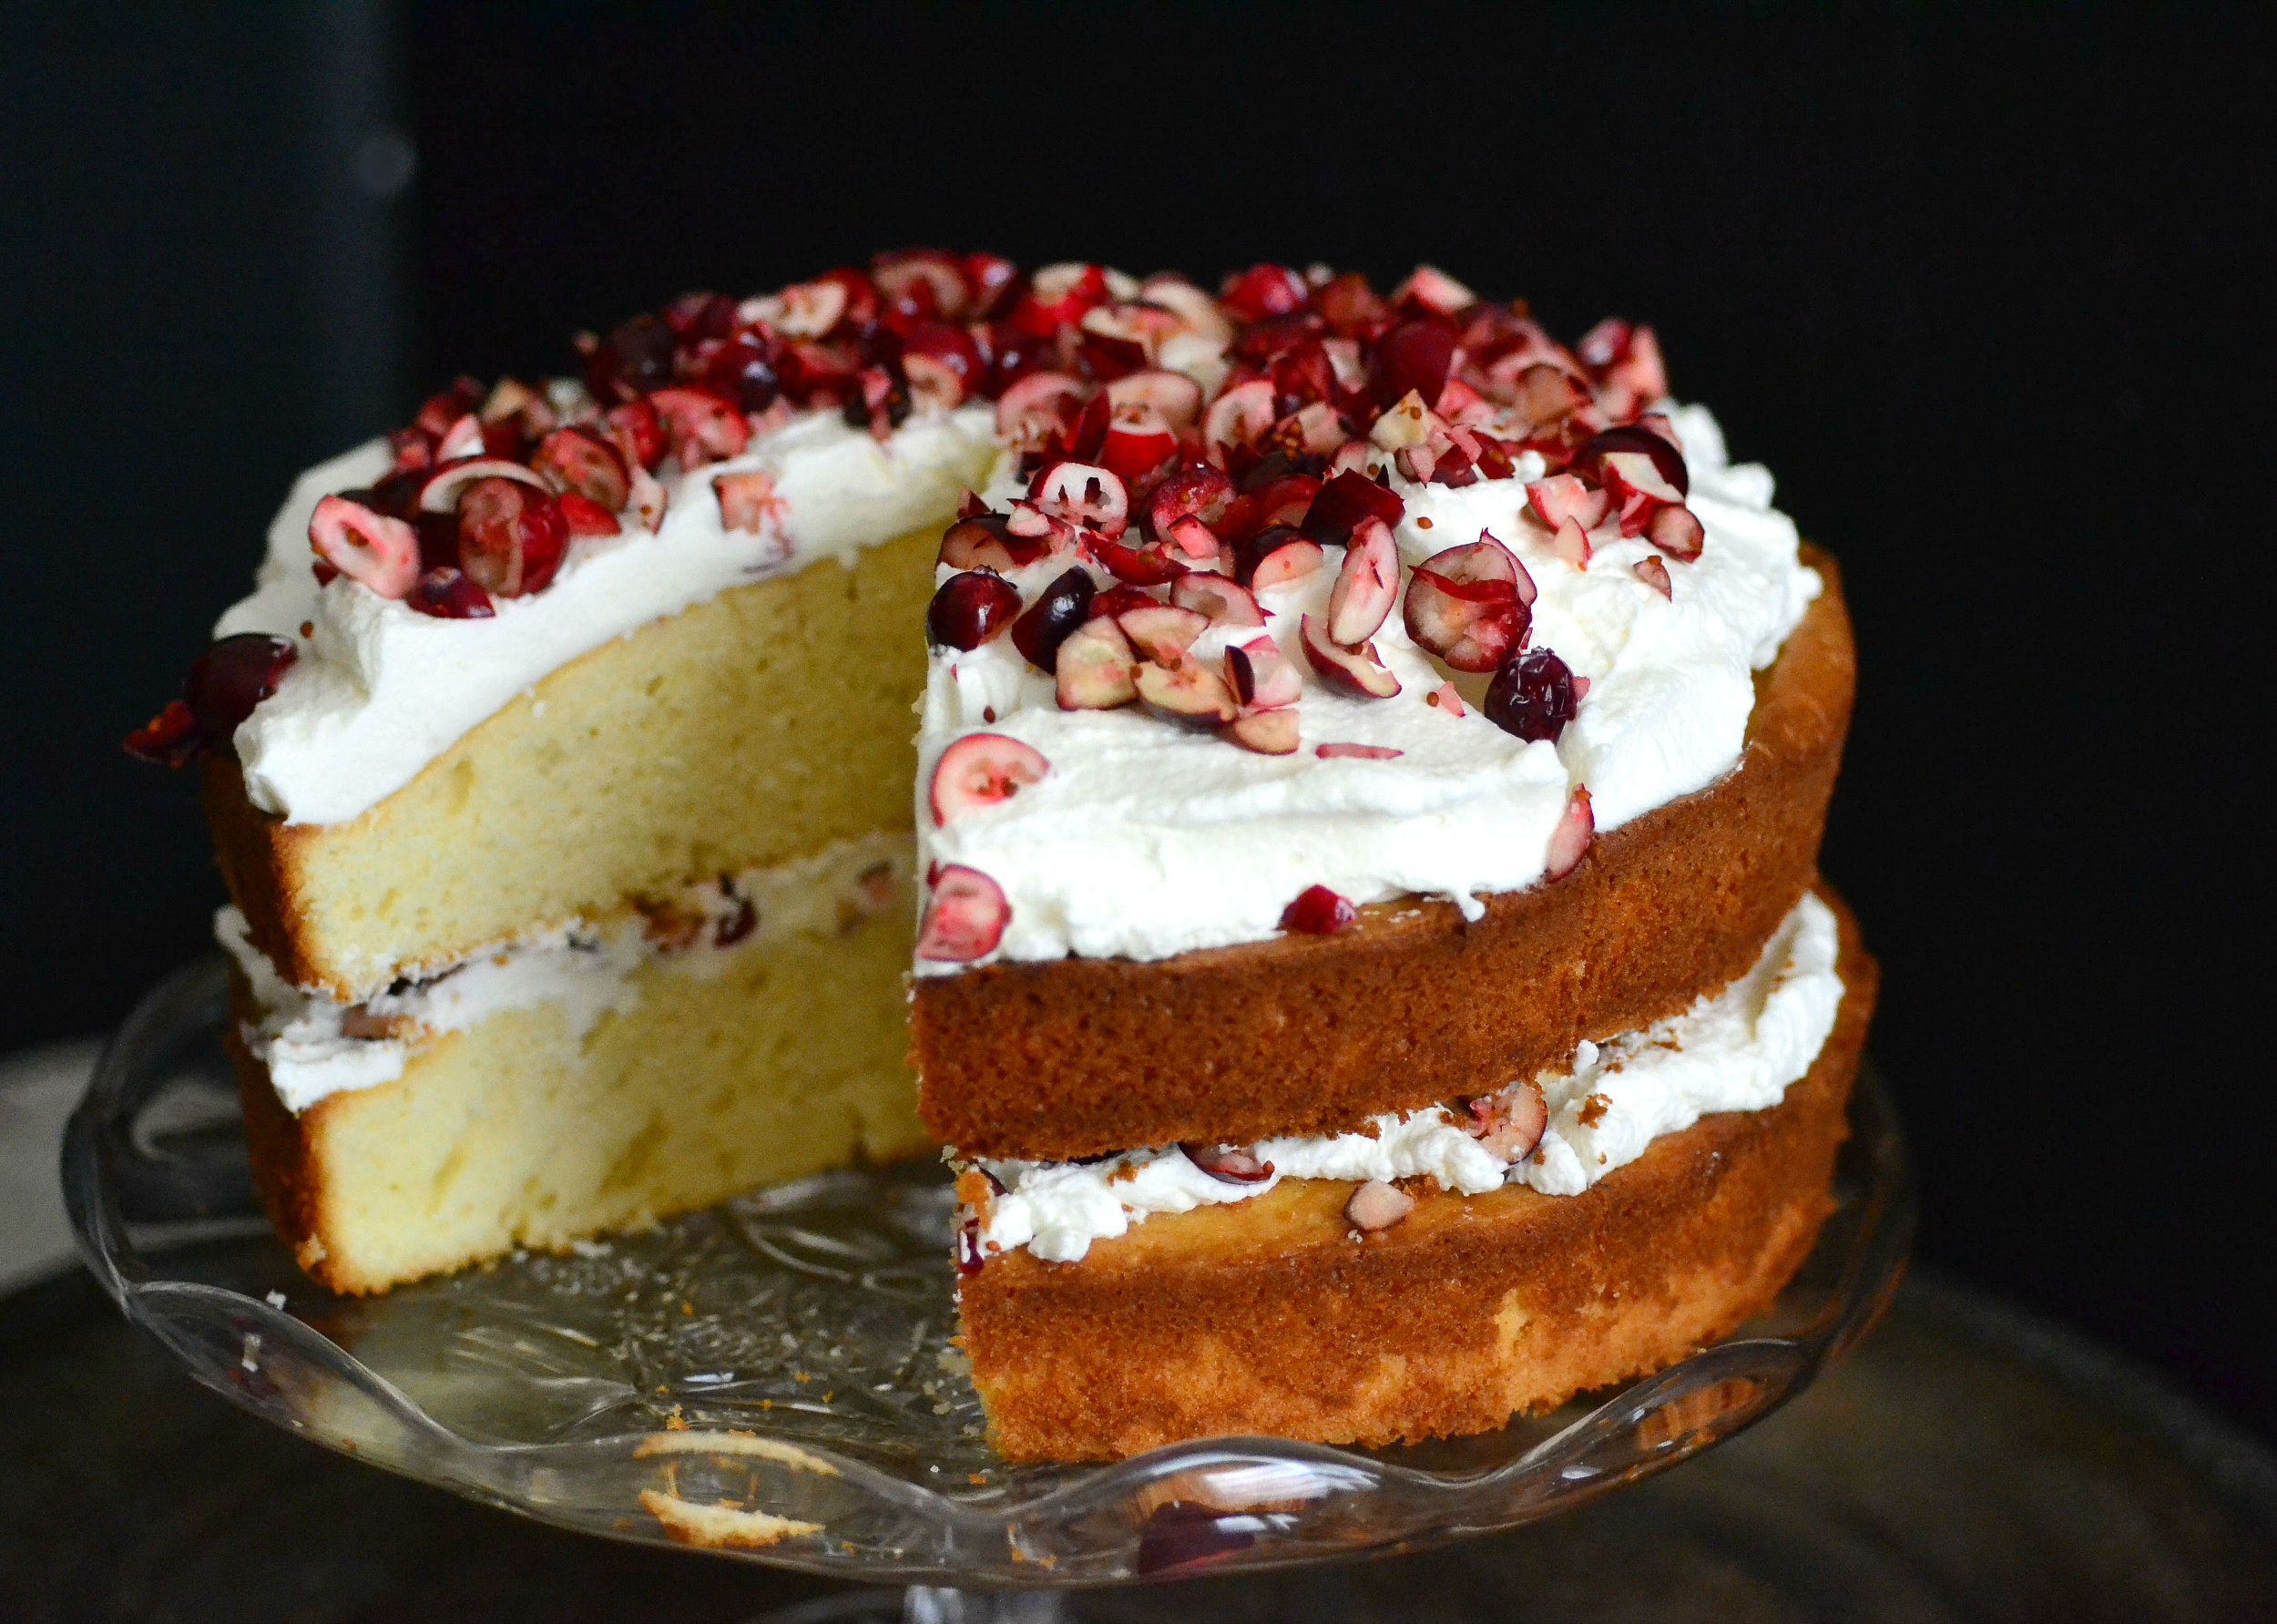
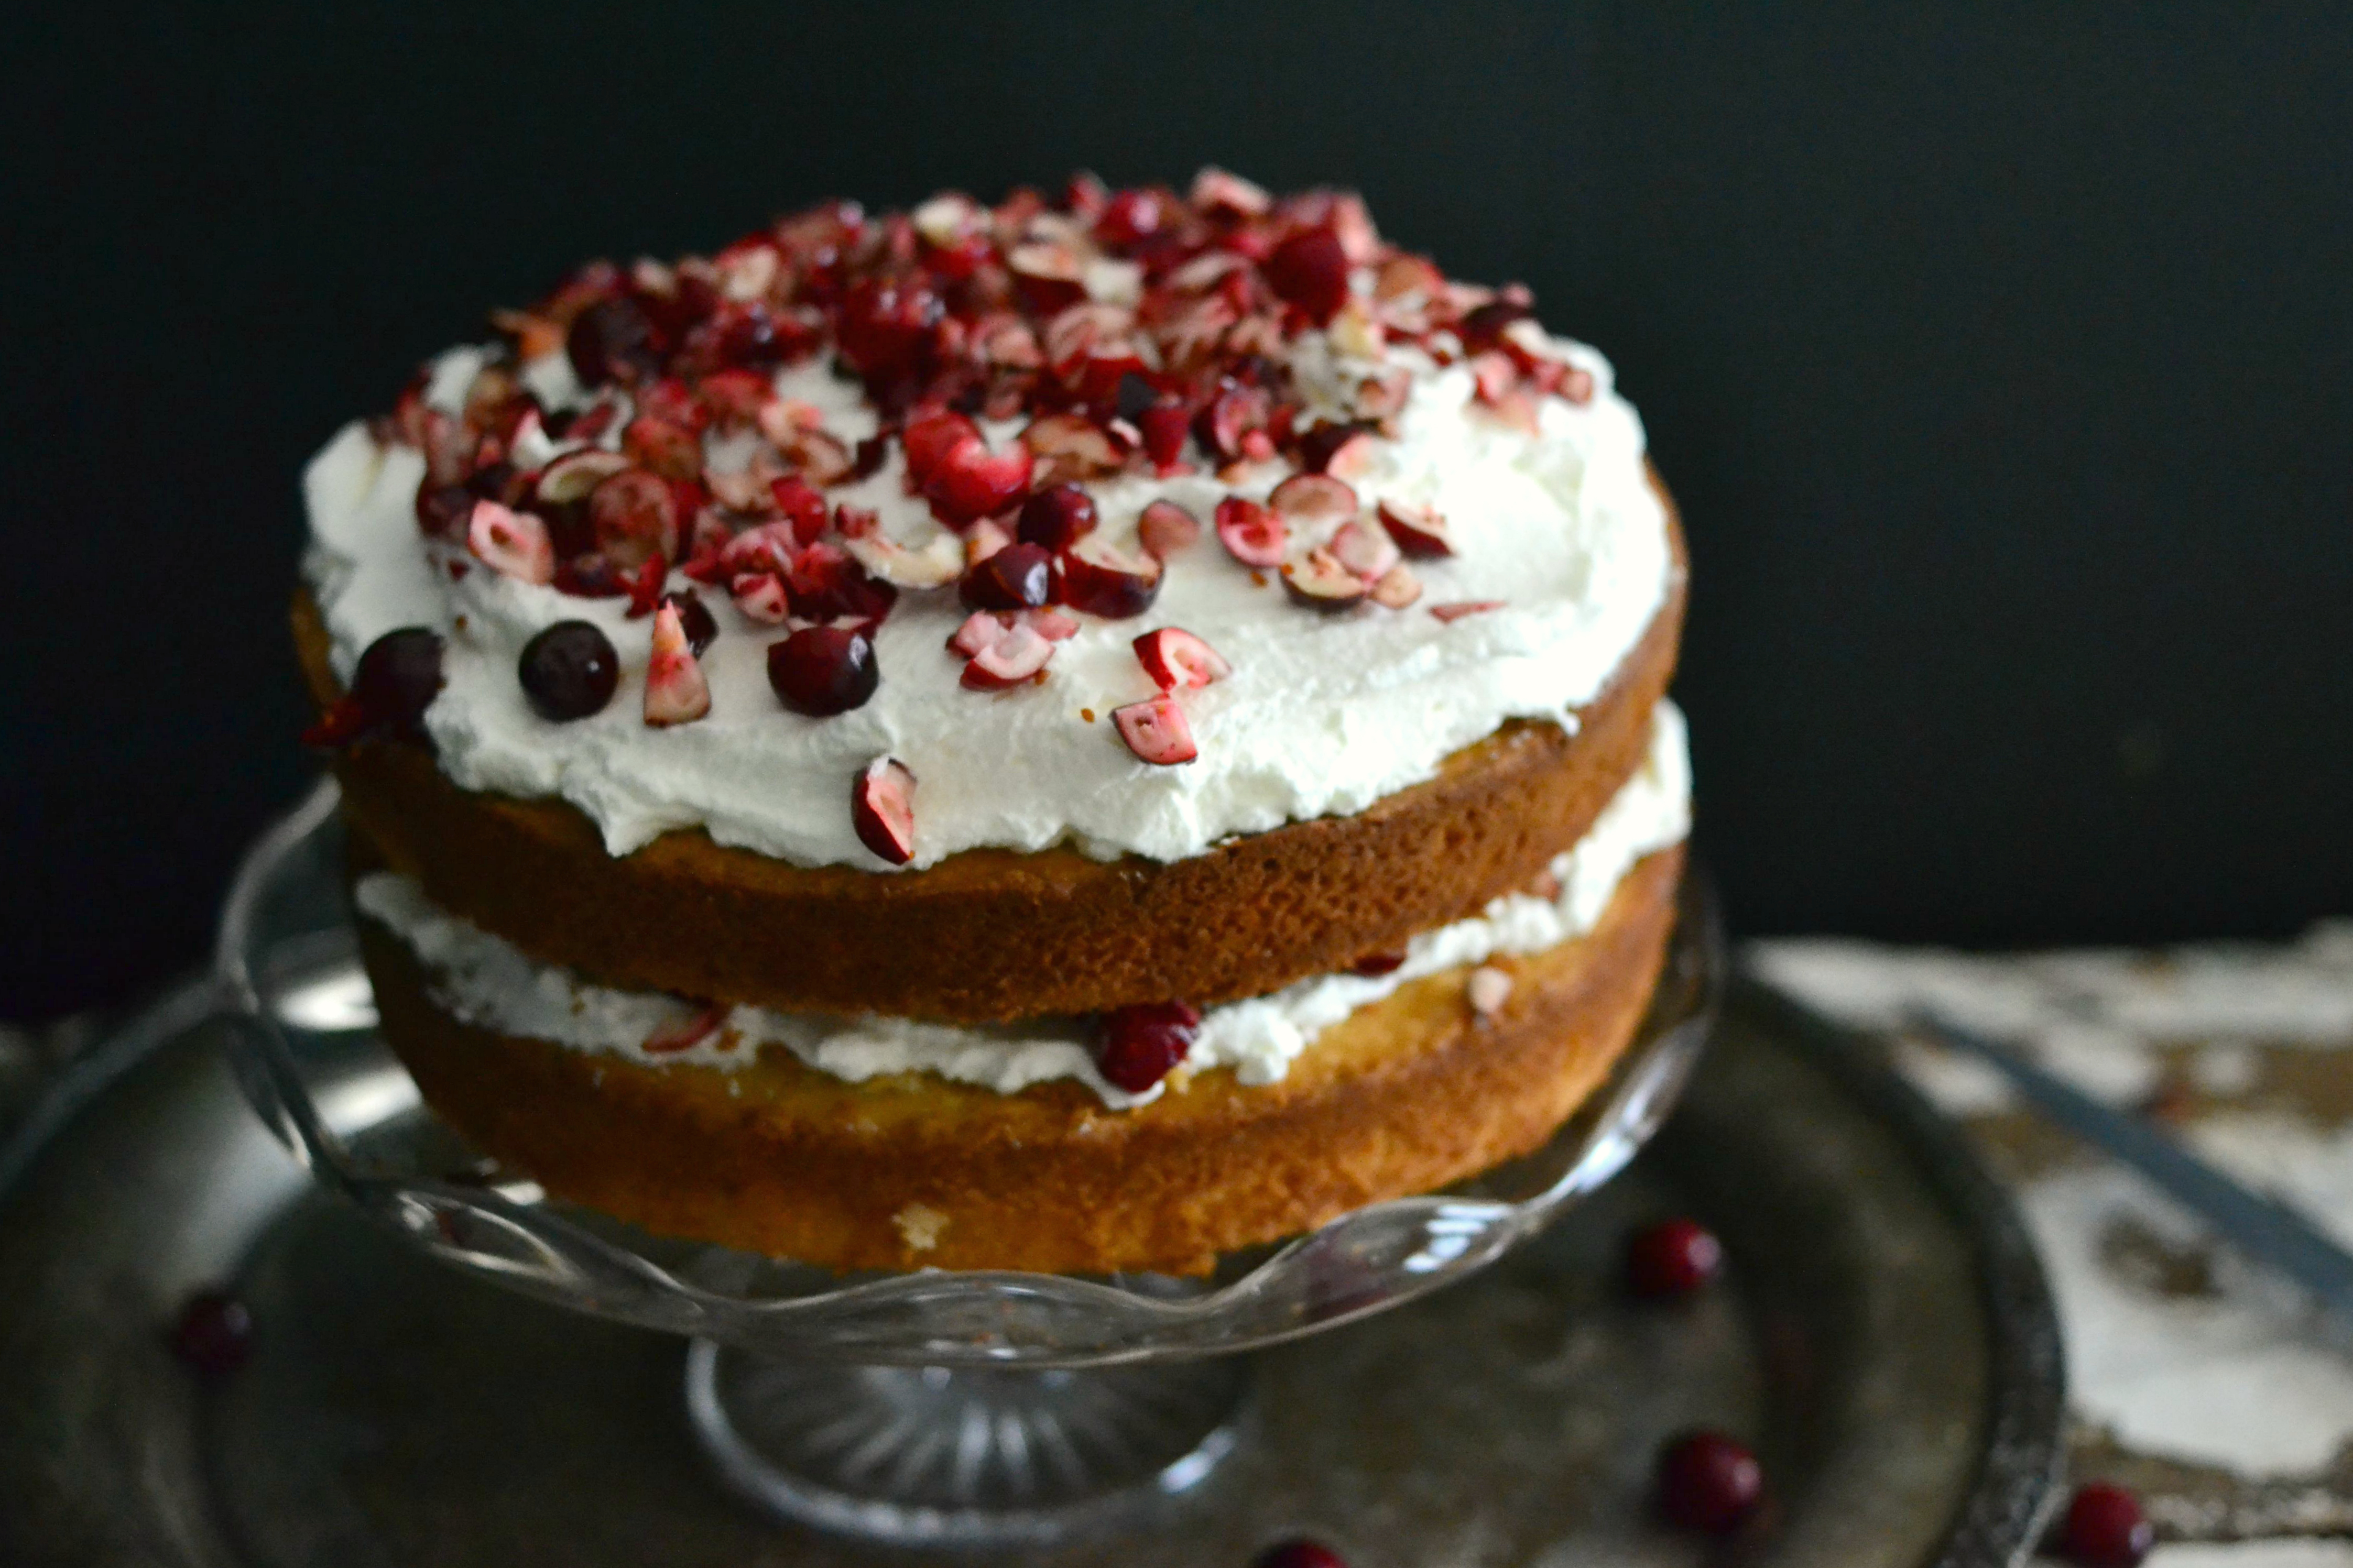
Fluffy White Cake Recipe with Whipped Cream & Cranberries
Kick off the holiday the right way with this fluffy white cake recipe with whipped cream and cranberries! It’s a beautiful non-cookie dessert for any parties or family celebrations.
I have a slight confession to make. Sometimes I get so excited about the prospect of a new recipe that I completely forget to check in my fridge and pantry to see if I have the right ingredients to make it.
I actually can’t count on my two hands how many times I’ve had to run to the store mid-mix, whip and stir to get a necessary ingredient I totally forget I ran out of. And of course, it’s usually something like eggs, sugar, flour or baking powder. I also always vow that I’ll never do that again and two days later I’m cursing at the slow check out line because my meringue is in serious need of some cream of tartar.
I guess in my defense, my excitement takes over my need for responsibility. And thats not something I entirely want to get rid of. See, when this cake happened, I was SO excited about the prospect of a fluffy white cake with cranberries that I forgot to check my supply of butter and confirm that I had powdered sugar to make a vanilla bean buttercream.
Well, as you can guess, I used all of the butter in the cake and realized I was out of powdered sugar as it cooled. However, it was pouring down rain that day and I had no desire to run to the store and waste my precious natural daylight hours to get it, so I improvised.

I had a carton of whipping cream and just enough white sugar left to make a fluffy whipped cream. So I thought back to the rustic dessert trend and had an idea. Instead of frosting, I’d used whipped cream! In my head I was really only doing this for photo purposes, but when I took that first bite after the photos were taken, I nearly passed out.
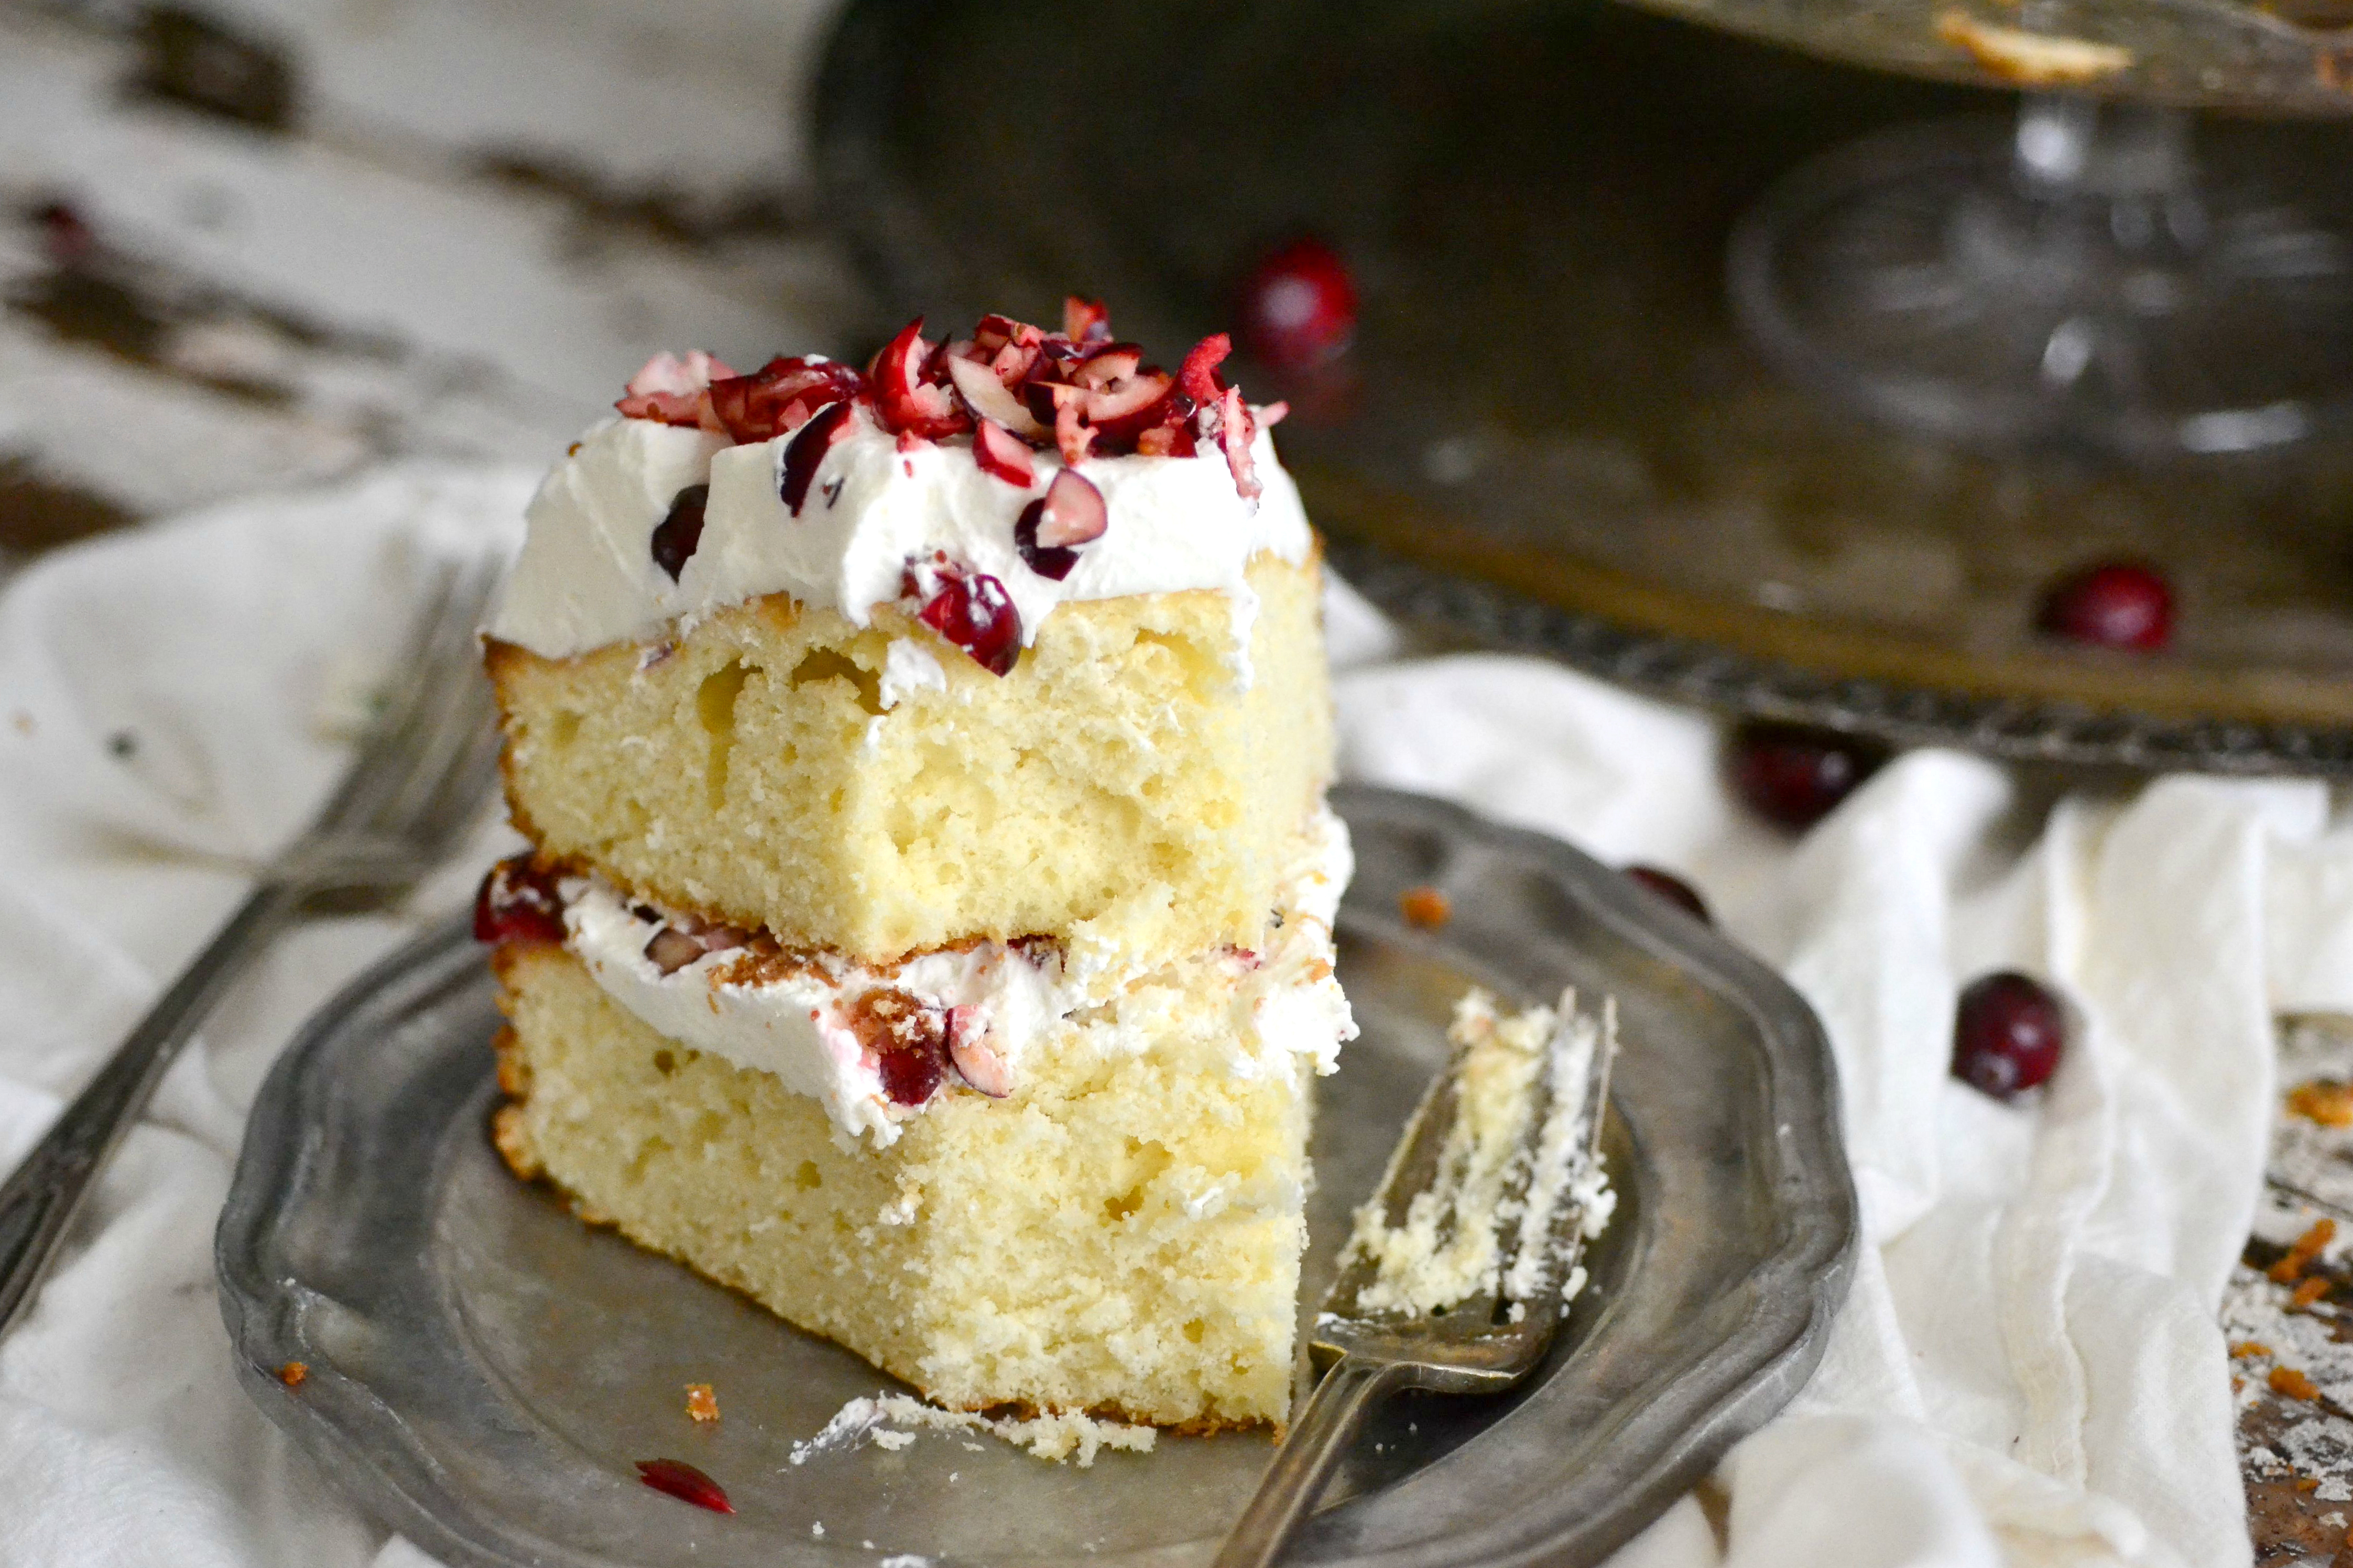
It tasted like a souped-up version of strawberry shortcake, only with way more butter and tart cranberries. So obviously it’s heavenly and you need to make it immediately.Plus it looks so much cooler without all that frosting. And I’m a frosting girl, so that’s a bold statement coming from me.
Fluffy White Cake Recipe with Whipped Cream & Cranberries
CLICK HERE FOR THE PRINTABLE VERSION OF THIS RECIPE!
Serves about 12. Inspired and adapted by All Recipes.
Prep time: 15 minutes
Cook time: 30 – 32 minutes
Chill time: 60 minutes
Total time: 1 hour and 45 minutes
Ingredients:
For the cake:
- 2 3/4 cups sifted cake flour
- 4 teaspoons baking powder
- 1/2 cup unsalted butter, softened
- 1/4 cup unsweetened applesauce
- 1 1/2 cup white sugar
- 4 egg whites
- 3/4 cup low fat buttermilk
- 1/4 cup heavy cream
- 2 teaspoons white vanilla extract
For the whipped cream:
- 2 cups heavy whipped cream
- 4 tablespoons white sugar
- 1 vanilla bean, scraped
For the topping:
- 1 1/2 cups cranberries, chopped
Directions:
- To make the cake, carefully whisk the sifted cake flour and baking powder together in a large mixing bowl. In another bowl, beat the butter, unsweetened applesauce and sugar together until creamy. Add the egg whites, one at a time, beating well after each addition. Beat in the vanilla.
- In another bowl whisk the buttermilk and heavy cream together. Add the flour mixture to the butter mixture, alternating with the milk/cream and ending with the flour. Mix until just incorporated (do NOT overmix).
- Preheat oven to 350 degrees F. Liberally grease two 9 x 9 cake pans with nonstick cooking spray and then dust with a bit of cake flour. Evenly pour the batter into the two pans and smooth the top with a spatula.
- Bake for about 30 – 32 minutes or until golden brown and a toothpick inserted in the middle comes out clean. Let cool completely (for about an hour) before topping.
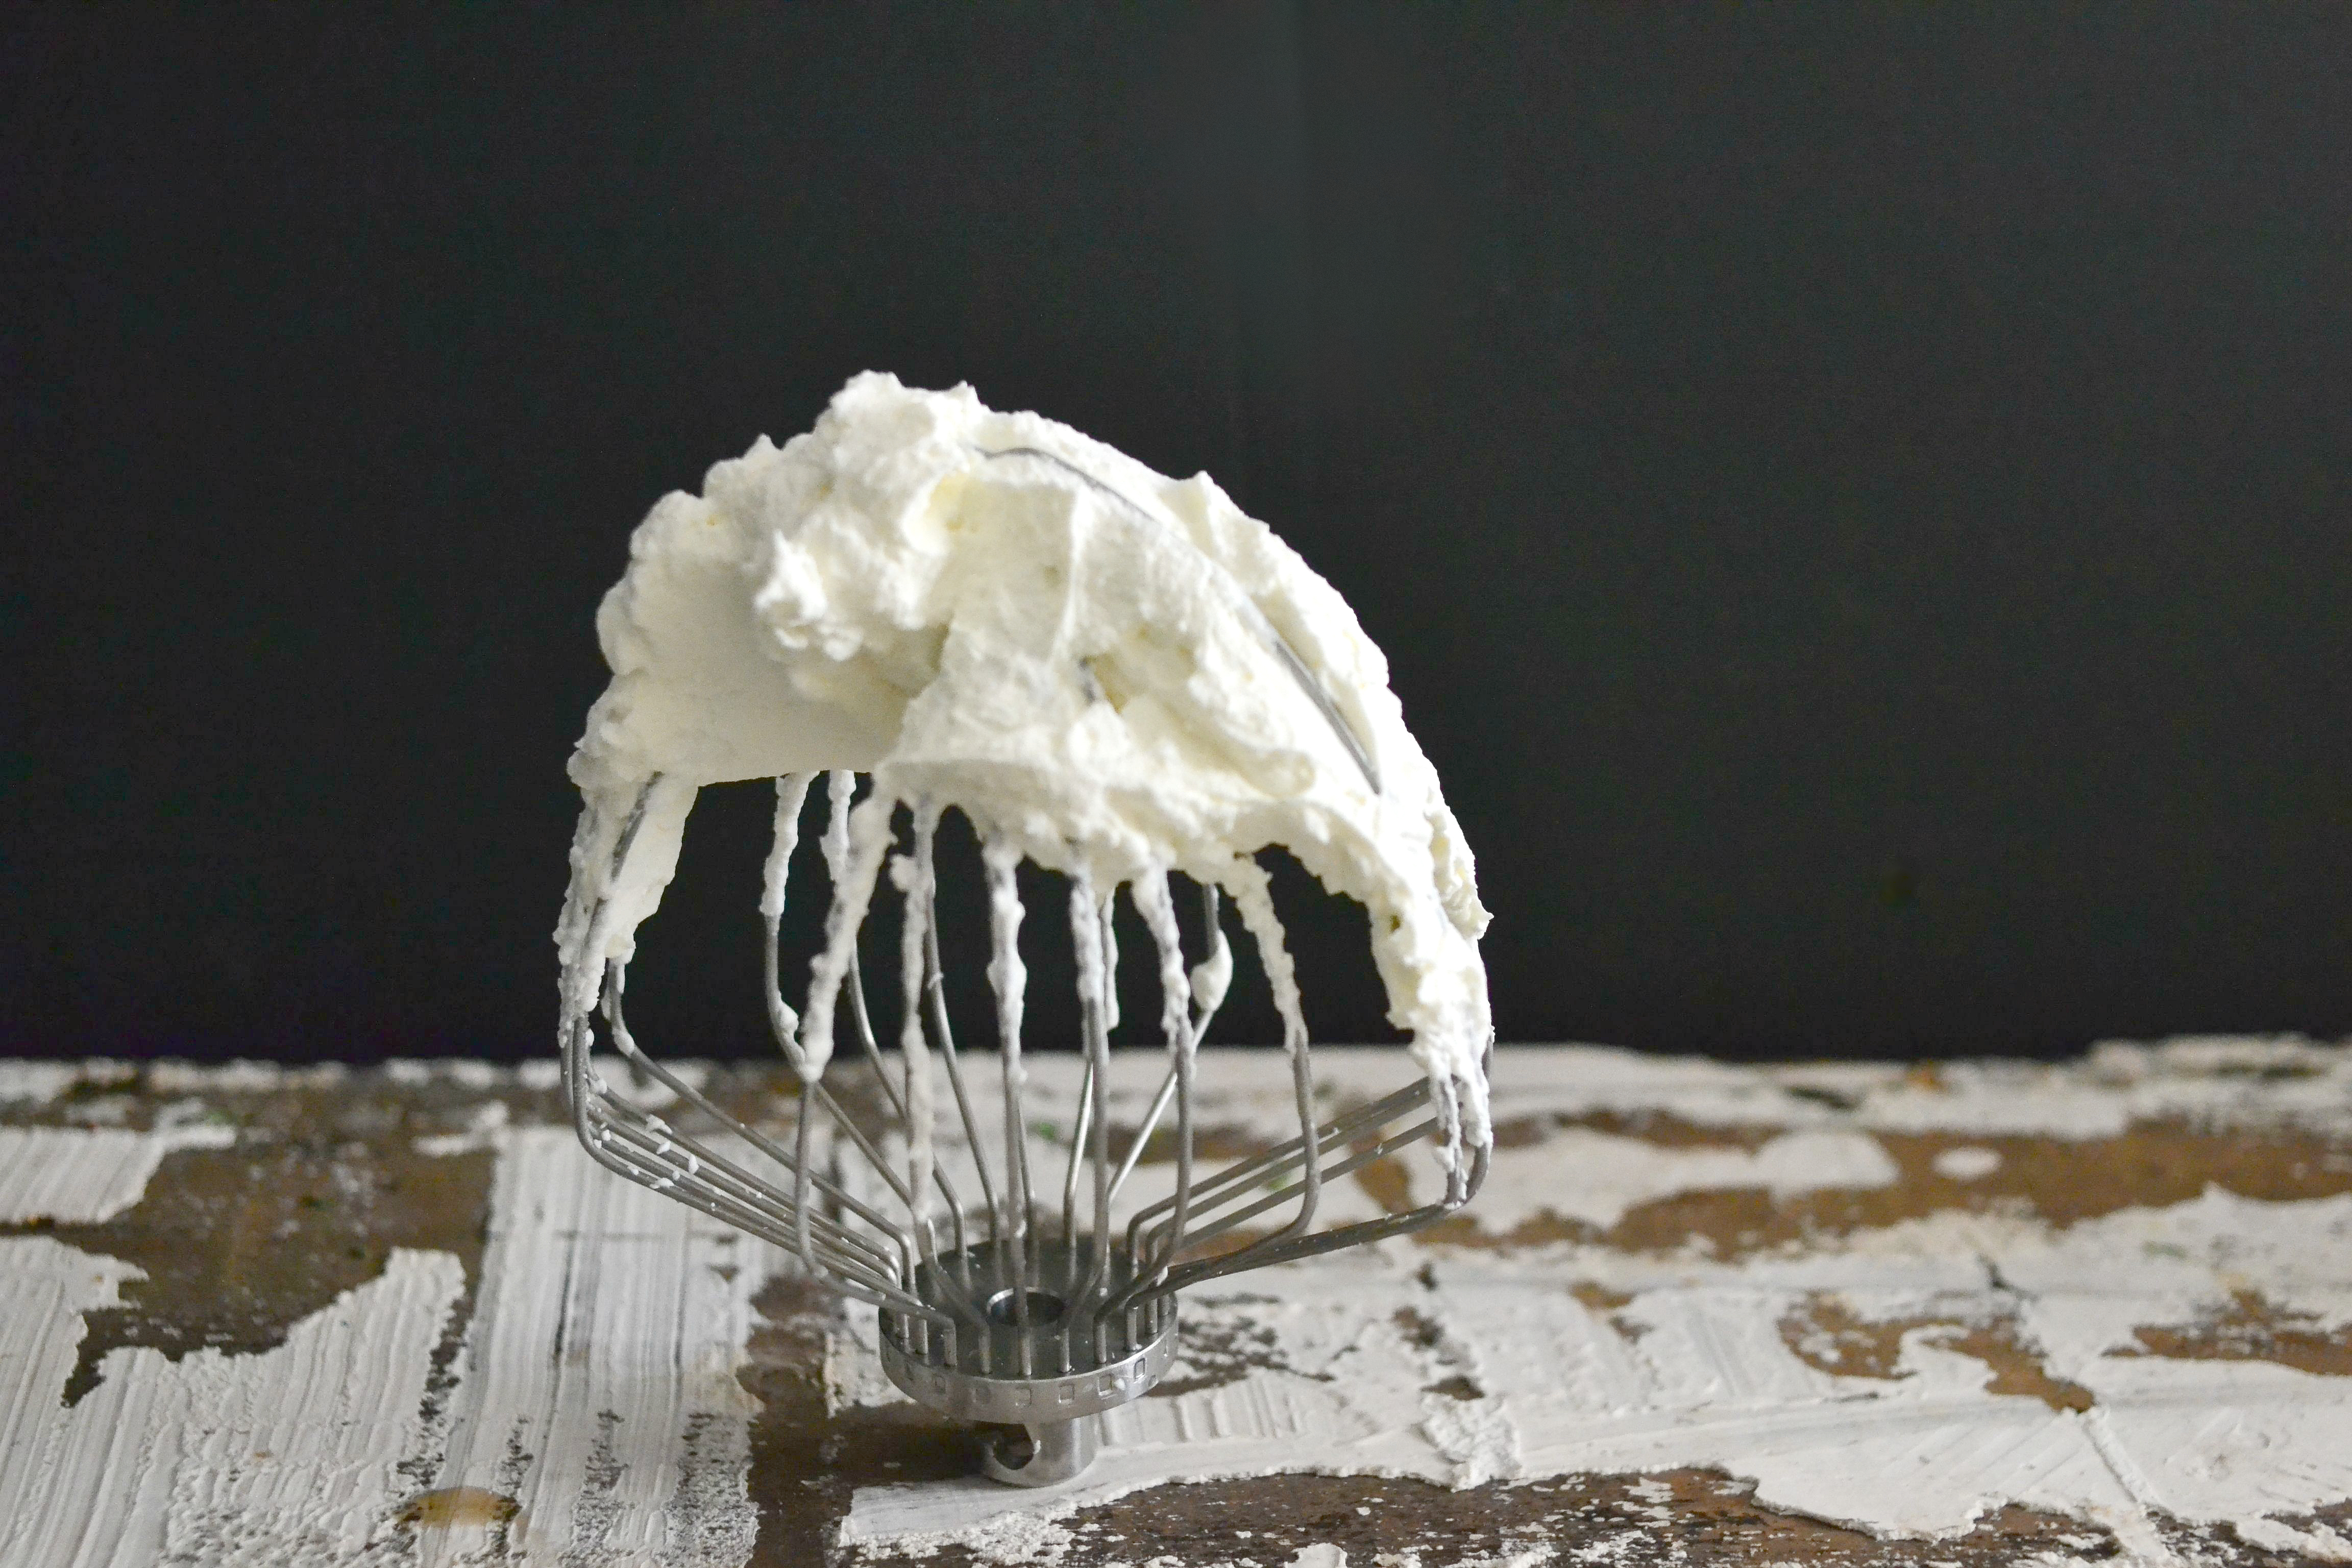
- To make the topping, whisk the whipped cream, sugar and vanilla bean insides until a stiff peak forms, about 4 – 6 minutes.
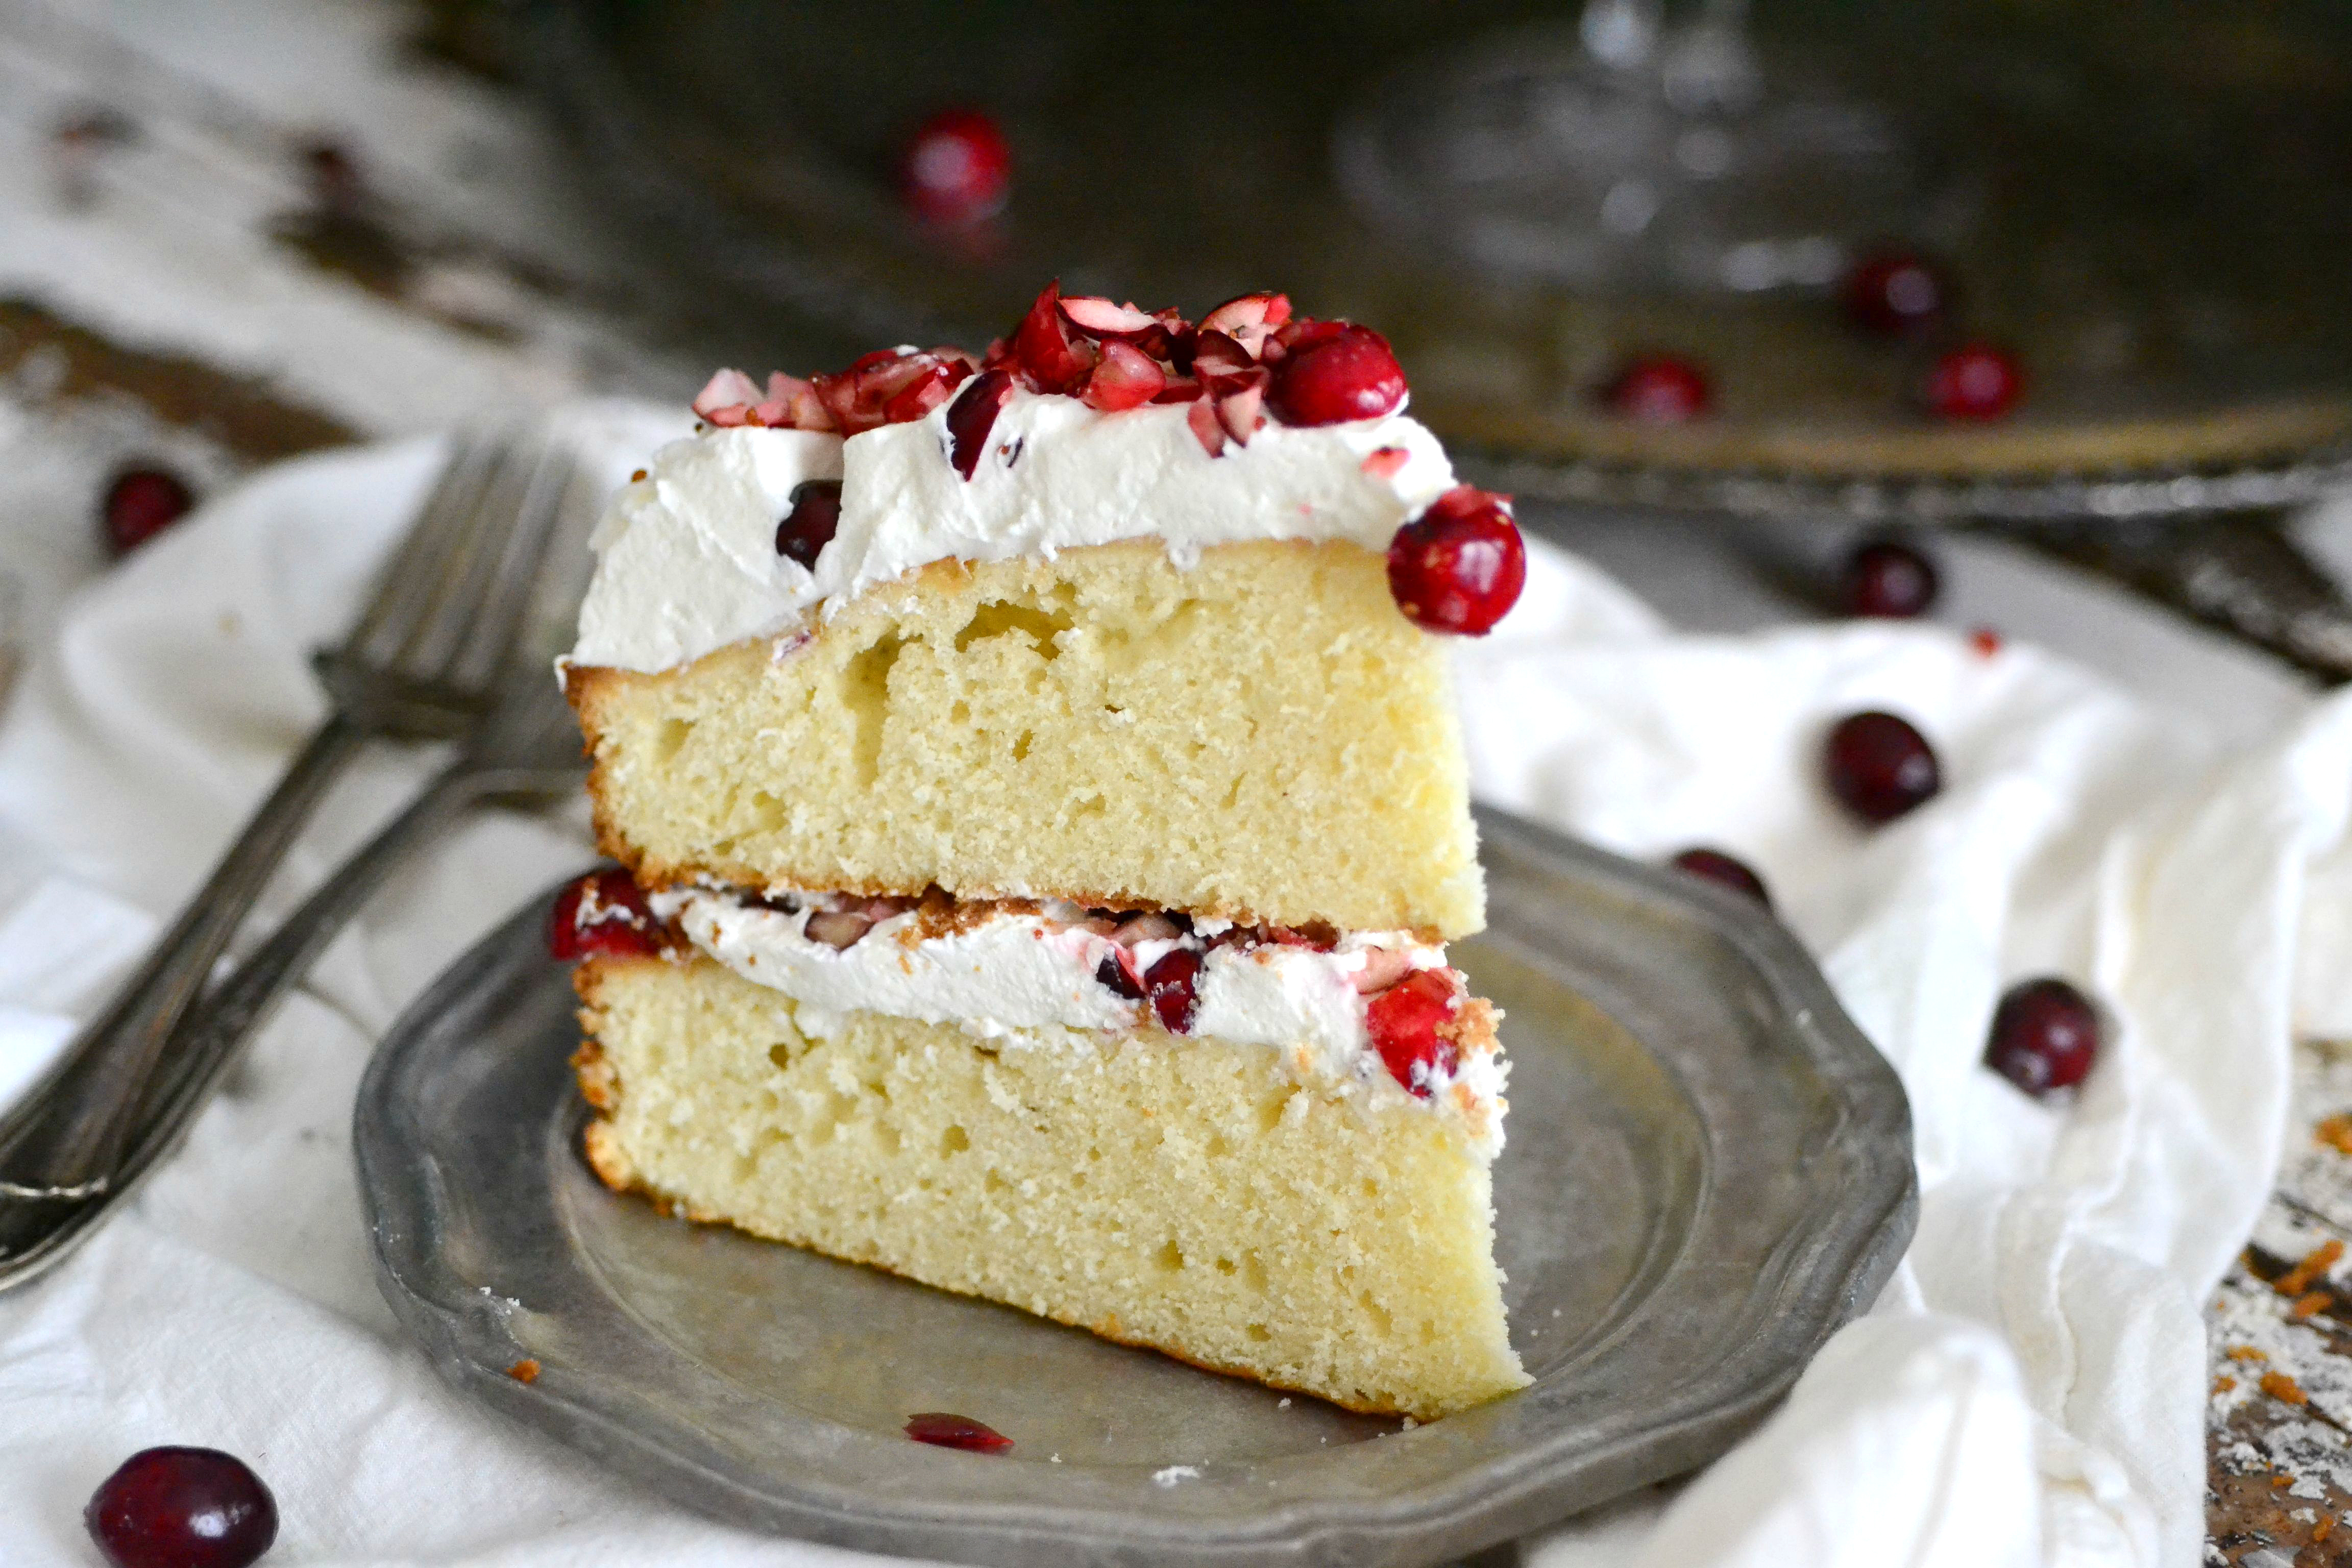
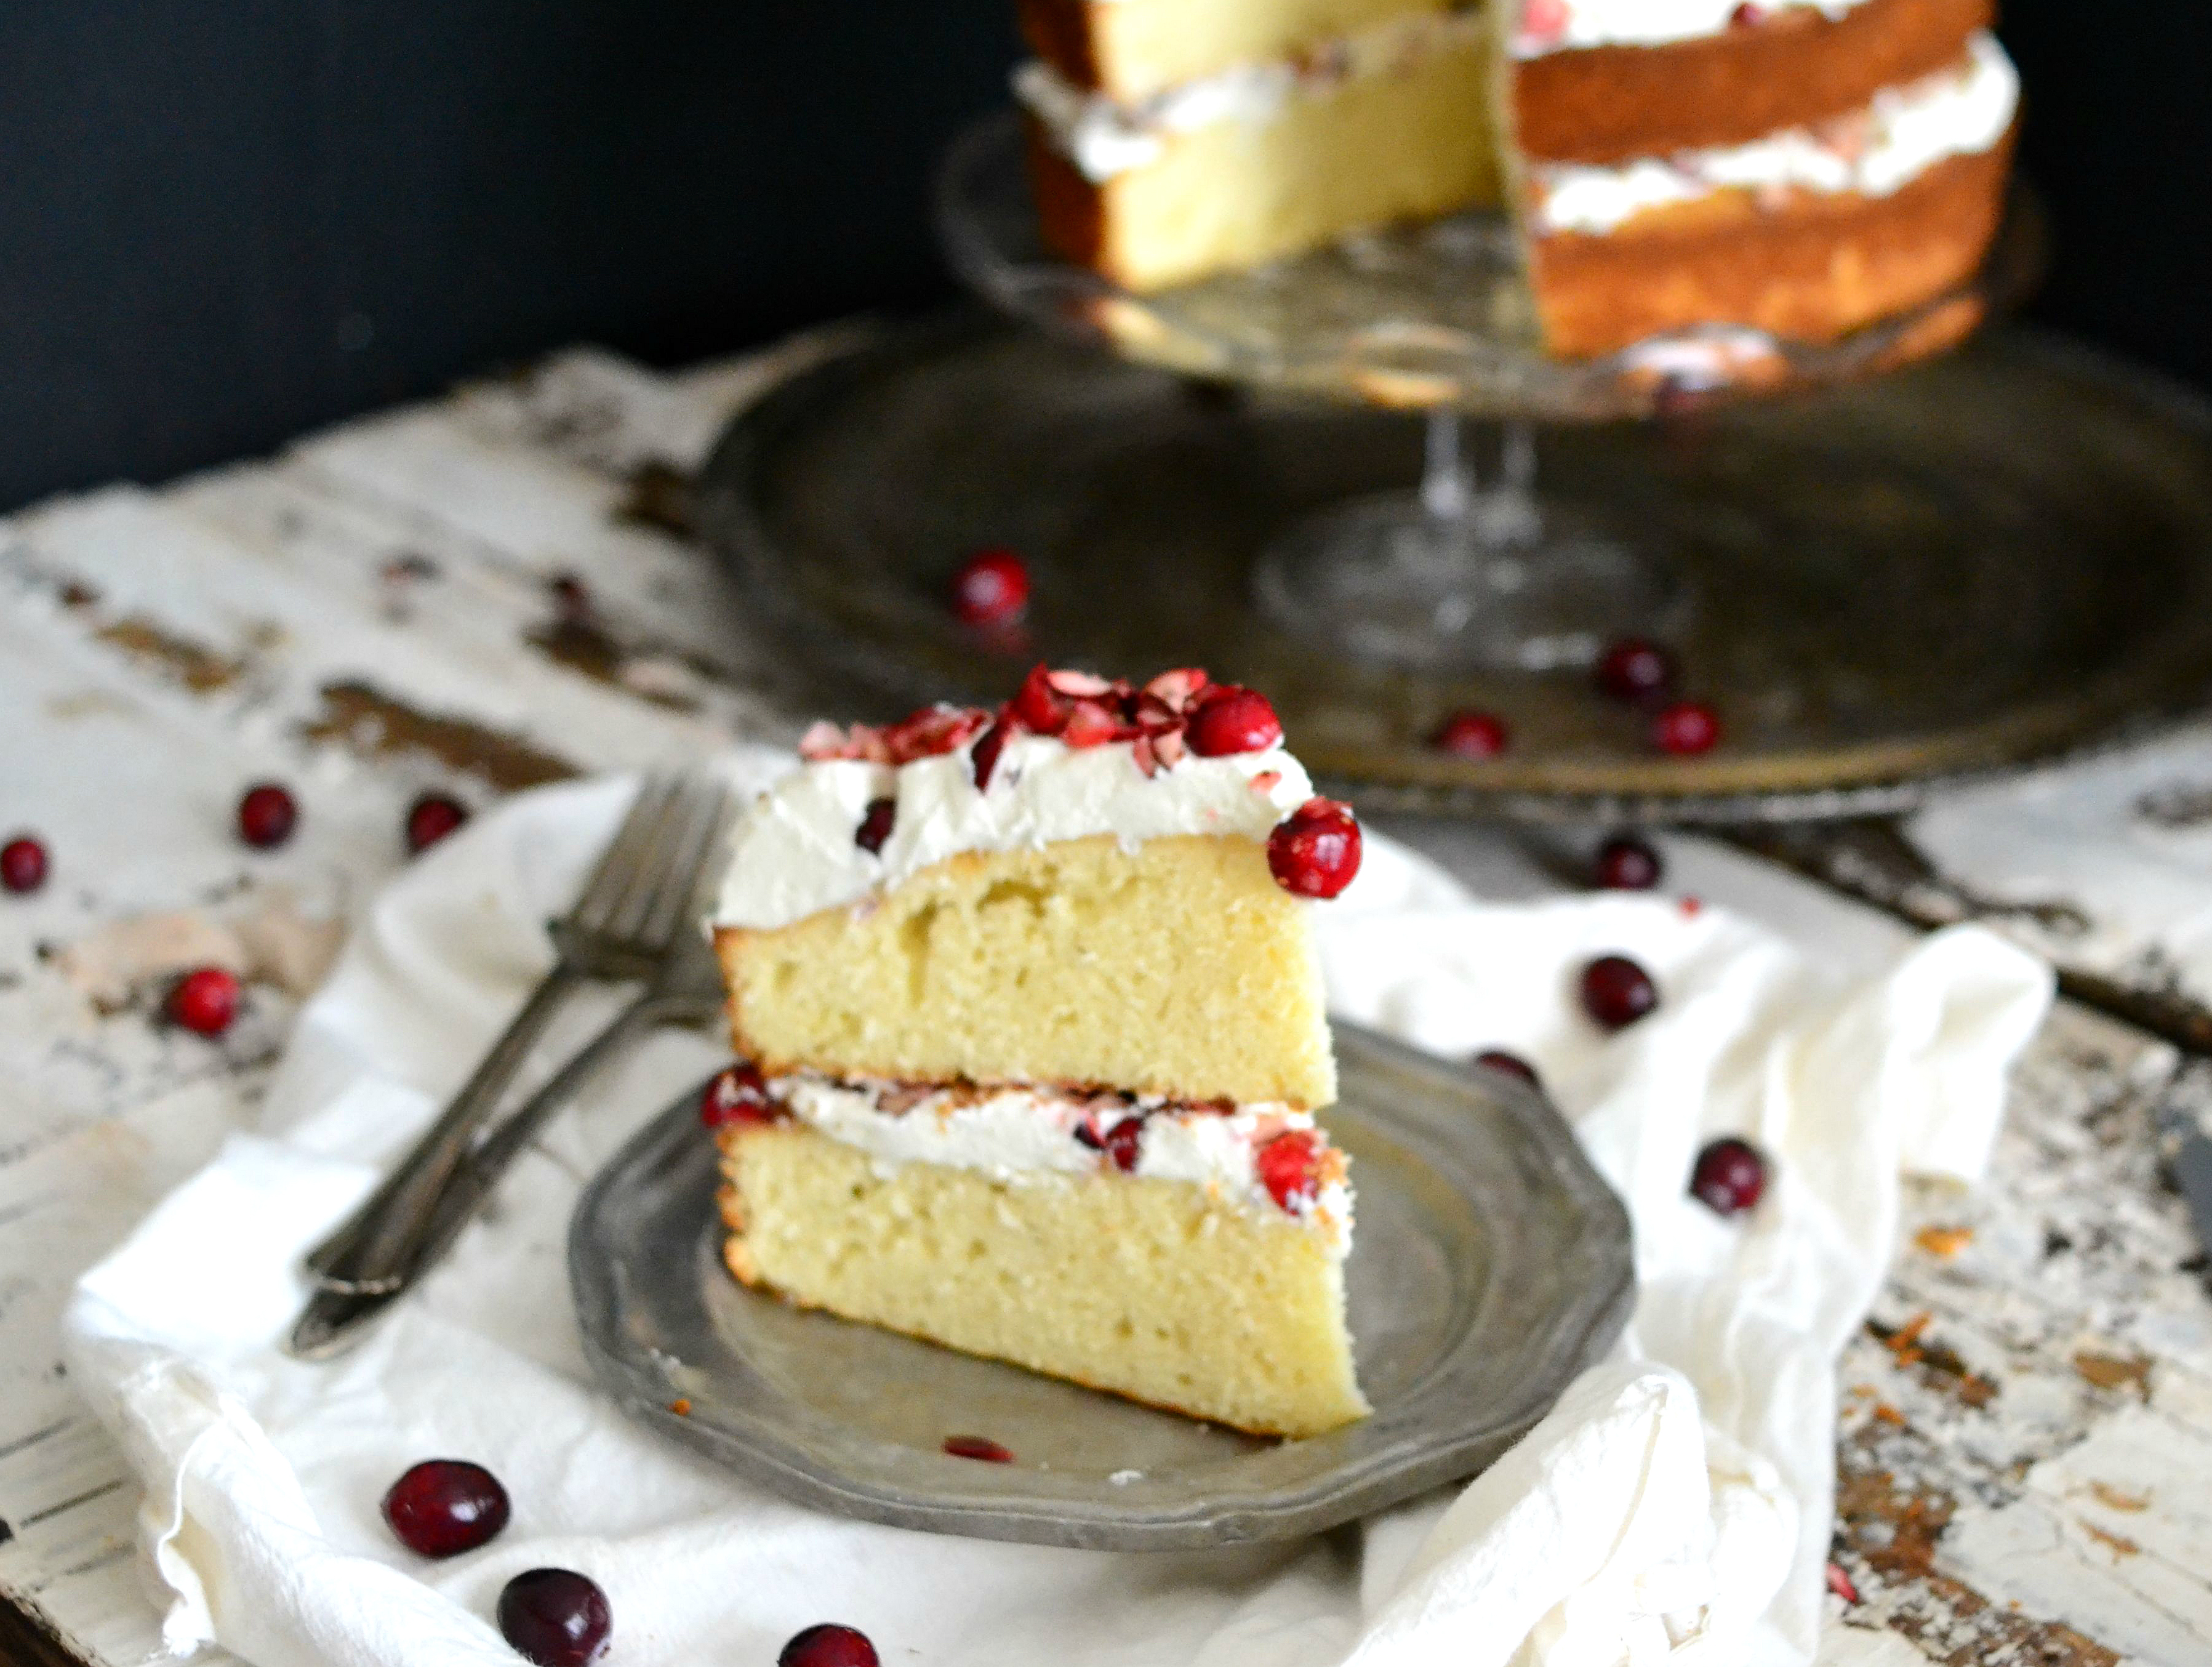
- To assemble the cake, add a generous spoonful of whipped cream (about one cup) on top of one of the layers. Top with about 1/2 – 2/3 cup chopped cranberries. Carefully place the second cake layer over the whipped cream and top with remaining one cup of whipped cream and remaining cranberries.
- Serve immediately or chill until serving.
Nutritional information per serving (1 slice):
Calories: 316.6
Fat: 12 grams
Carbohydrates: 49.3 grams
Fiber: 1.2 grams
Protein: 4.91 grams
Weight Watchers Points: 12
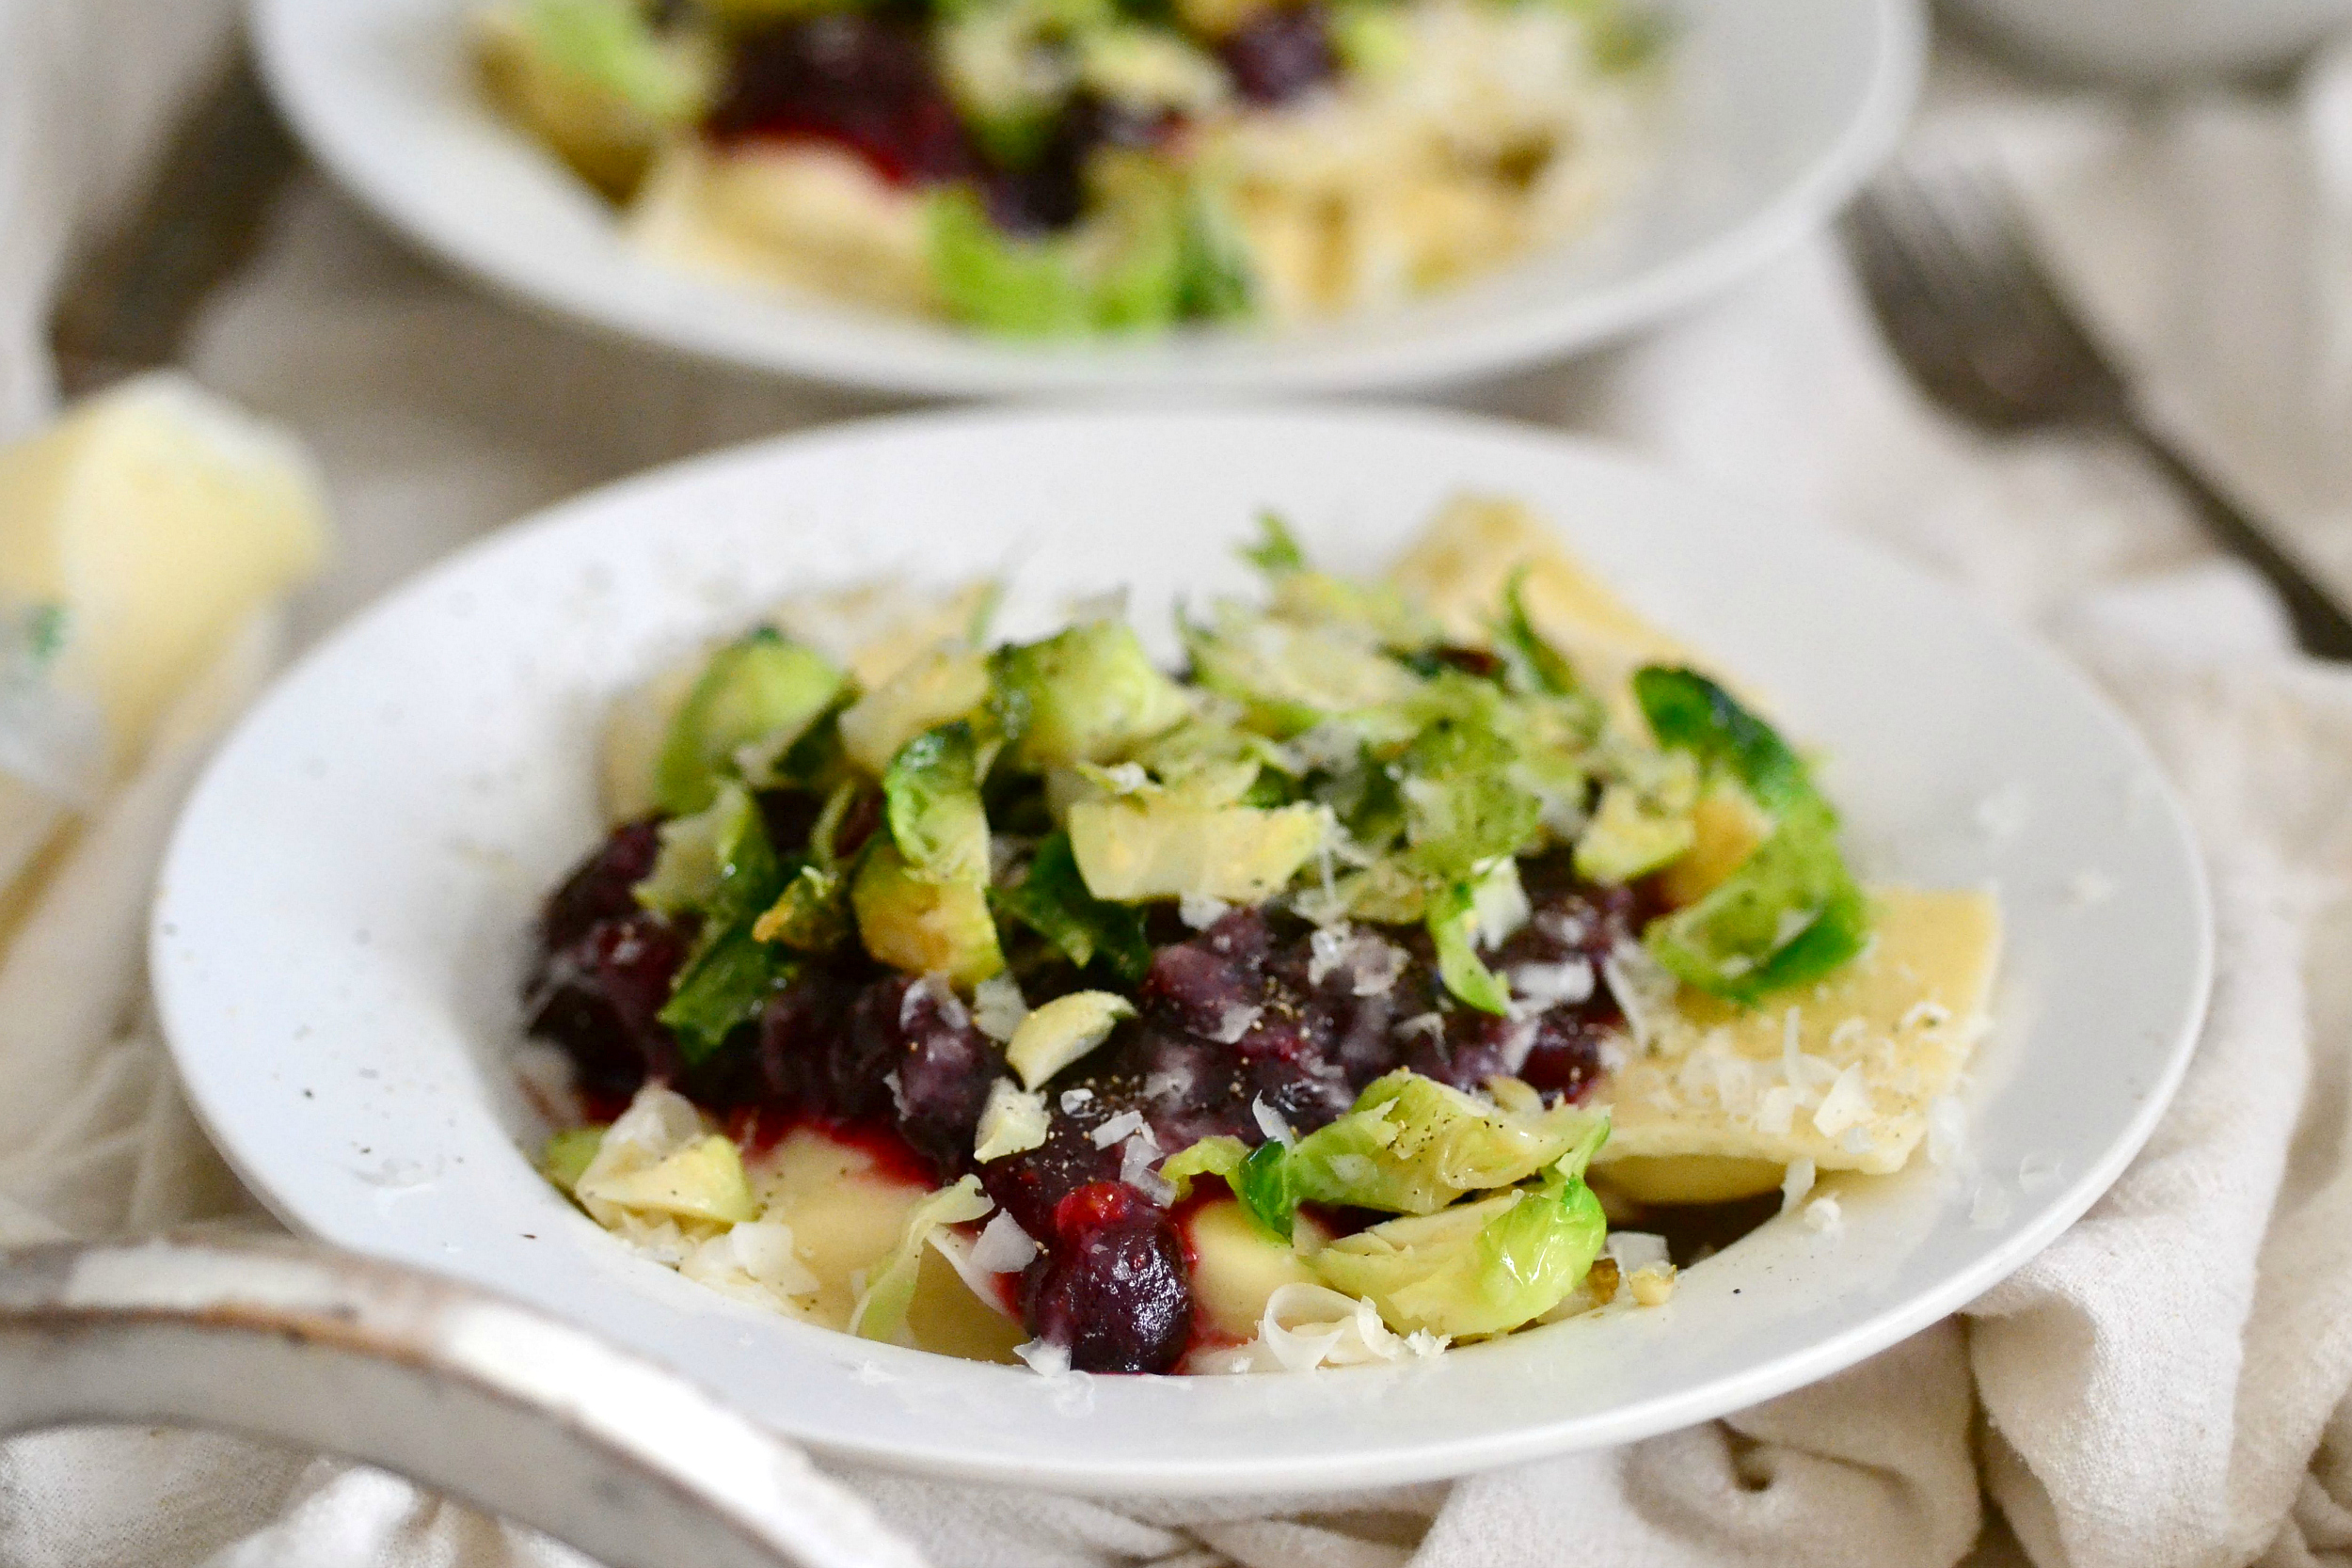
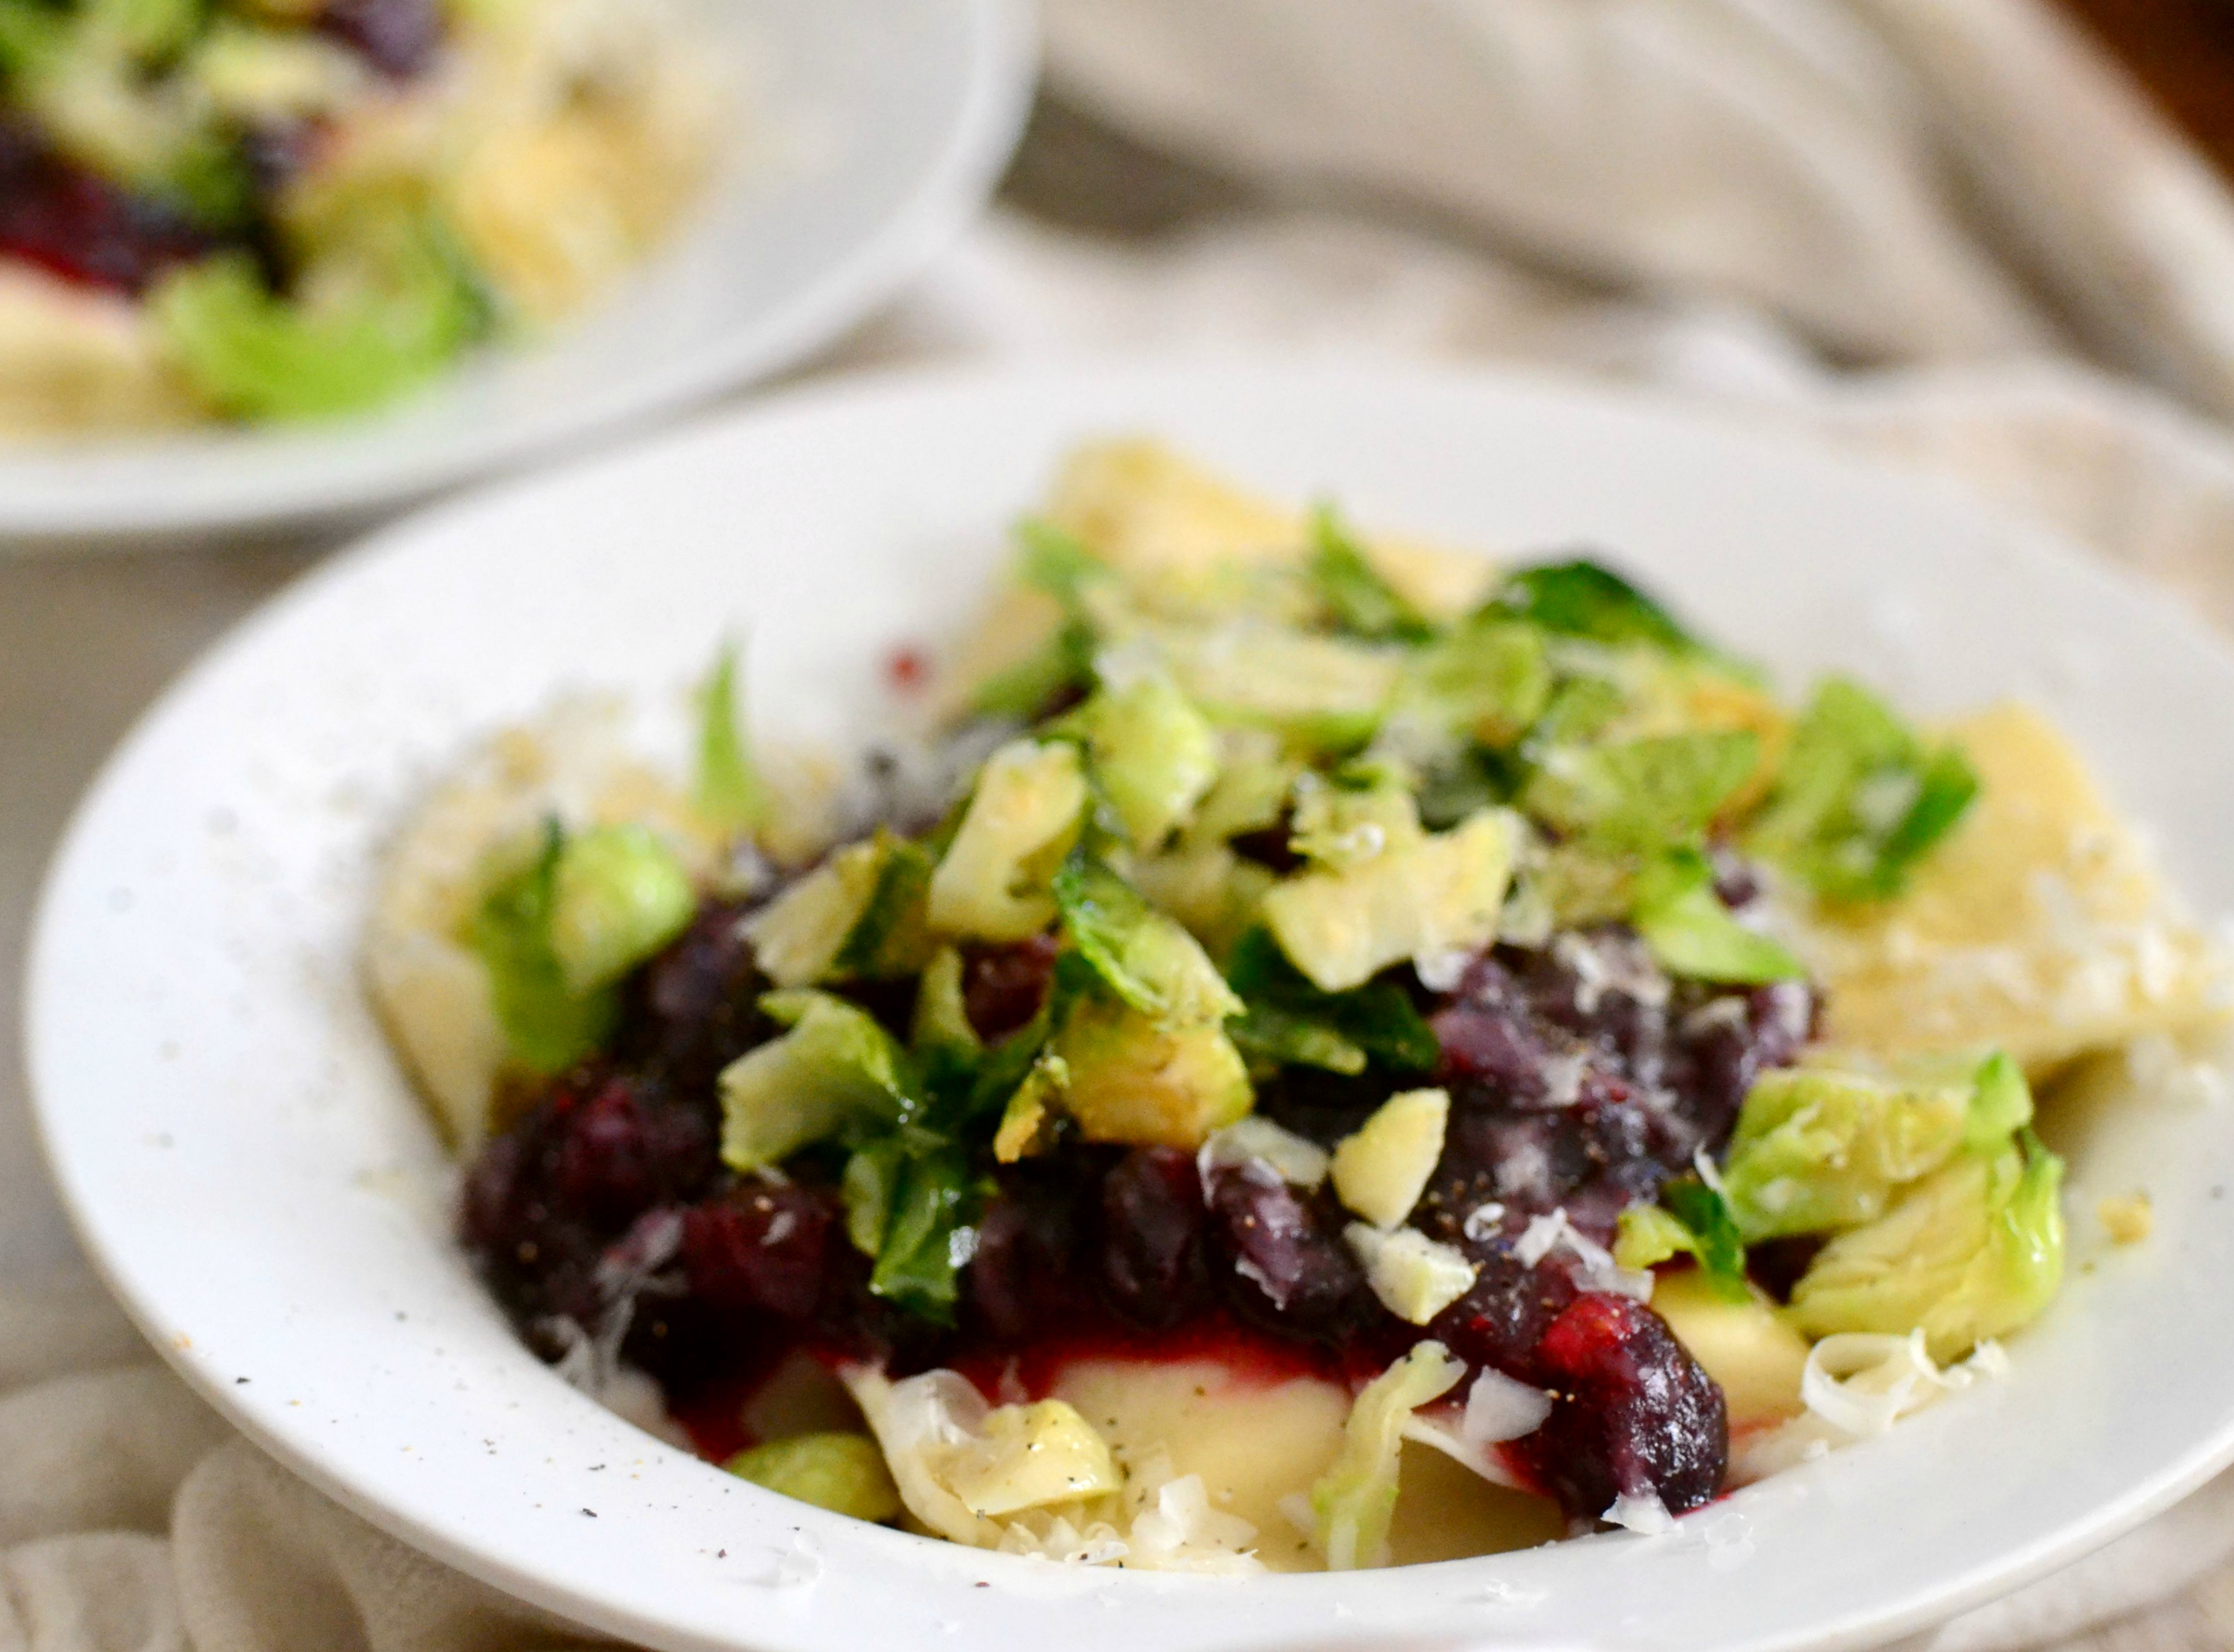
Ravioli with Brussel Sprouts, White Cheddar & Cranberries
DON’T FORGET TO ENTER THE HARRY & DAVID GIVEAWAY GOING ON NOW!
With weather like we’ve been having in the DC region, the only thing I crave is comfort food. Forget salads, forget healthy sandwiches and don’t even get me started on simple soups. All I want is pasta with lots of cheese, pizza loaded with toppings and hamburgers stuffed between two fresh brioche buns. I want food that’s going to stick to my guts and keep me warm when I’m commuting in below freezing temperatures.
The catch though is I want those dishes to either make themselves, be assembled by my husband when I get home or be so easy I don’t even realize I’m cooking.

I promise I’m not lazy, but after 10 hours in an office, the last thing I want to do is spend 3+ hours cooking a meal. Most of that is because if I did that, we wouldn’t eat until 10pm. And do you know what happens when you eat a heavy meal 2 minutes before you go to bed?
My hips, that’s what happens.
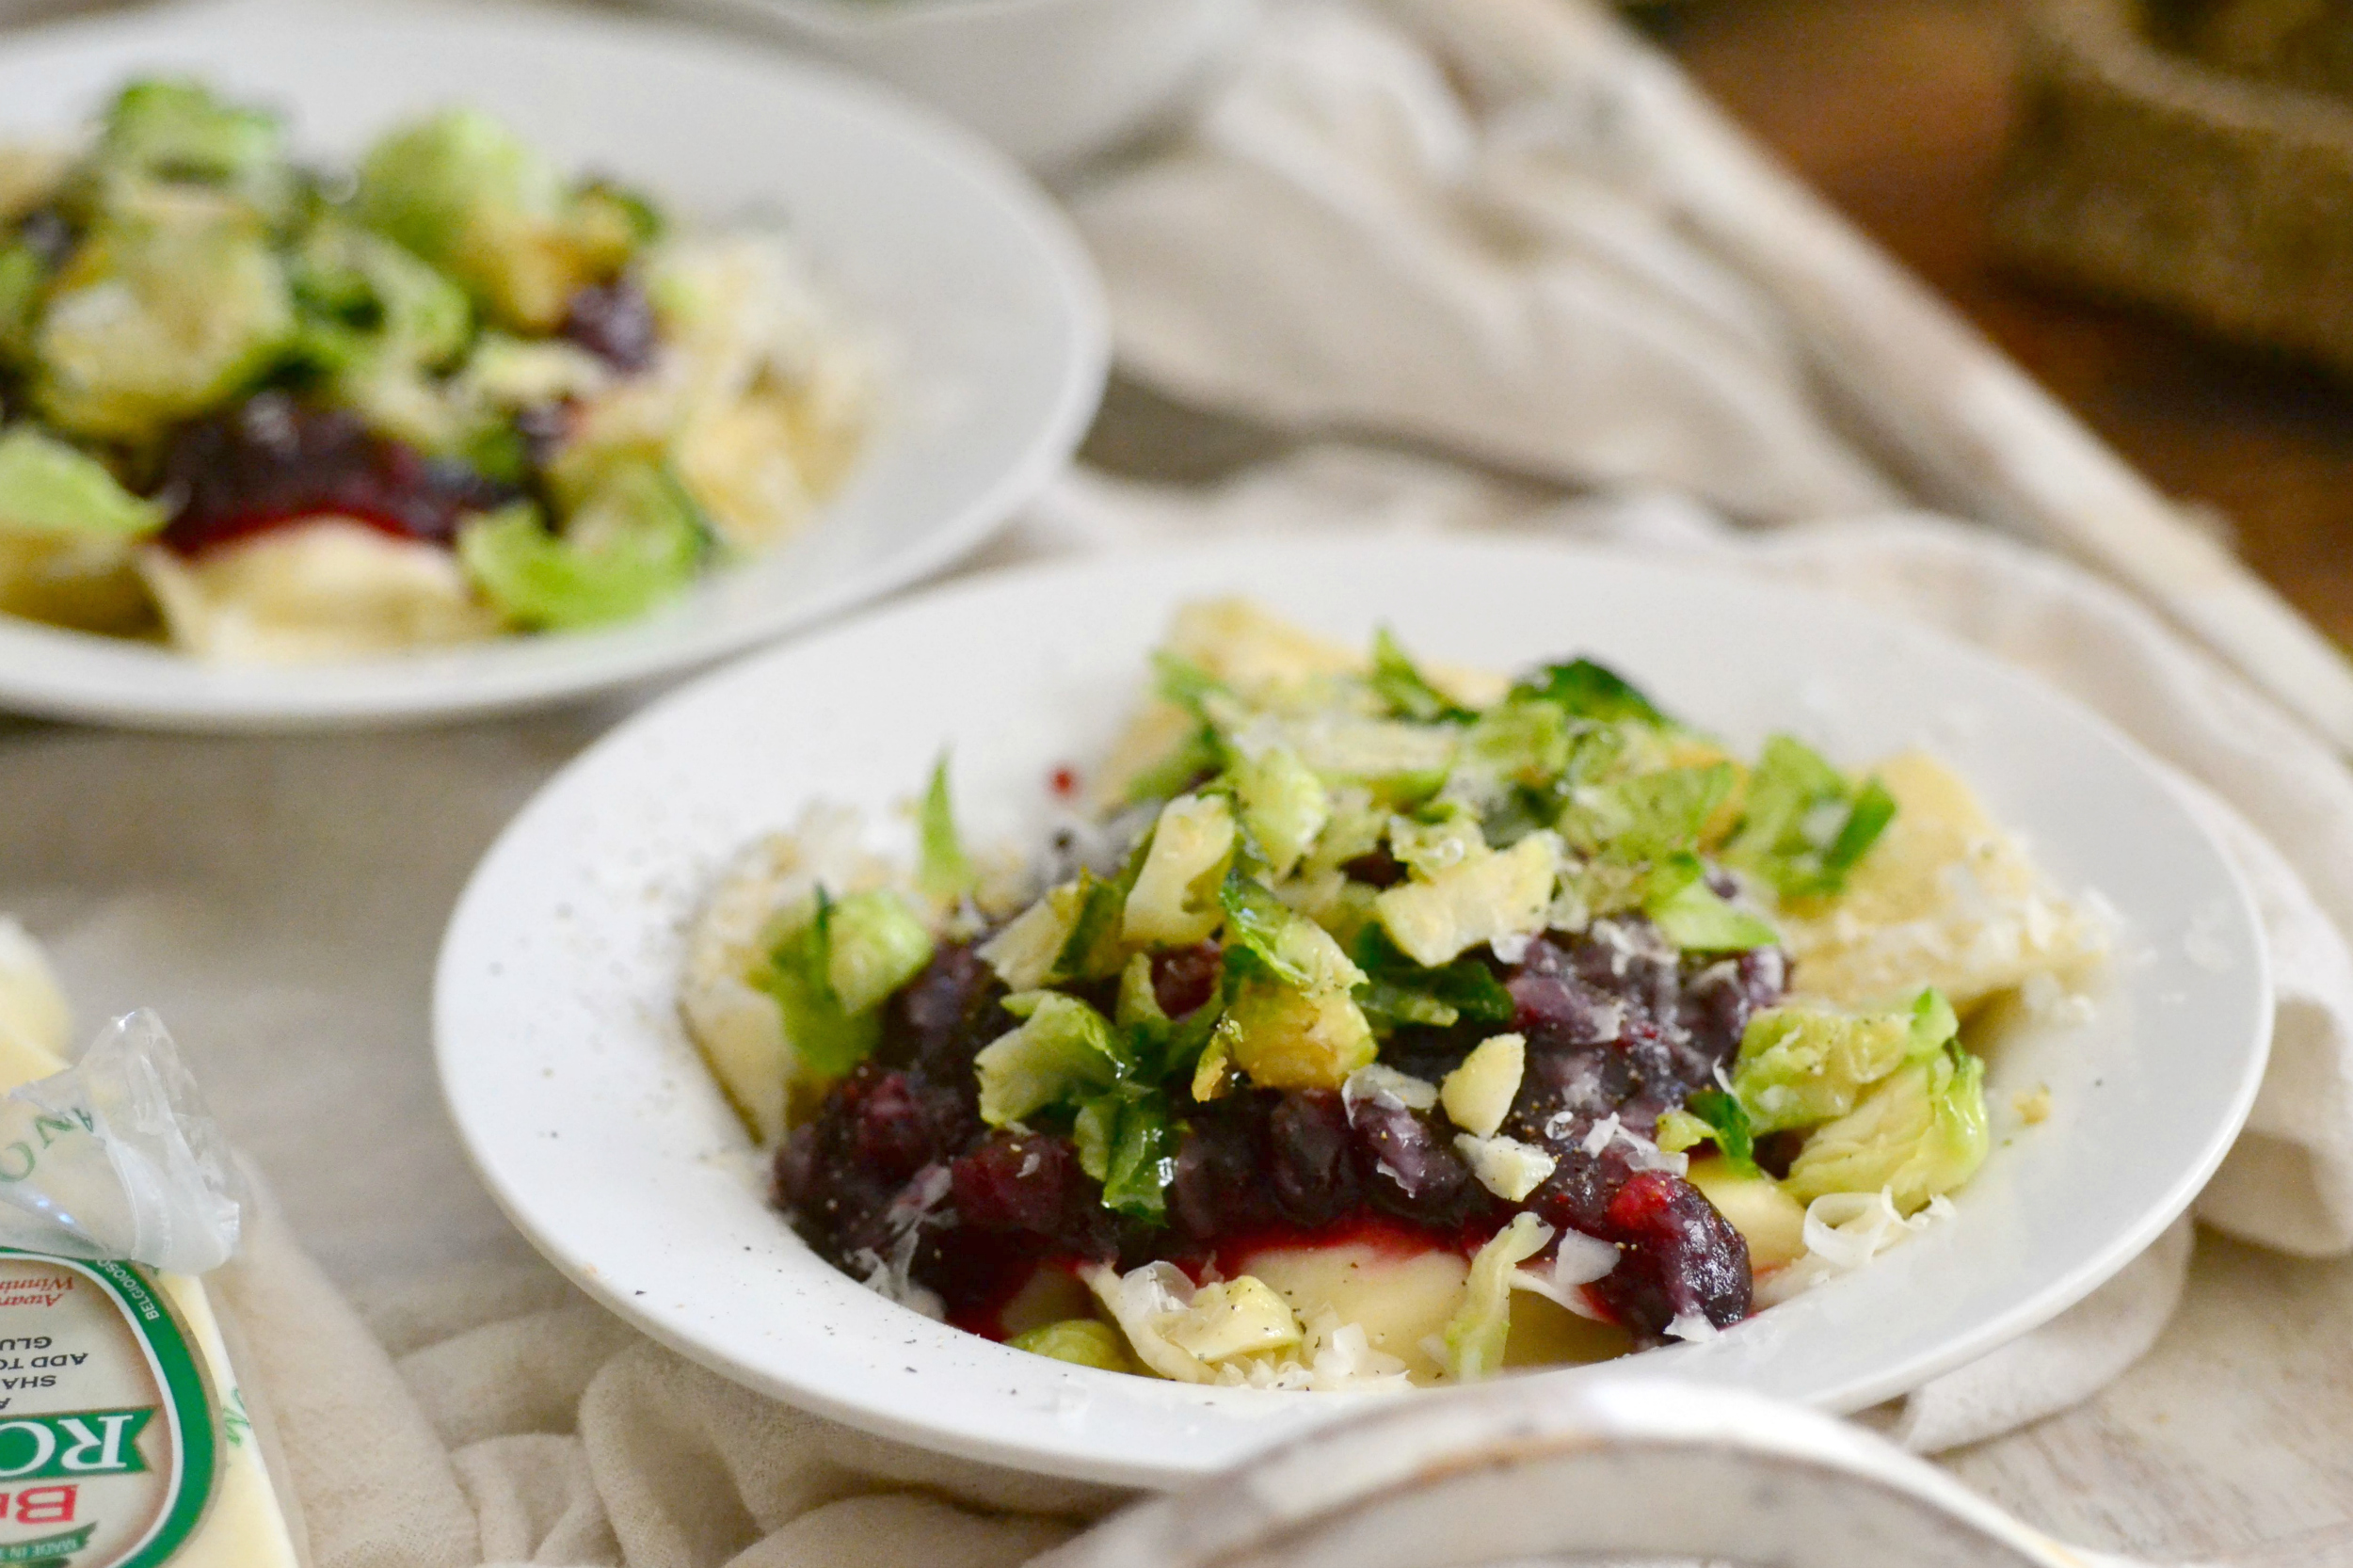
That’s why I’m trying to find comfort food dishes that are not only easy to make but healthy and budget friendly too. It is the holiday season after all and I have about 15,000 gifts still to buy. Dishes like this easy brussel sprout, white cheddar and cranberry ravioli that can be made with less than $10 in your pocket and only about an hour of time spent, even with homemade pasta. Once you get the hang of making your own homemade dough, it’s shocking how easy it is to throw it together in almost no time.
Ravioli with Brussel Sprouts, White Cheddar & Cranberries
Serves about 5 – 6.
Prep time: 35 minutes
Cook time: 10 – 15 minutes
Total time: 50 minutes
Ingredients:
For the ravioli
- 3-1/2 cups flour
- 3 eggs
- 1/3 cup + 2 tablespoons water
- 1 tablespoon oil
For the filling
- 6 ounces low-fat ricotta cheese
- 2-1/2 tablespoons Parmesan cheese
- 1 cup (4 ounces) shredded white cheddar cheese
- 2 tablespoons egg beaters
- 1/4 cup cooked and chopped Brussels sprouts
- Salt and pepper
For the sauce
- 1/2 cup sugar
- 1/2 cup low-sugar juice (I used orange)
- 6 ounces fresh cranberries
- 1 cup chopped & cooked Brussels sprouts
- 3 tablespoons Parmesan cheese
For the instructions on how to make this amazing dish, check out the recipe on Fabulous Foods!
Nutritional information per serving:
Calories: 478
Fat: 11.2 grams
Carbohydrates: 73 grams
Fiber: 8.5 grams
Protein: 20.1 grams
Weight Watchers Points: 12
Claire
Tags:brussel sprout recipes, comfort food recipes, pasta recipes, ravioli recipes
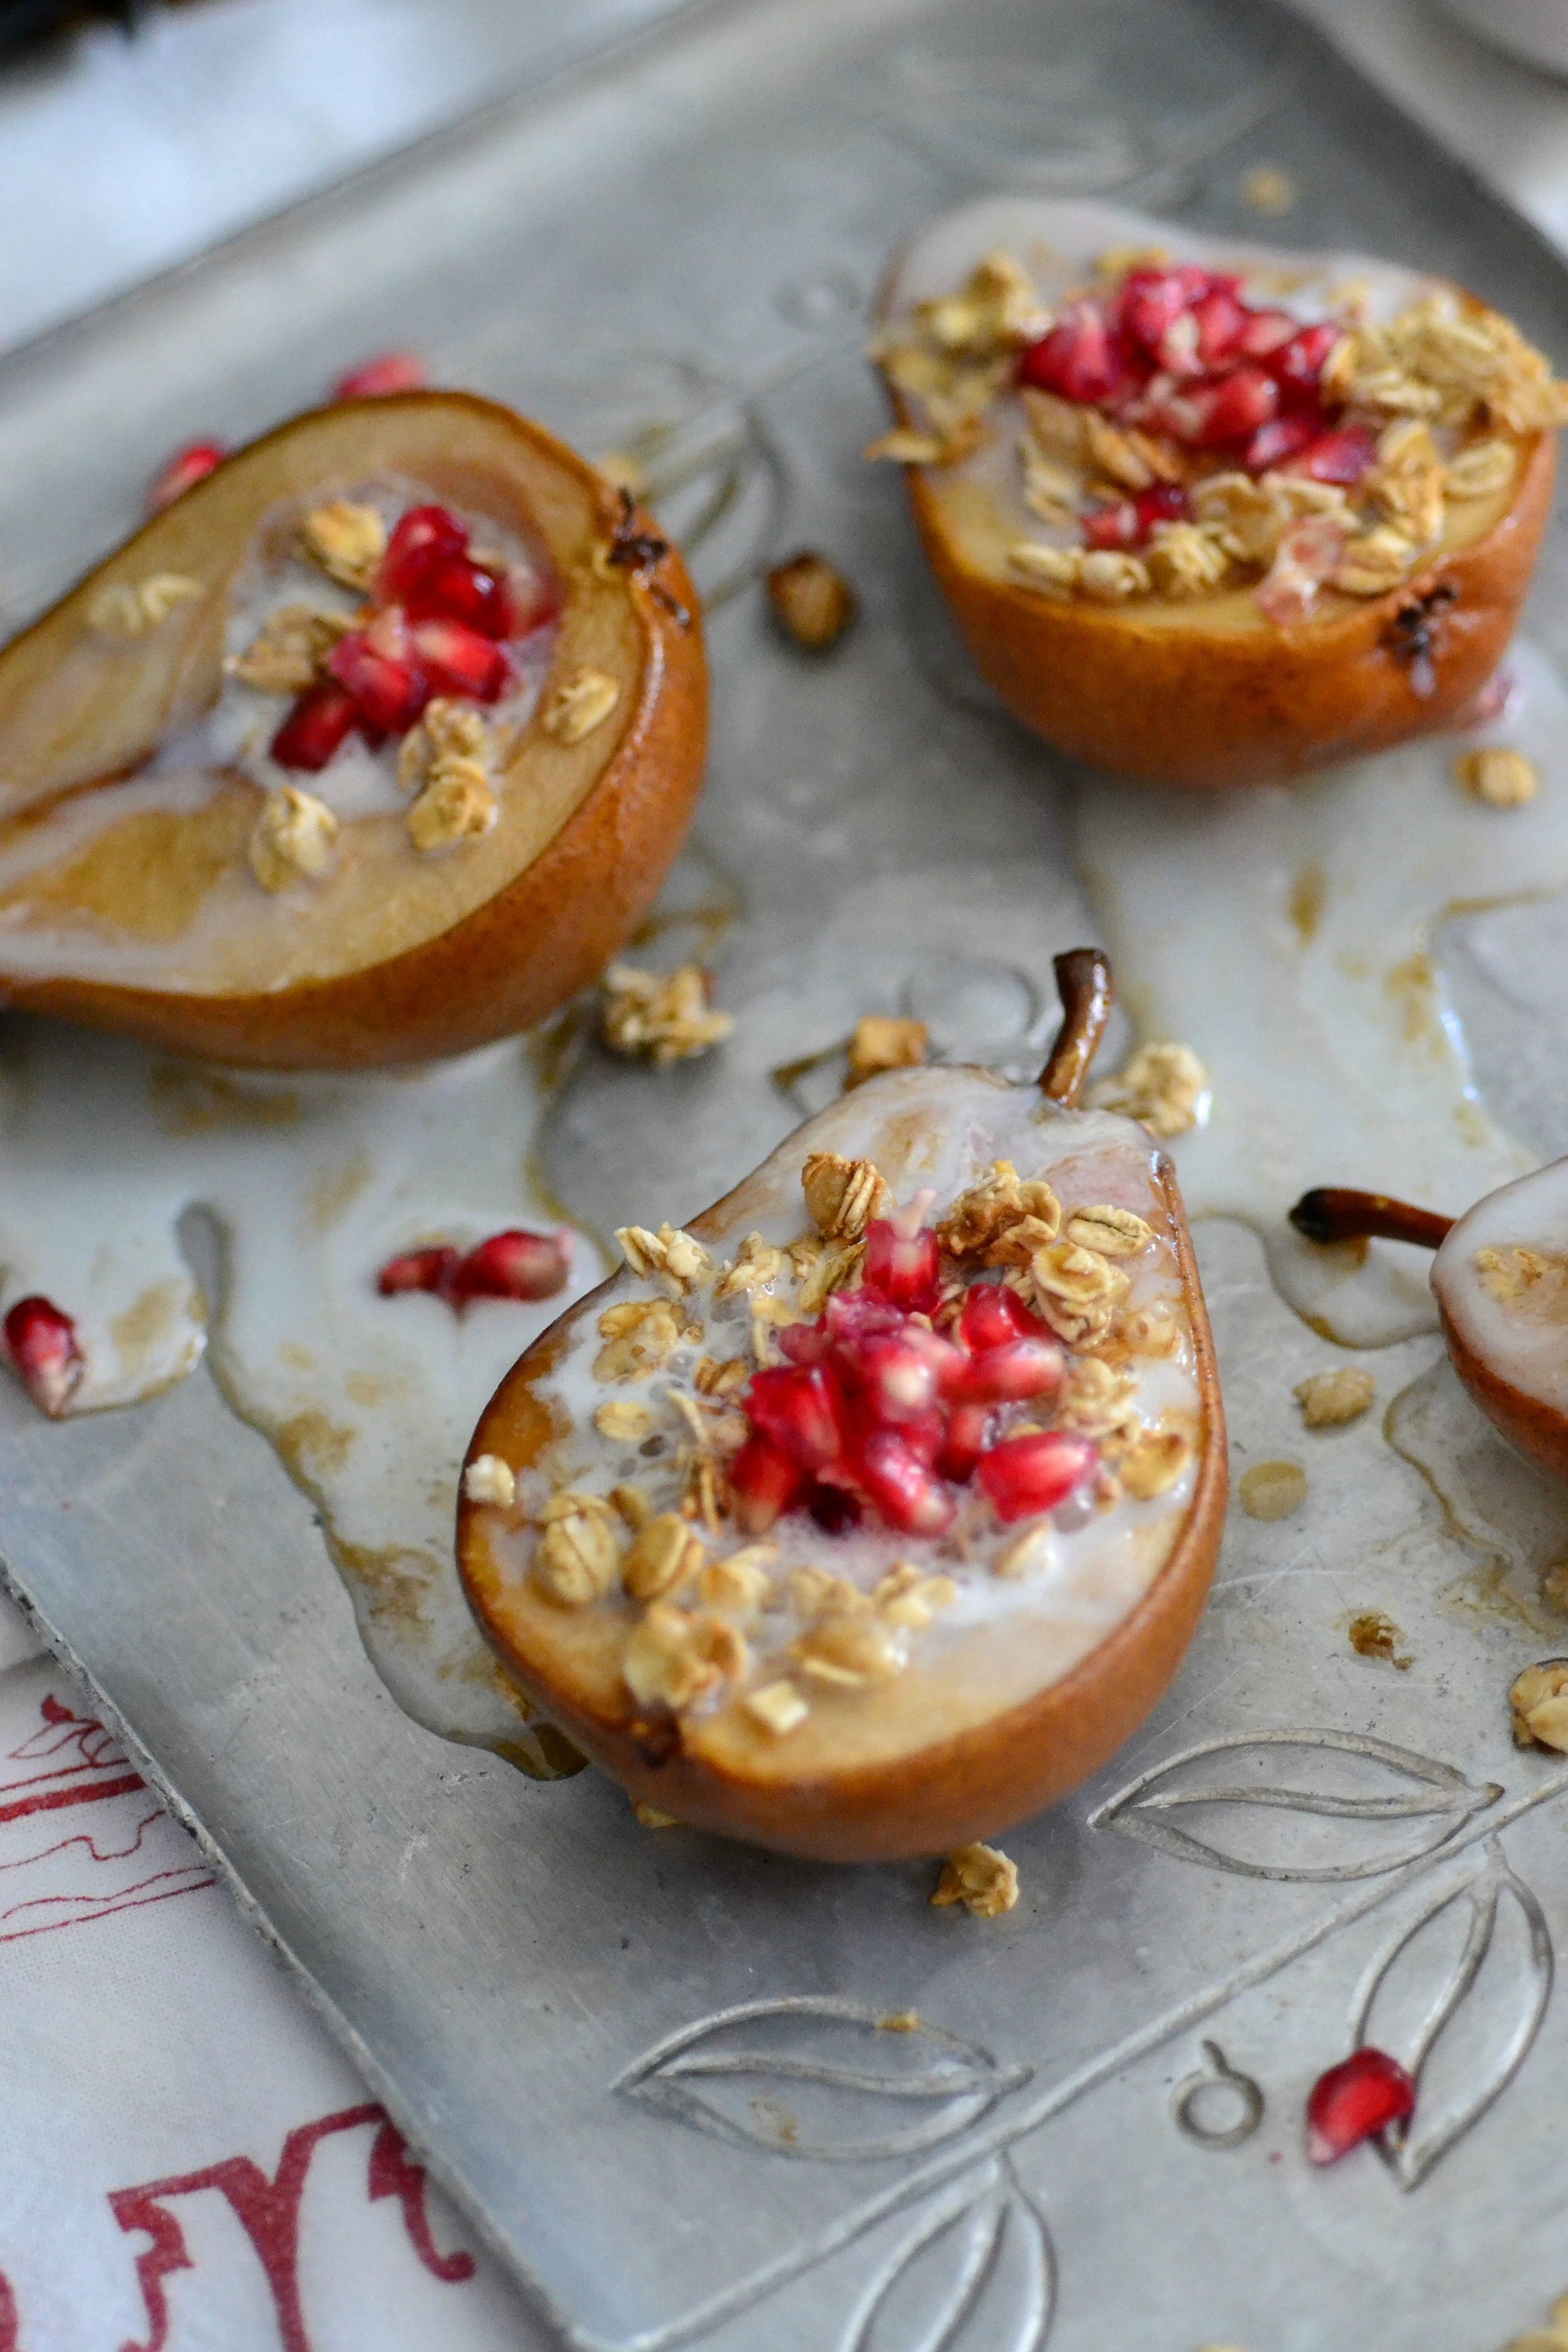
Roasted Pears with Pomegranates
Remember when I used to write these awesome posts and share incredible recipes with you 3 – 4 times a week? I know, it seems hazy to me, despite that time being just 2 weeks ago. I didn’t mean to disappear like a ghost, but I’m not lying when I say my life has gone from normal busy to crazy town pull my hair out busy thanks to my new job.

I love it, though. I love the craziness. It just further reminds me how quickly I’ve become an integral member of this new team. I come into work at 8 and usually don’t leave until 6 – 6:30 and I’m working, basically, the entire time. Which is, sadly, why posting has been so sporadic over here.
But I promise not to make this a habit. One of the promises I made to myself when I started my new job was to not let this fall by the wayside. Of course I’ve broken that, but I don’t have any intentions of breaking it again.
See, I love my little space on the internet. I love that so many of you visit me daily hoping to get a new recipe and a quirky little post. I may not be huge, but I’m happy with my blog, and I don’t want anything to change that.

To make up for my elongated absence, I’ve decided to not only share an awesomely easy (and beautiful) recipe for baked pears, but to giveaway a box of the world’s best pears too! I was given a delicious gift box full of amazing goodies from Harry & David a few weeks ago (most of which is gone) and because they are so nice, they’re going to give you guys a box too!
Isn’t that rad? That means one lucky reader will be able to make these beautiful roasted pears with pomegranates whenever they want! I’m just the best, I know. FOR THE GIVEAWAY, ENTER THE PROMPTS BELOW!
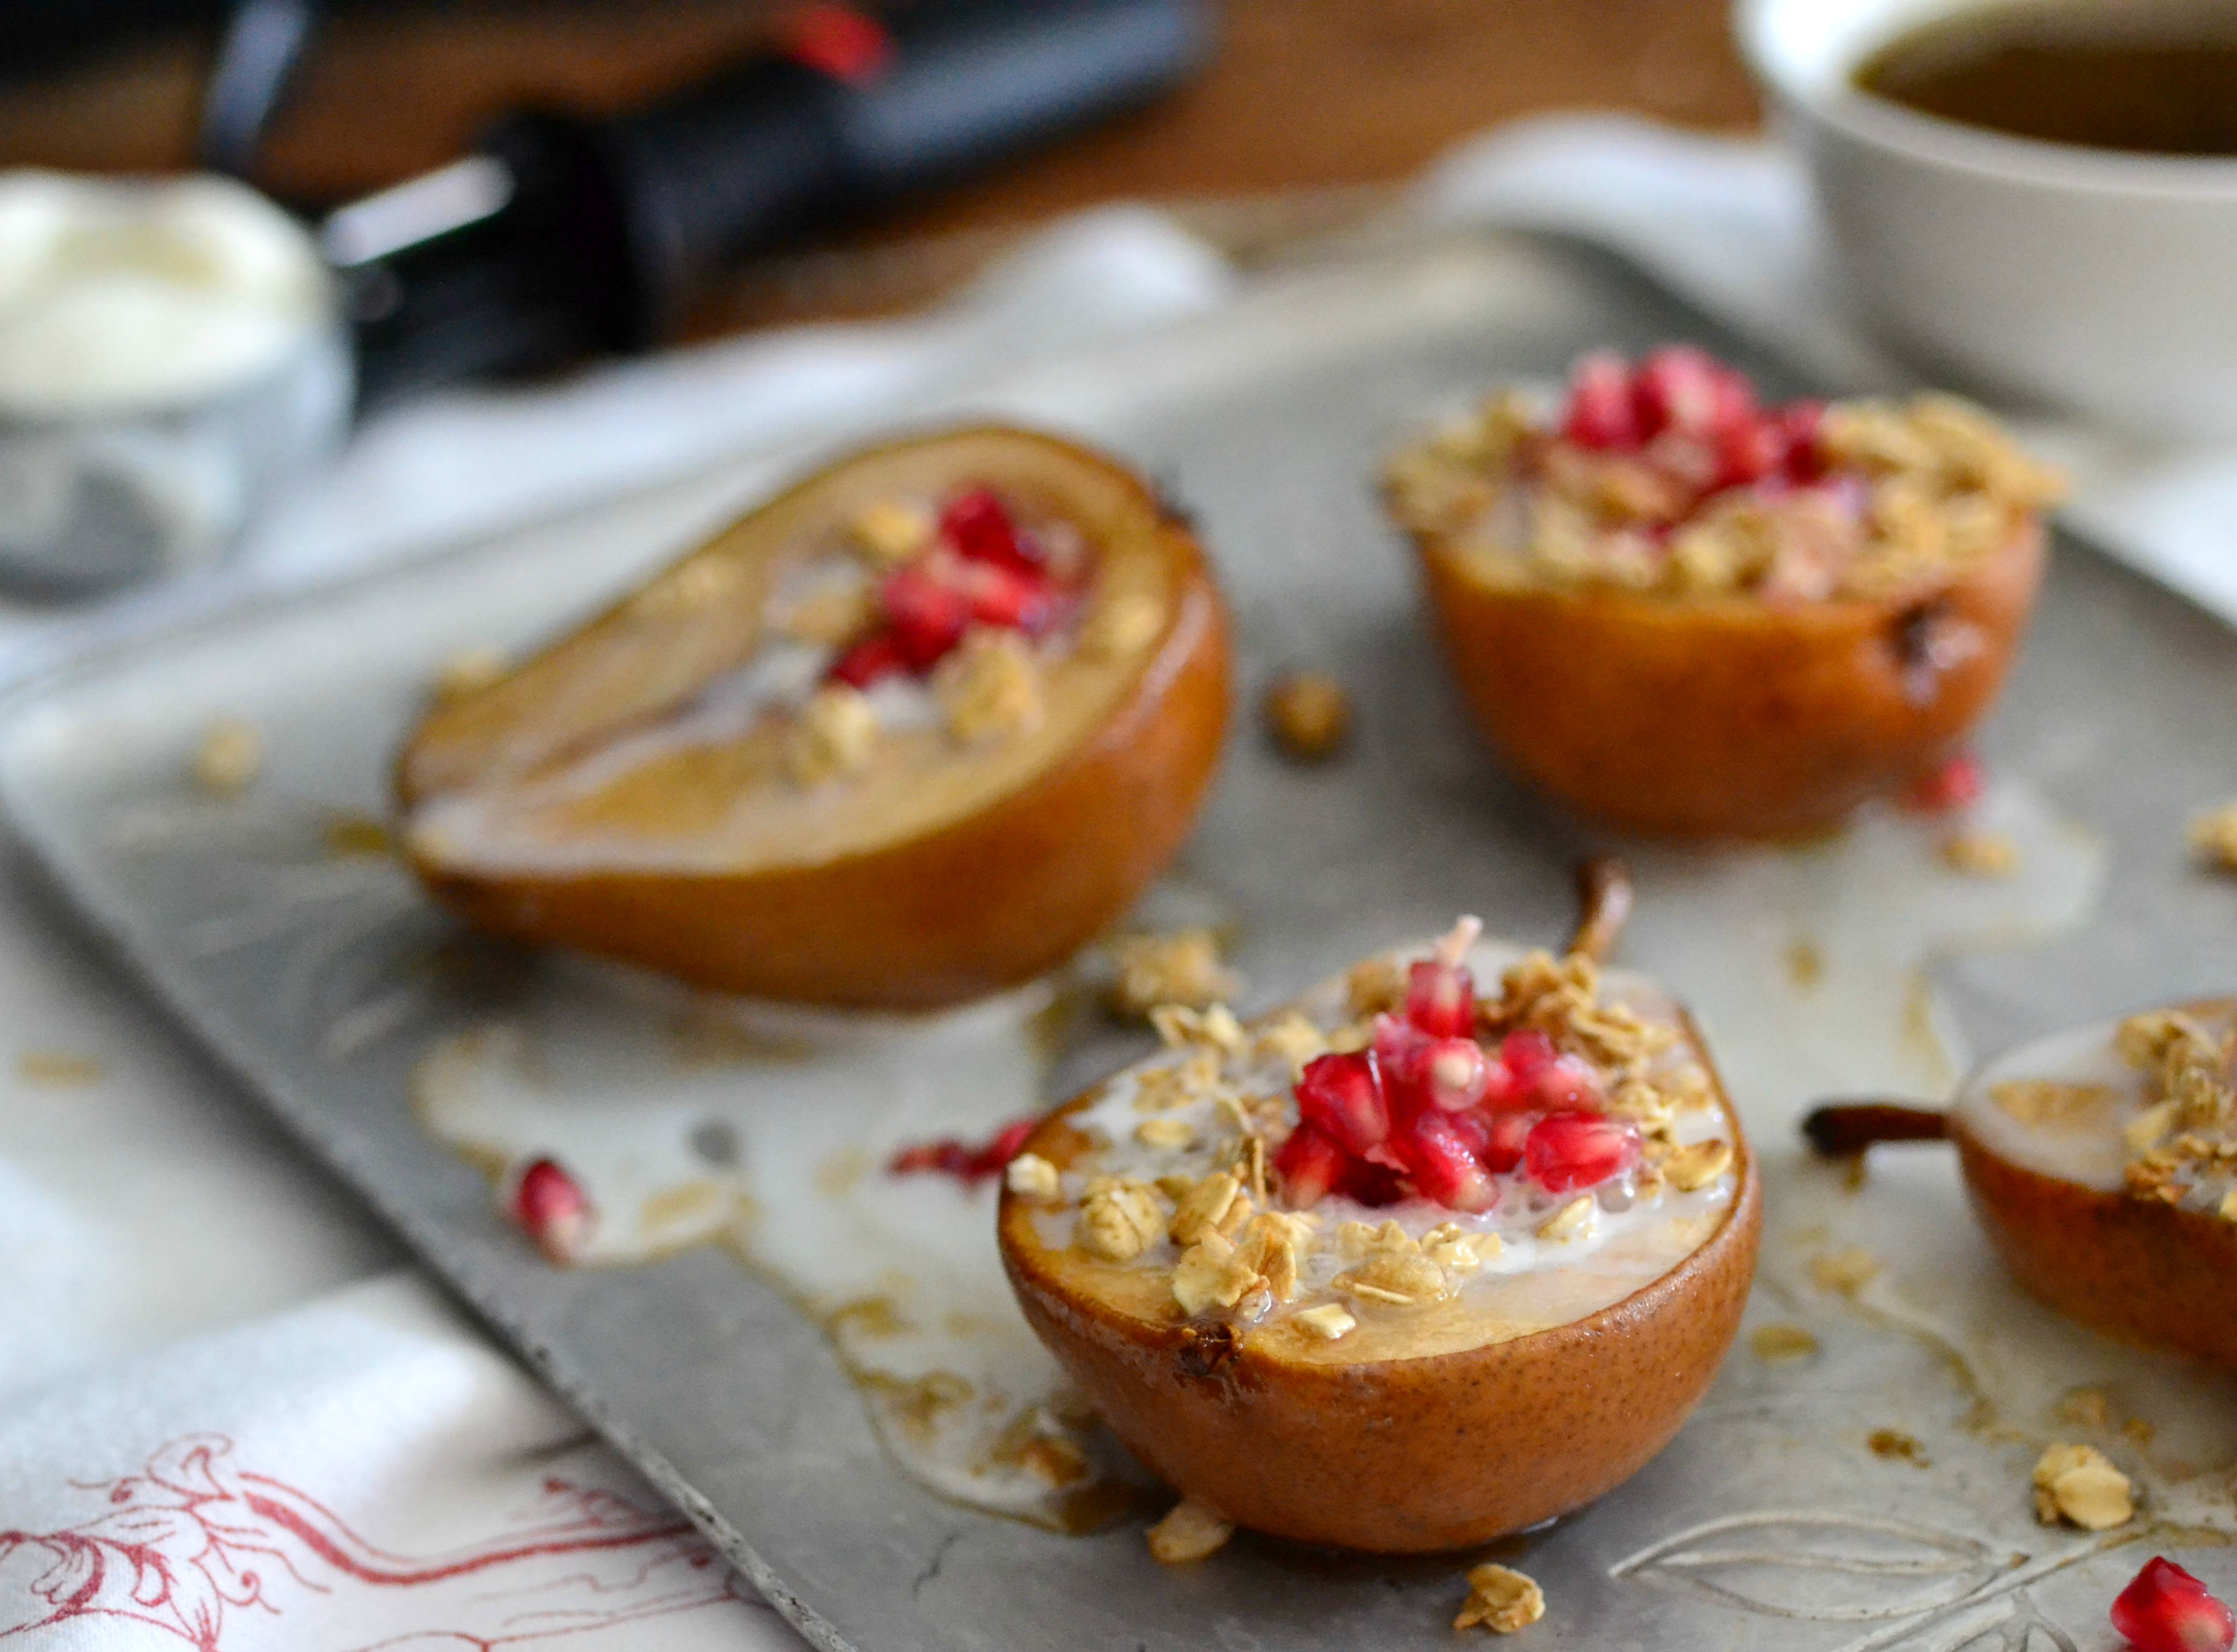
Roasted Pears with Pomegranates
CLICK HERE FOR THE PRINTABLE VERSION OF THIS RECIPE!
Serves about 6.
Prep time: 10 minutes
Cook time: 35 minutes
Ingredients:
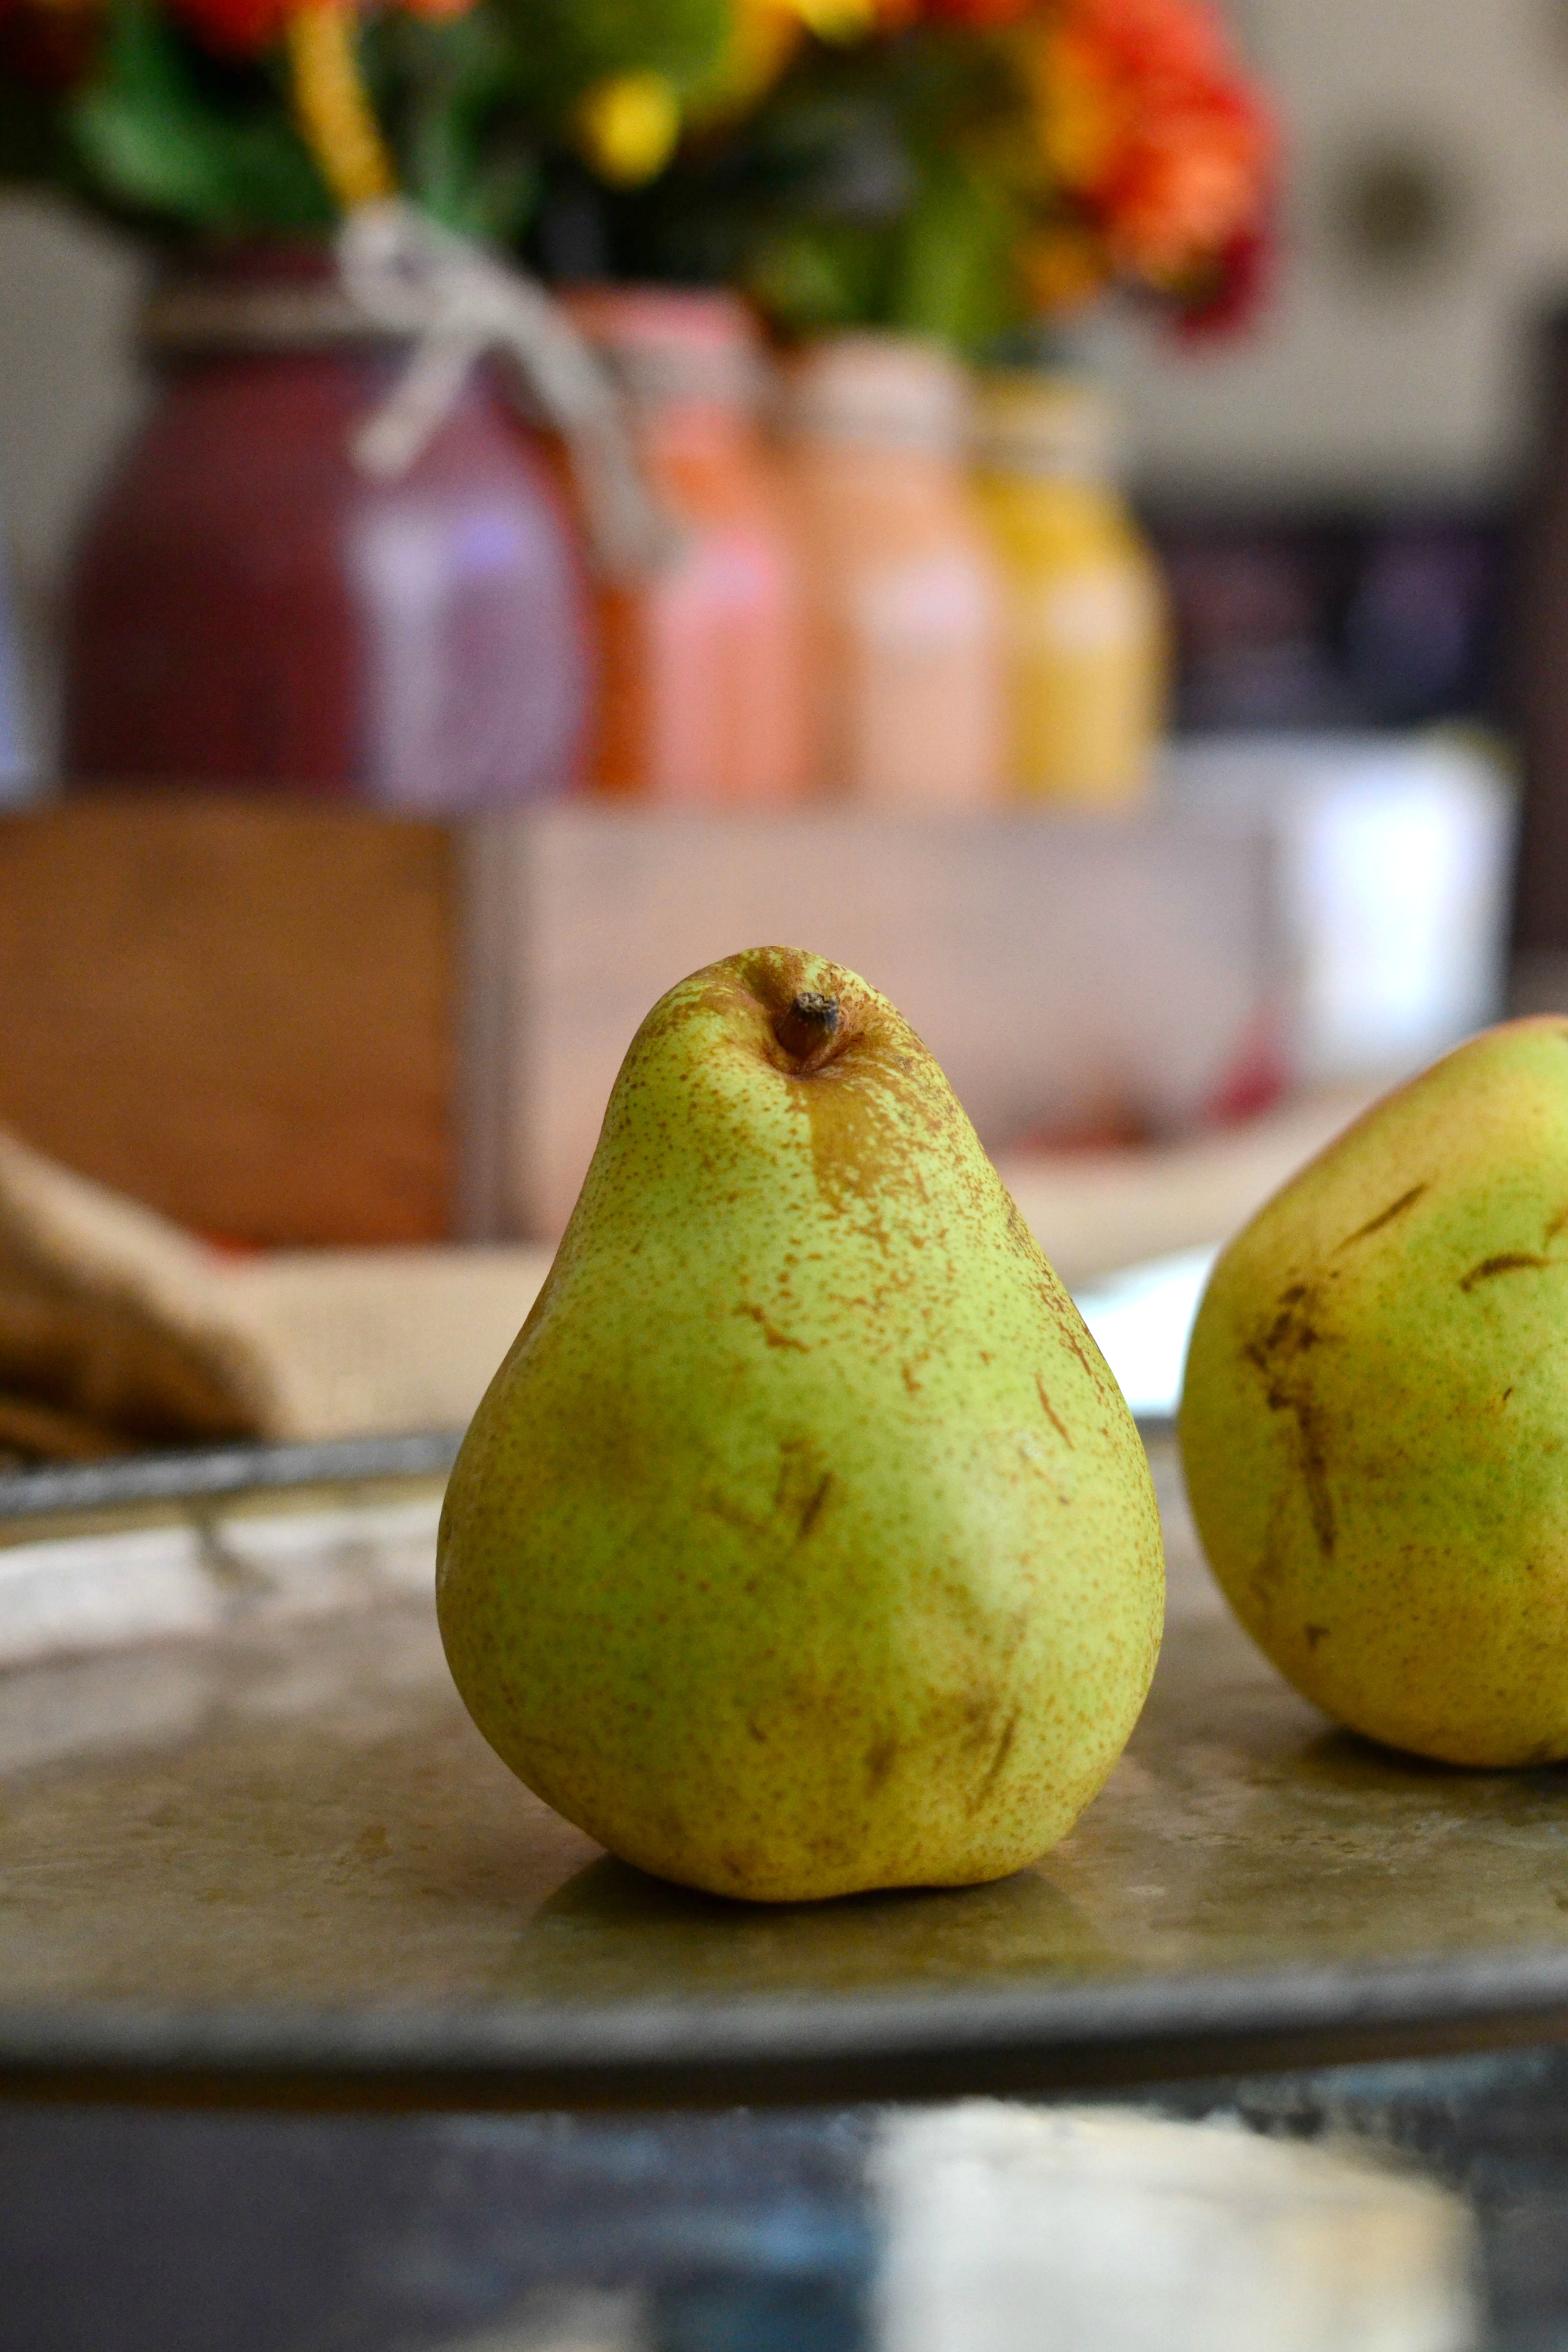
- 3 firm pears (I used a mix of Royal Rivera and Bosc)
- 1/2 cup apple cider
- 1/4 cup brown sugar
- 3/4 cup granola
- about 1 1/2 cups of Greek frozen yogurt (vanilla or nonfat)
- About 1/3 cup pomegranate arils
Directions:
- Preheat oven to 400 degrees F. Line a standard 9 x 13 baking dish with parchment paper and set aside.
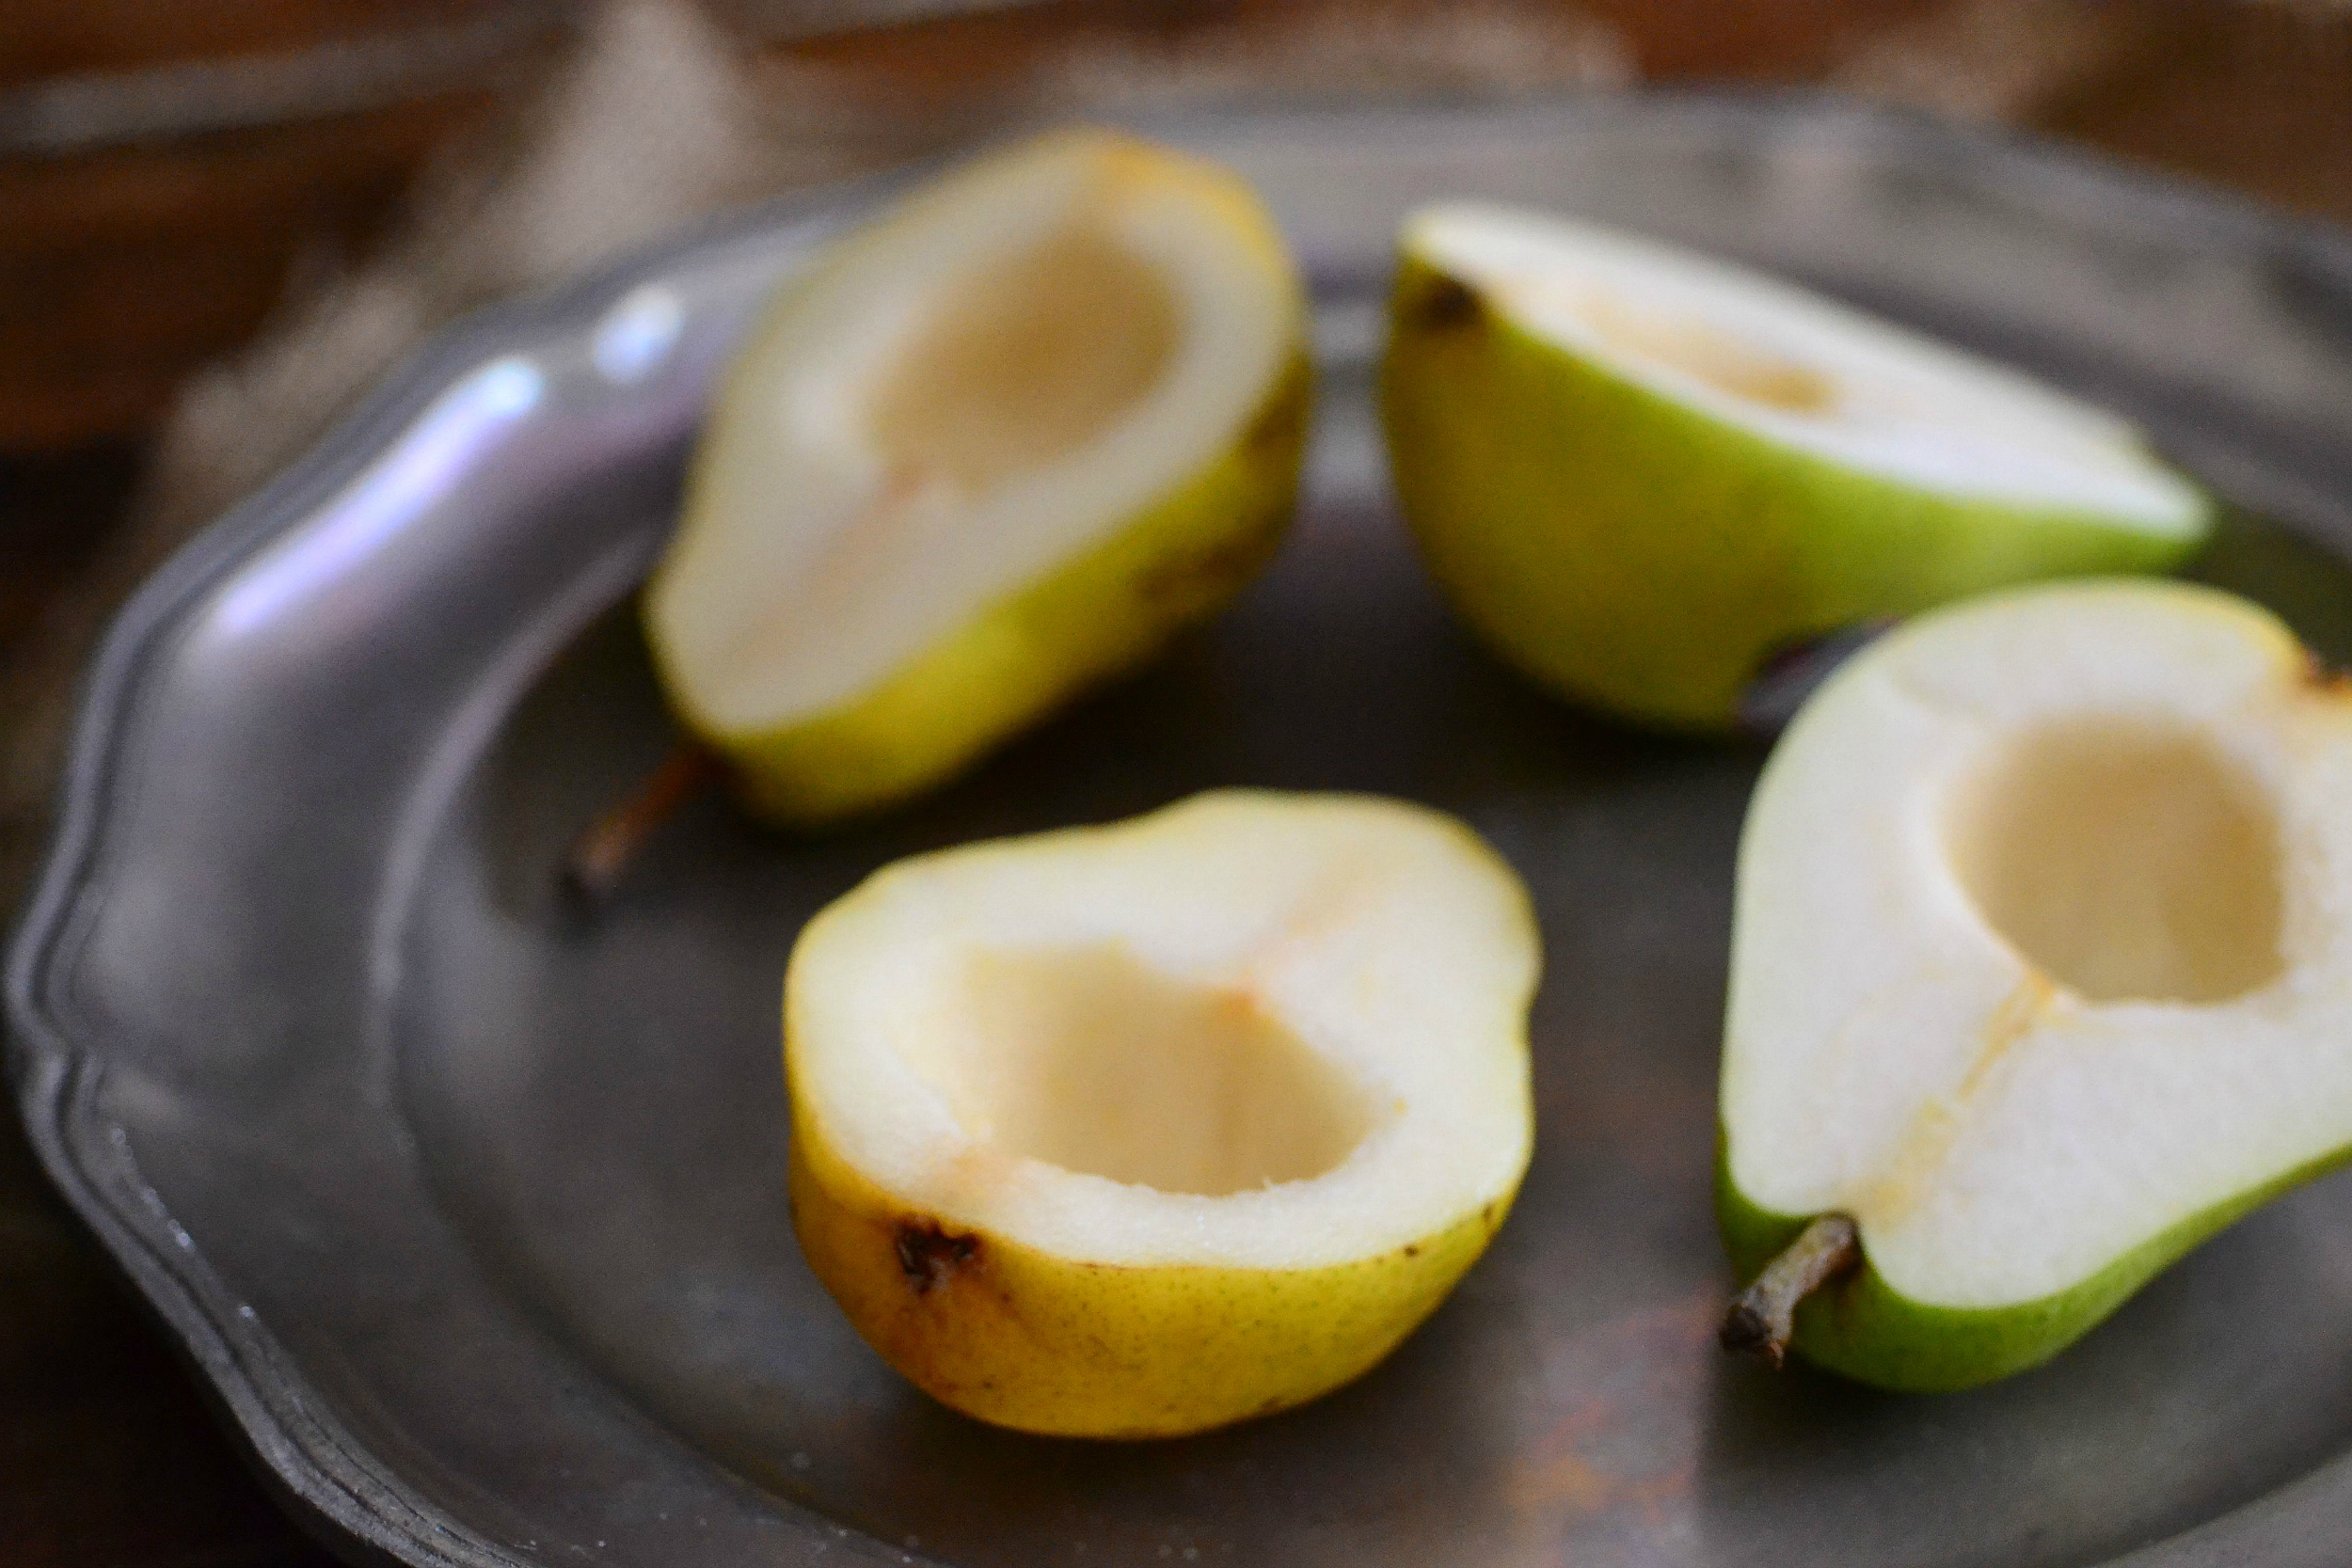
- Slice the pears in half and, using a melon baller, remove the center of the pears and discard (this will include the seeds and some of the flesh). You want a big enough cavity so you can fill with frozen yogurt and granola once it’s baked.
- Arrange over the parchment paper. In another saucepan, heat the brown sugar and apple cider over medium heat. Bring mixture to a boil and then reduce to low. Let simmer for about 5 – 7 minutes, or until sugar is fully dissolved and mixture has reduced.
- Remove from heat. Carefully pour most of the sugar mixture over the pears. You want as much in the cavities as possible (it’ll melt into the pears as they bake).
- Bake for about 30 – 35 minutes, or until pears have browned and are very tender to the touch. Remove form baking pan and place on a serving platter. Let cool. Before serving, fill each pear with a serving of frozen yogurt, 2 – 3 tablespoons of granola and about 1 – 1 1/2 tablespoons of pomegranate arils.
Nutritional information per serving (1/2 pear):
Calories: 287.5
Fat: 6.3 grams
Carbohydrates: 53.6 grams
Fiber: 6
Protein: 2 grams
Weight Watchers Points: 8
Now the fun part! You can enter to win an entire box of pears from my friends at Harry & David! Newsflash, they make AMAZING gifts! Just enter the prompts below.


